How to Open an AWS Account and Protect It with MFA (Step by Step)
What you’ll learn
- Create your own AWS account, step by step
- Sign in as the root user for the first time
- Turn on multi-factor authentication (MFA) for the root user
- Sign in with MFA
What you need
- An email address that has never been used for AWS
- A credit or debit card
- A phone with an authenticator app (Google Authenticator, Microsoft Authenticator or Authy)
Start sign-up
On the AWS sign-up page, enter the email address for your root user. The root user owns the account, so use an address only you control.
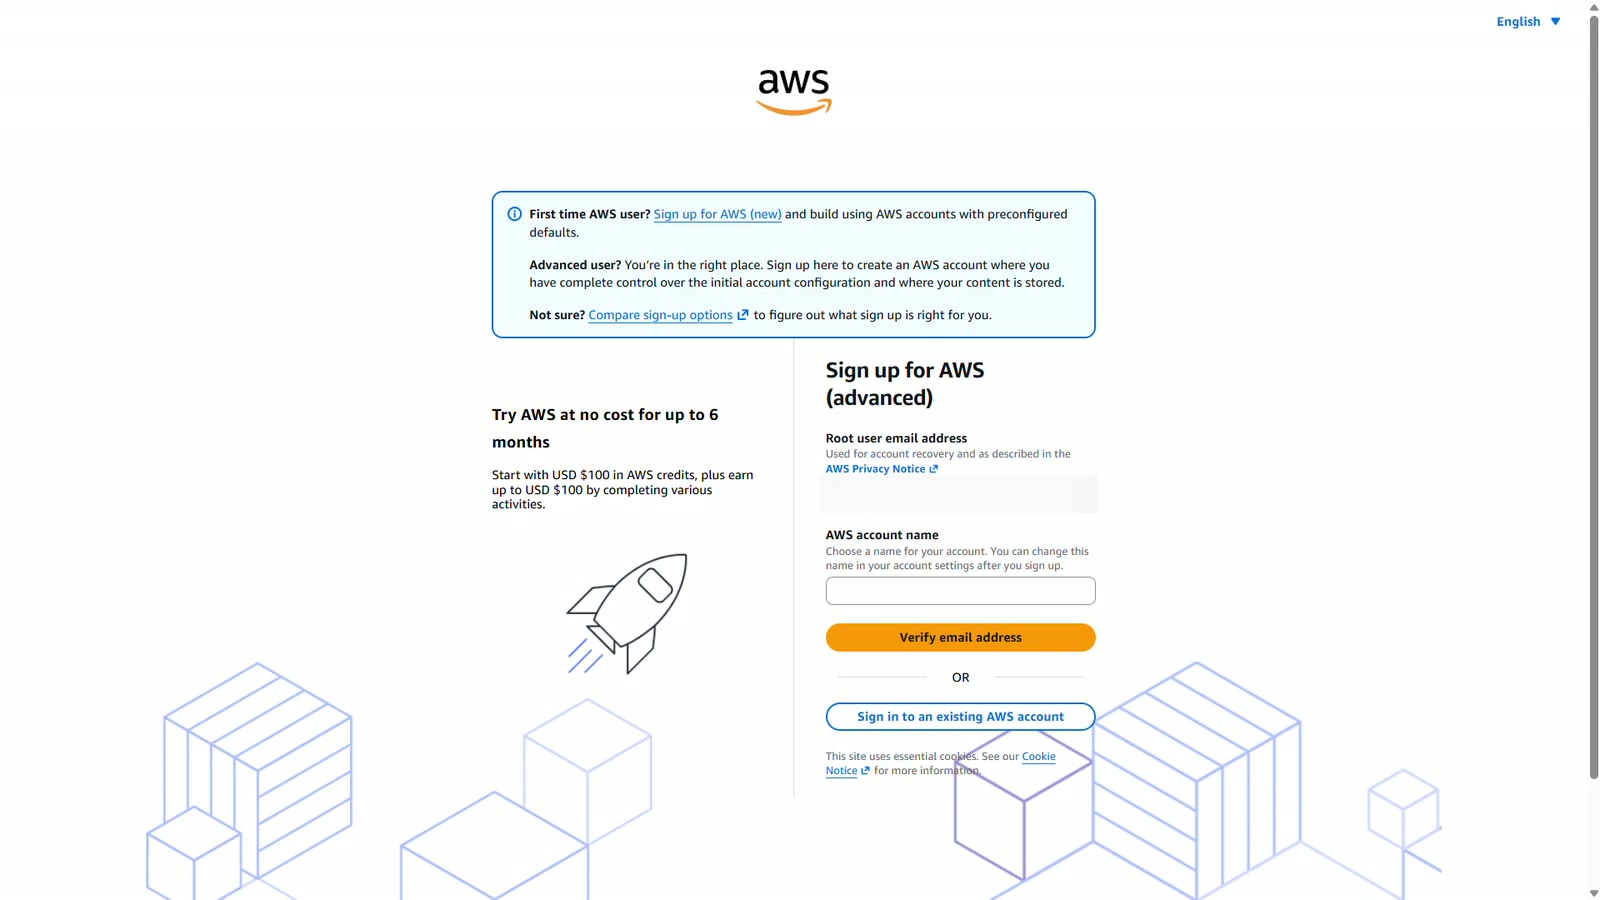
Next, give your account a name. You can change it later in your account settings.
Verify your email
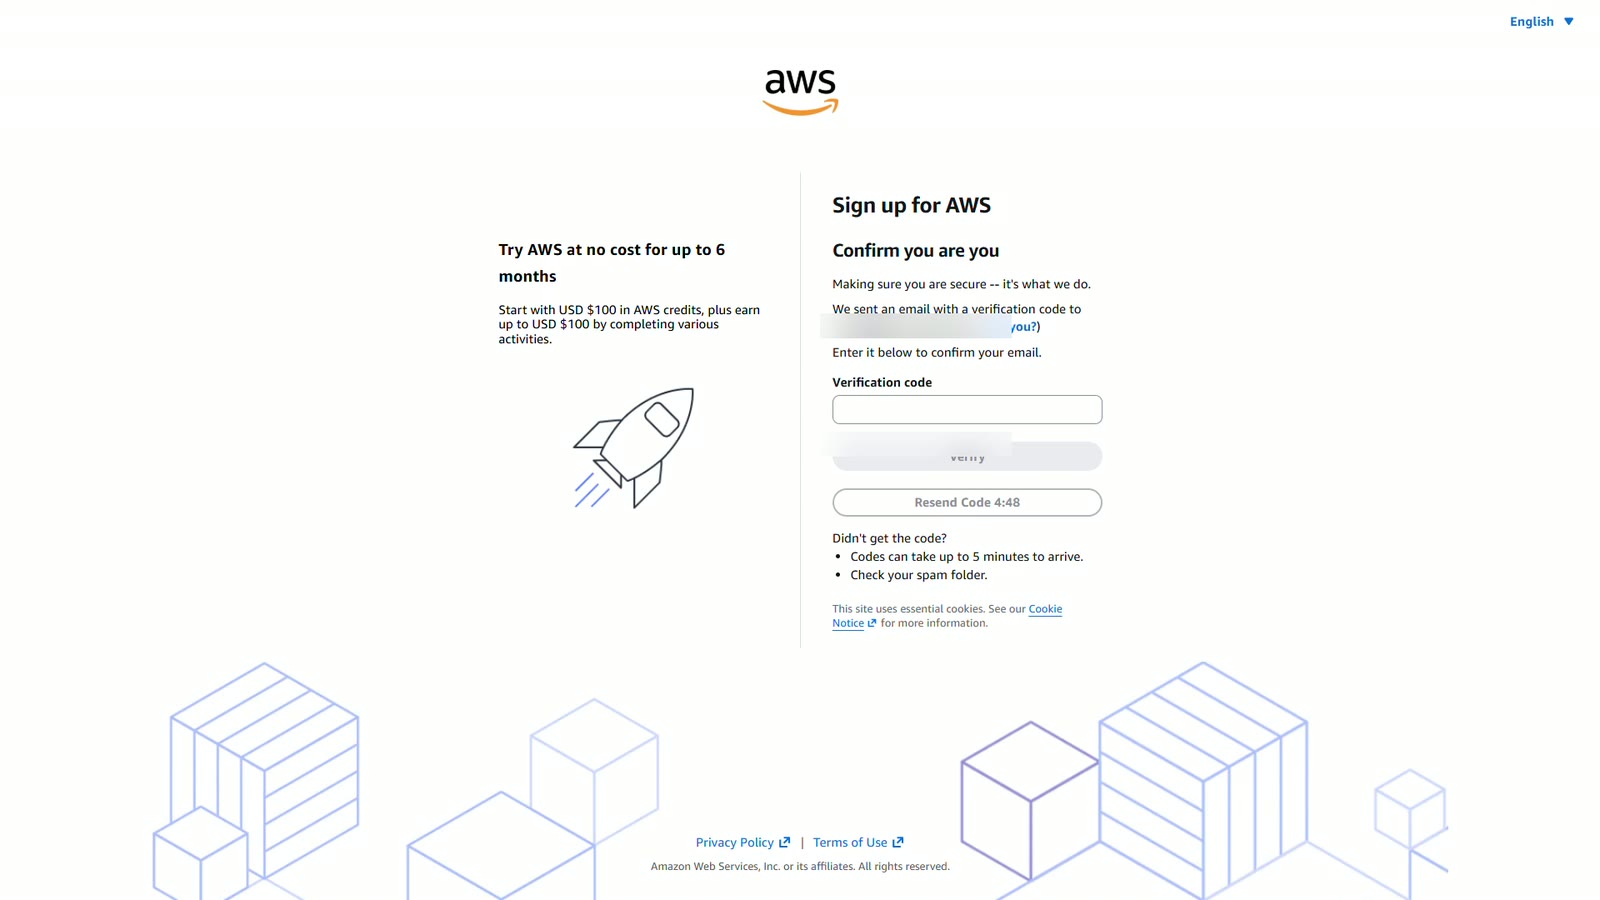
Choose Verify email address. AWS emails you a code. Type it in and choose Verify. If AWS says the code doesn't match, check it and try again.
Root password
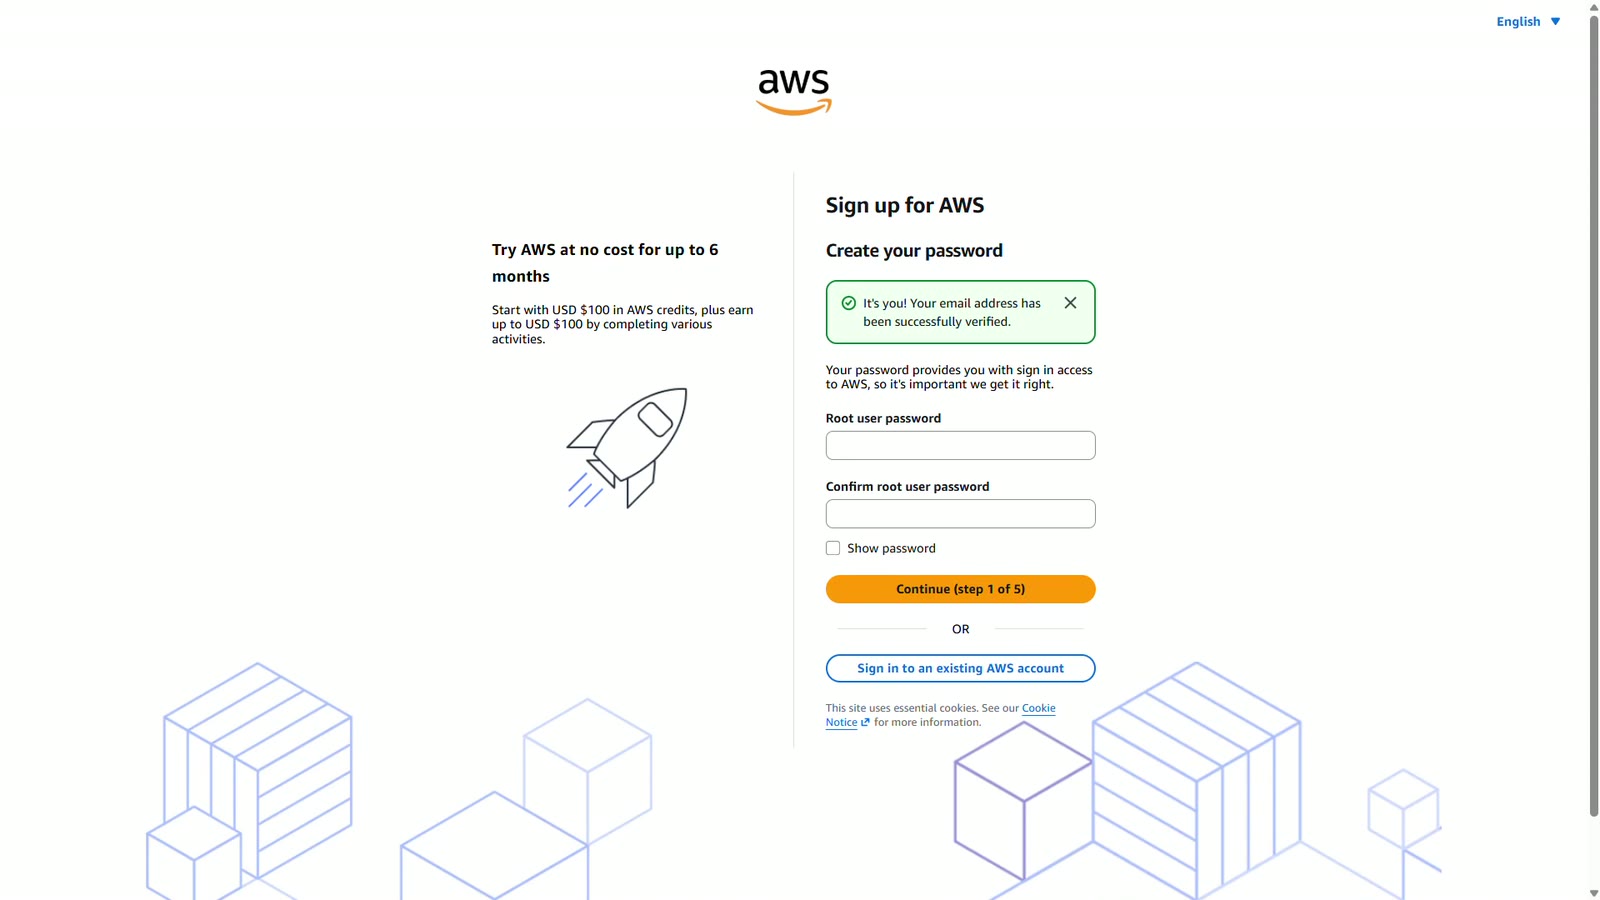
Your email is verified. Now create the root user password. Make it long and unique. A password manager makes this easy.
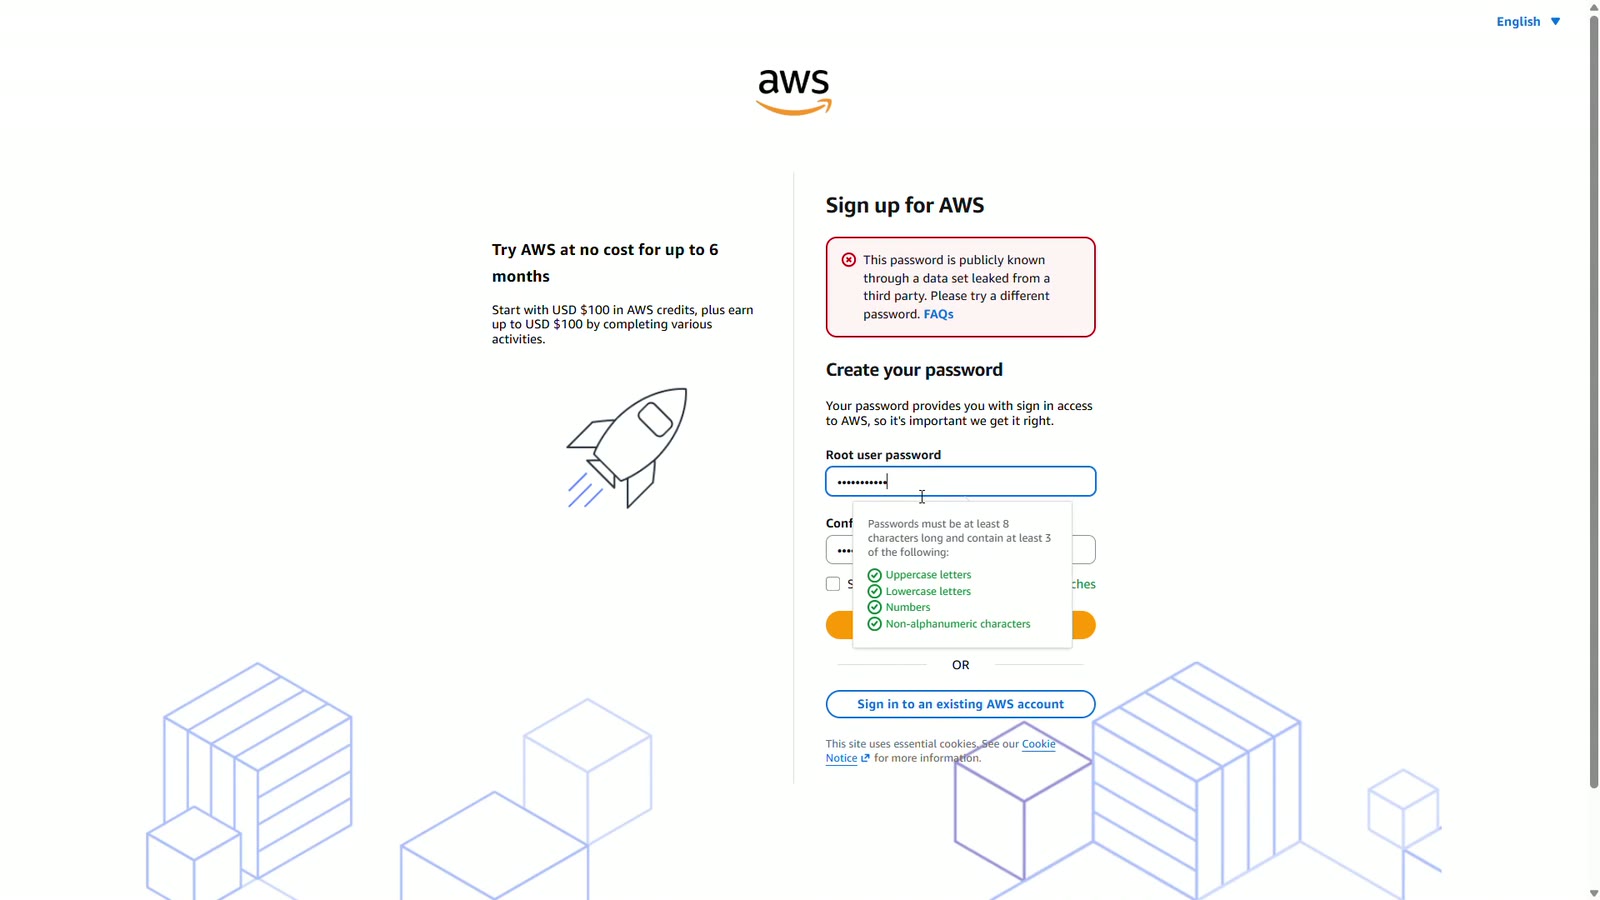
If AWS says your password is publicly known, it was found in a data leak somewhere. Choose a different one. This check helps keep your account safe.
Your details
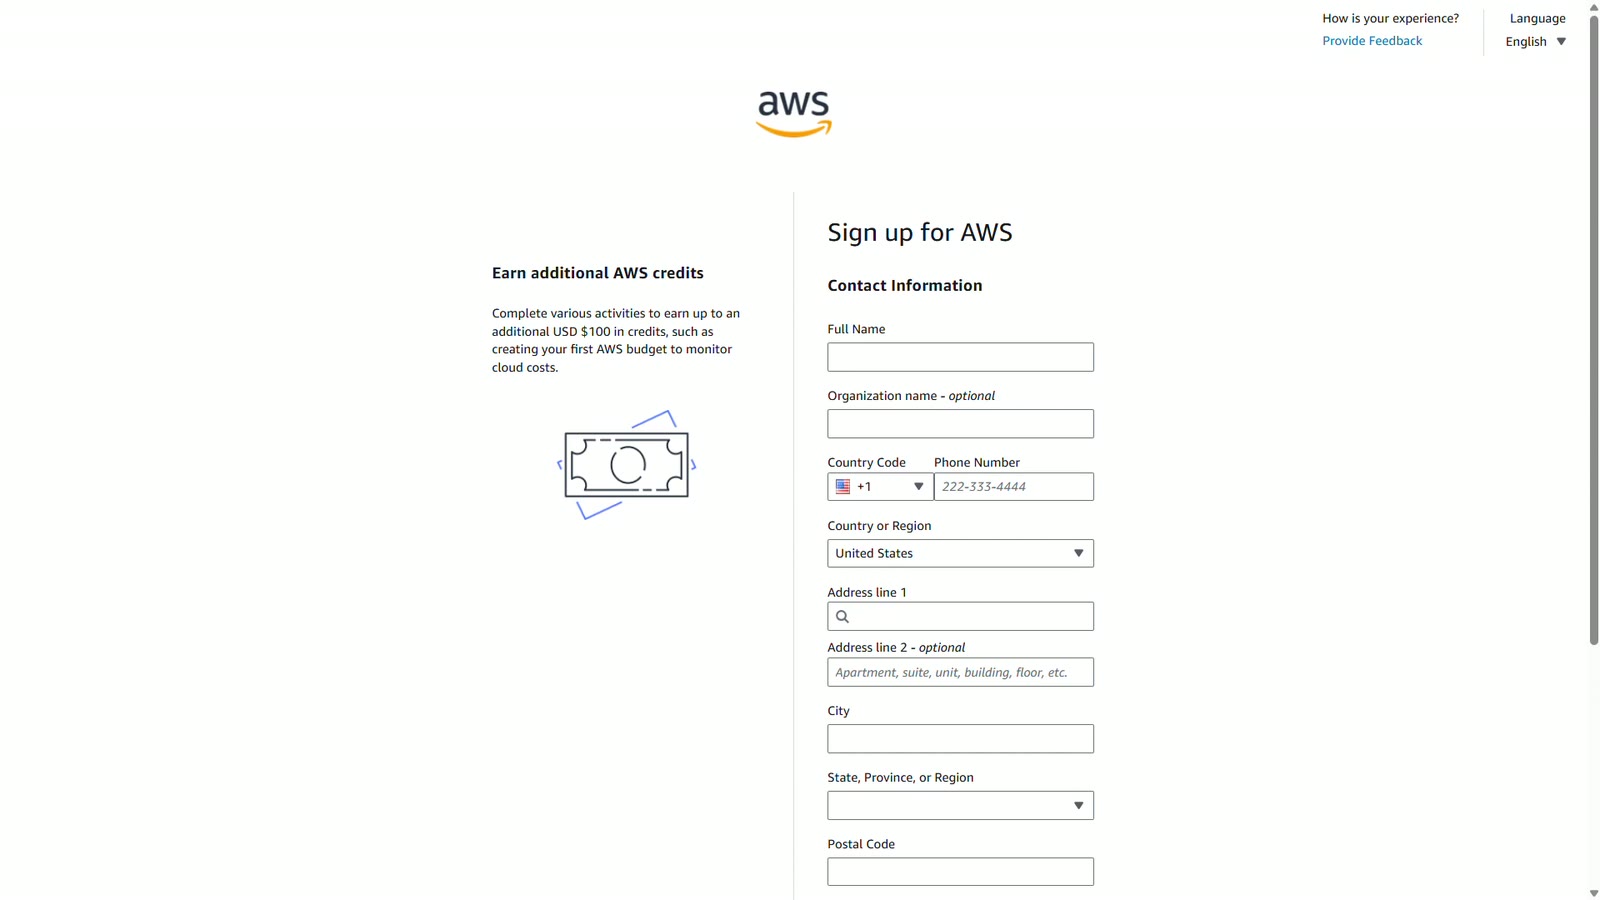
Now add your contact information, your full name, phone number, and address. Then accept the AWS customer agreement and continue.
Billing
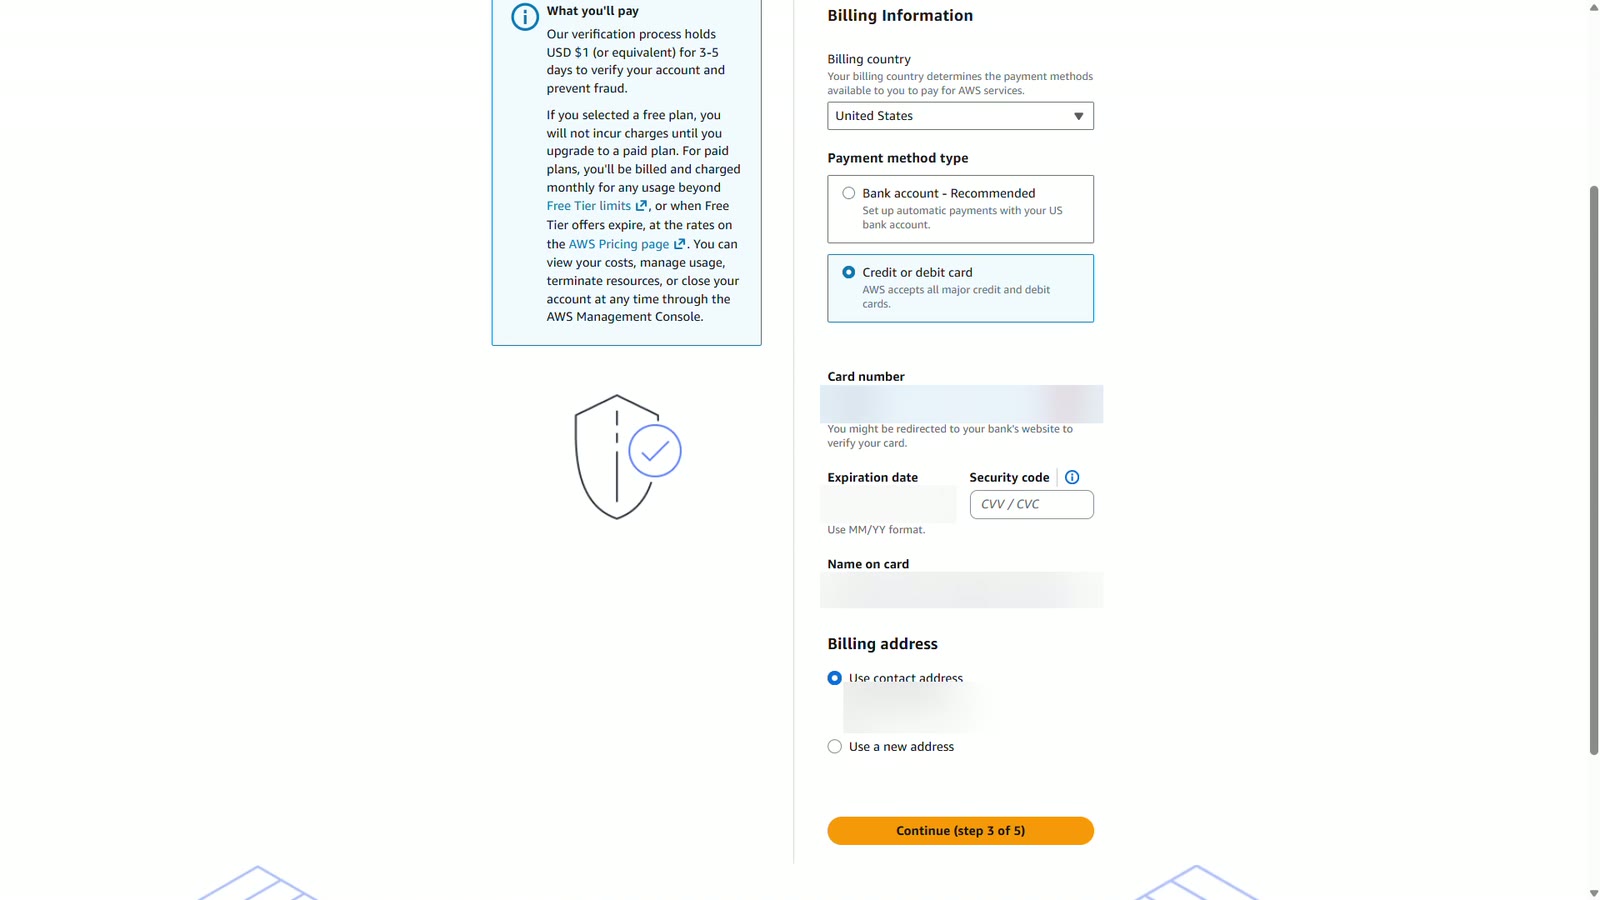
Next comes billing. Choose credit or debit card, and enter your card details. AWS may make a small temporary charge to check the card. Keep your contact address as the billing address, and continue.
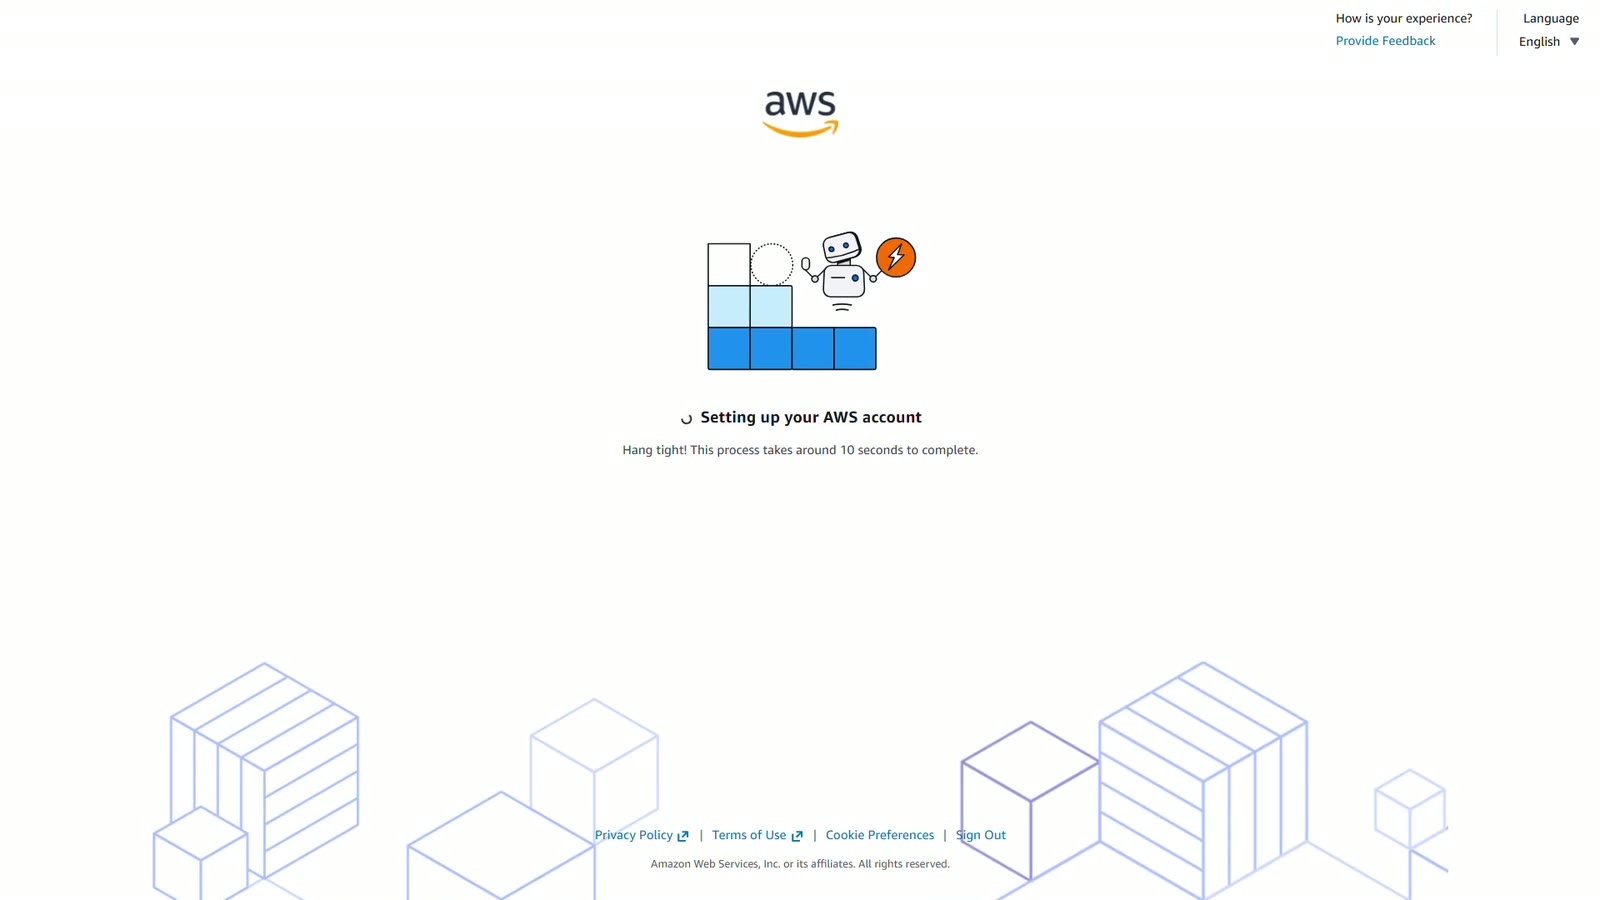
AWS now finishes creating your account.
The console
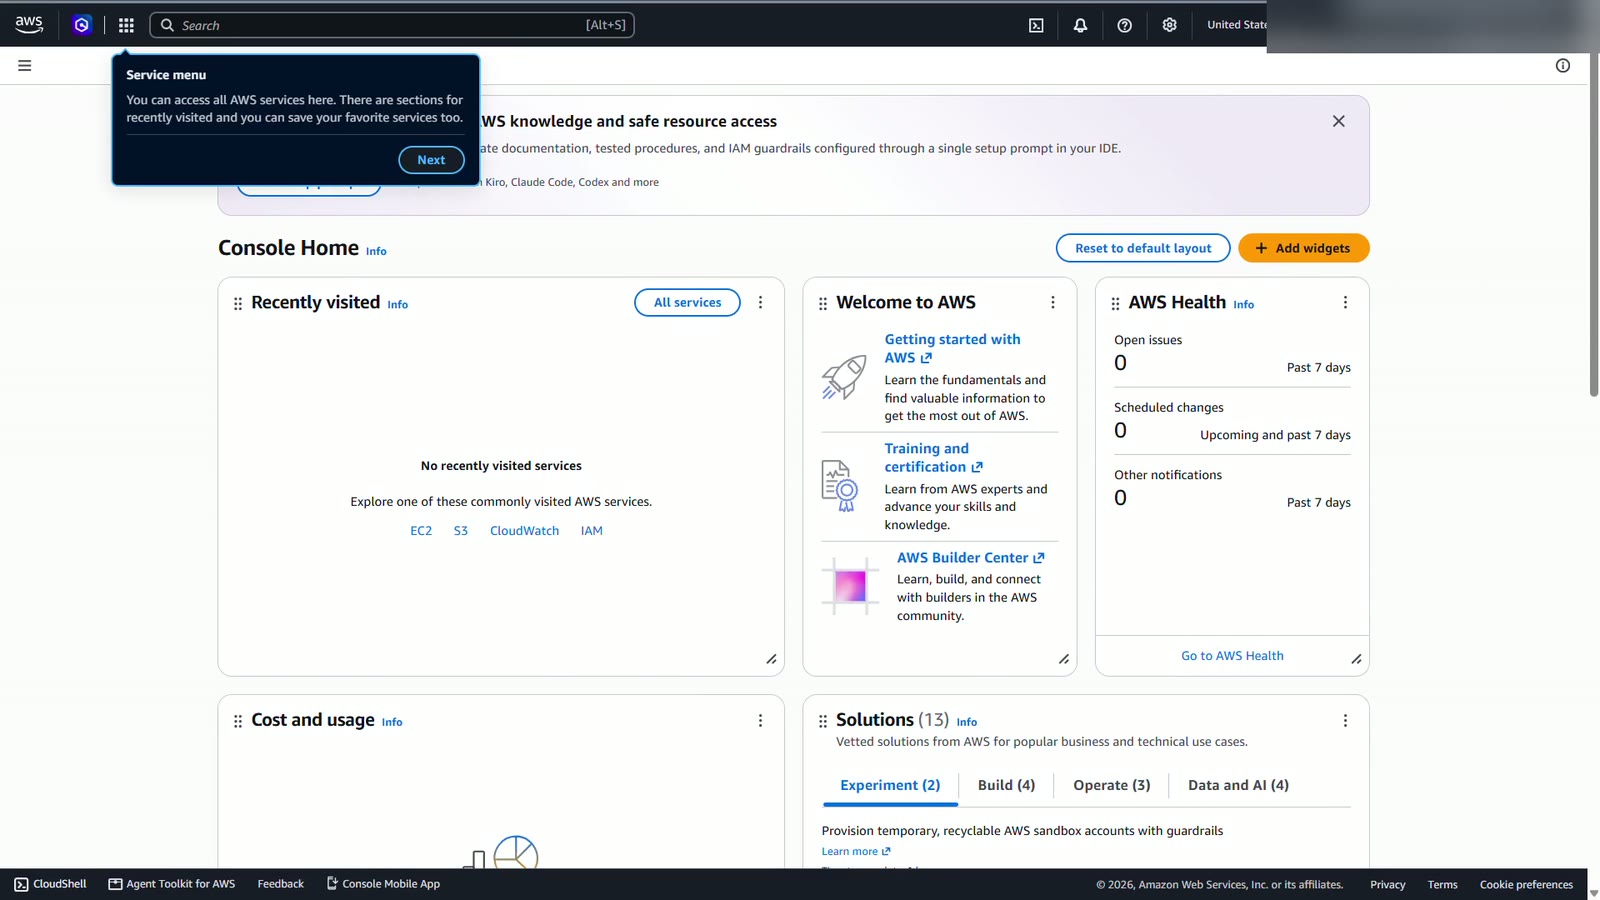
And here's the AWS Management Console. Your account is ready.
Depending on your country and when you sign up, AWS may also ask you to choose a free or paid plan, confirm your phone number, or pick a support plan. While you're learning, the free plan and Basic support are all you need.
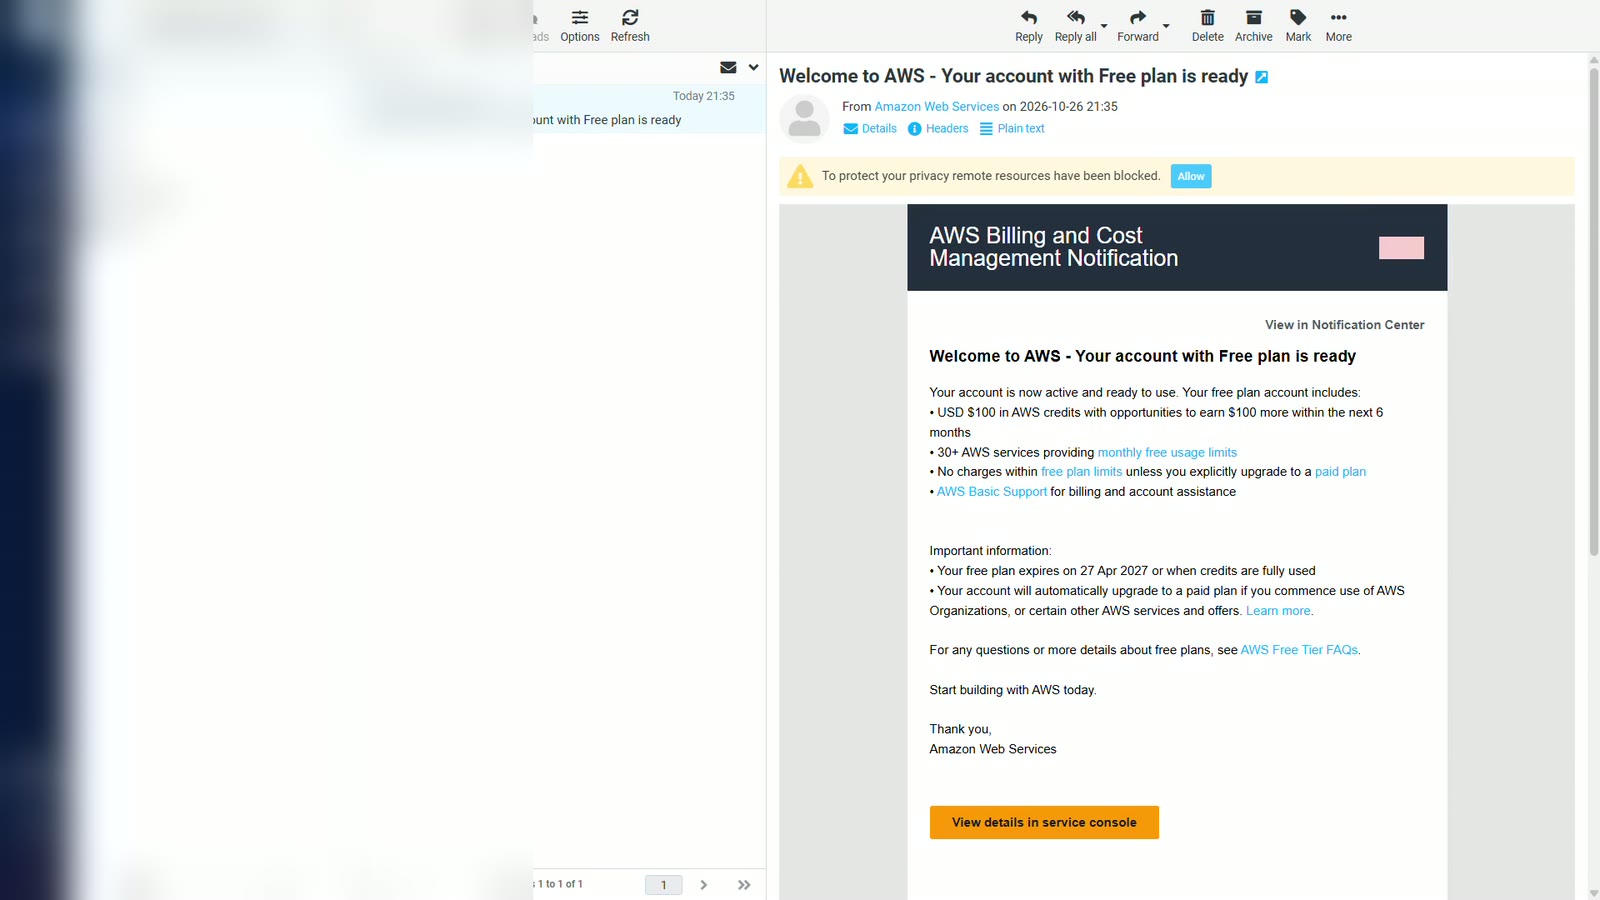
Welcome email
Your account is created. Next, AWS sends a welcome email to the address you registered with. Check that inbox for a message called Welcome to AWS. It confirms your account is ready, on the free plan, with one hundred dollars in AWS credits to start. Use the button in the email to open the console.
What is MFA?
The first time you sign in, AWS will ask you to set up multi-factor authentication, or MFA. MFA adds a second step to signing in. After your password, you enter a code from an app on your phone. So even if someone steals your password, they still can't get into your account.
First sign-in
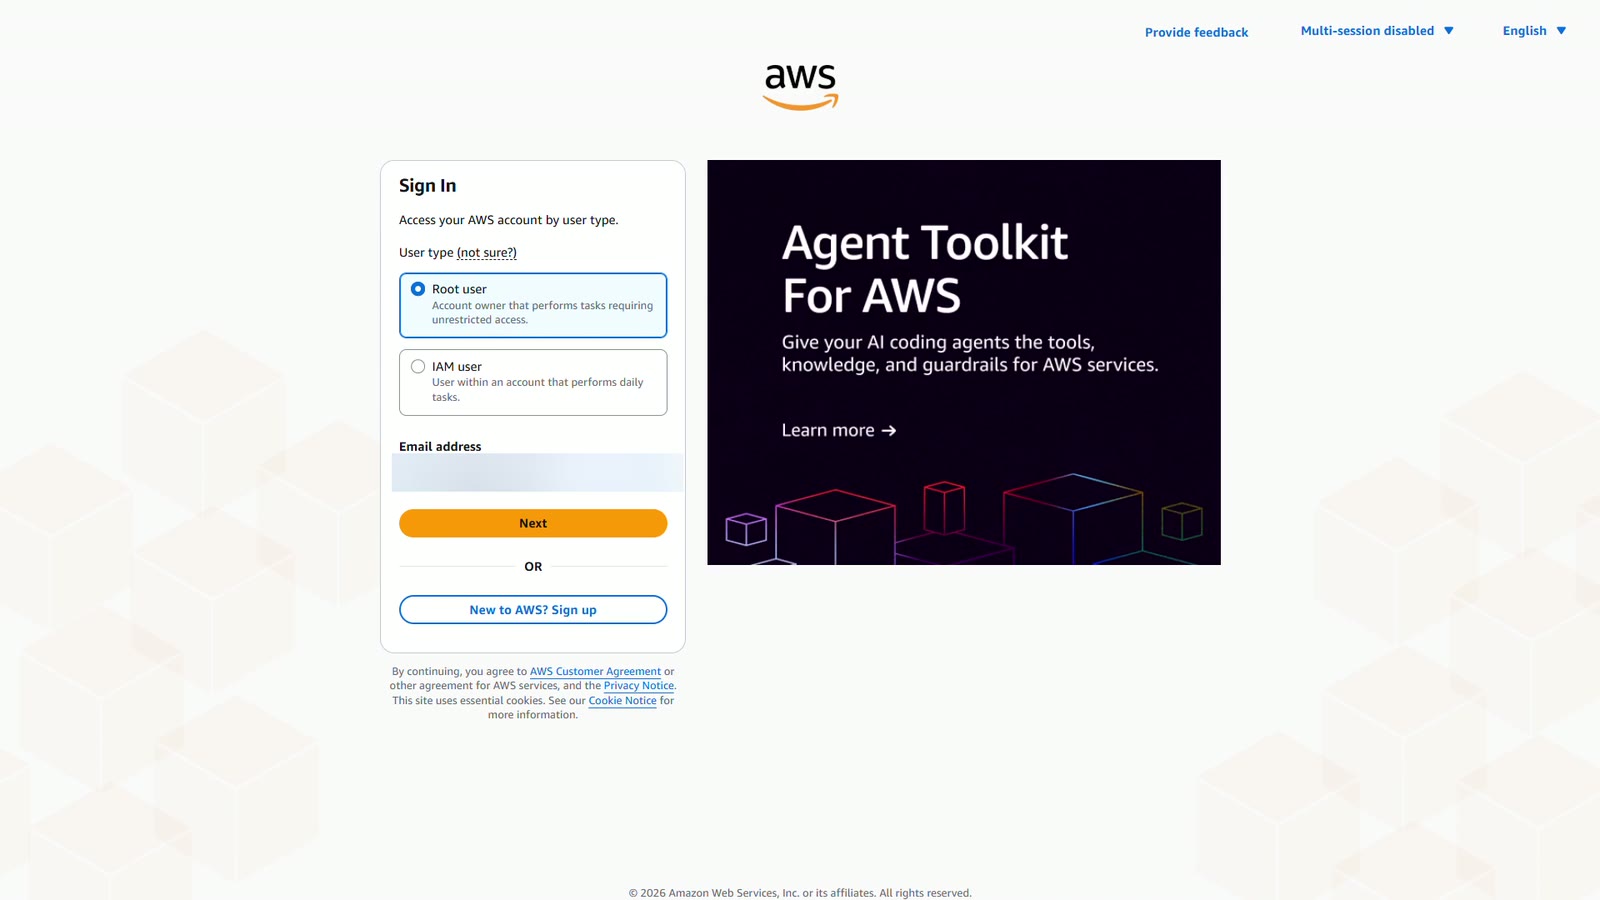
Let's sign in. Choose Root user, enter the email address you registered with, and choose Next.
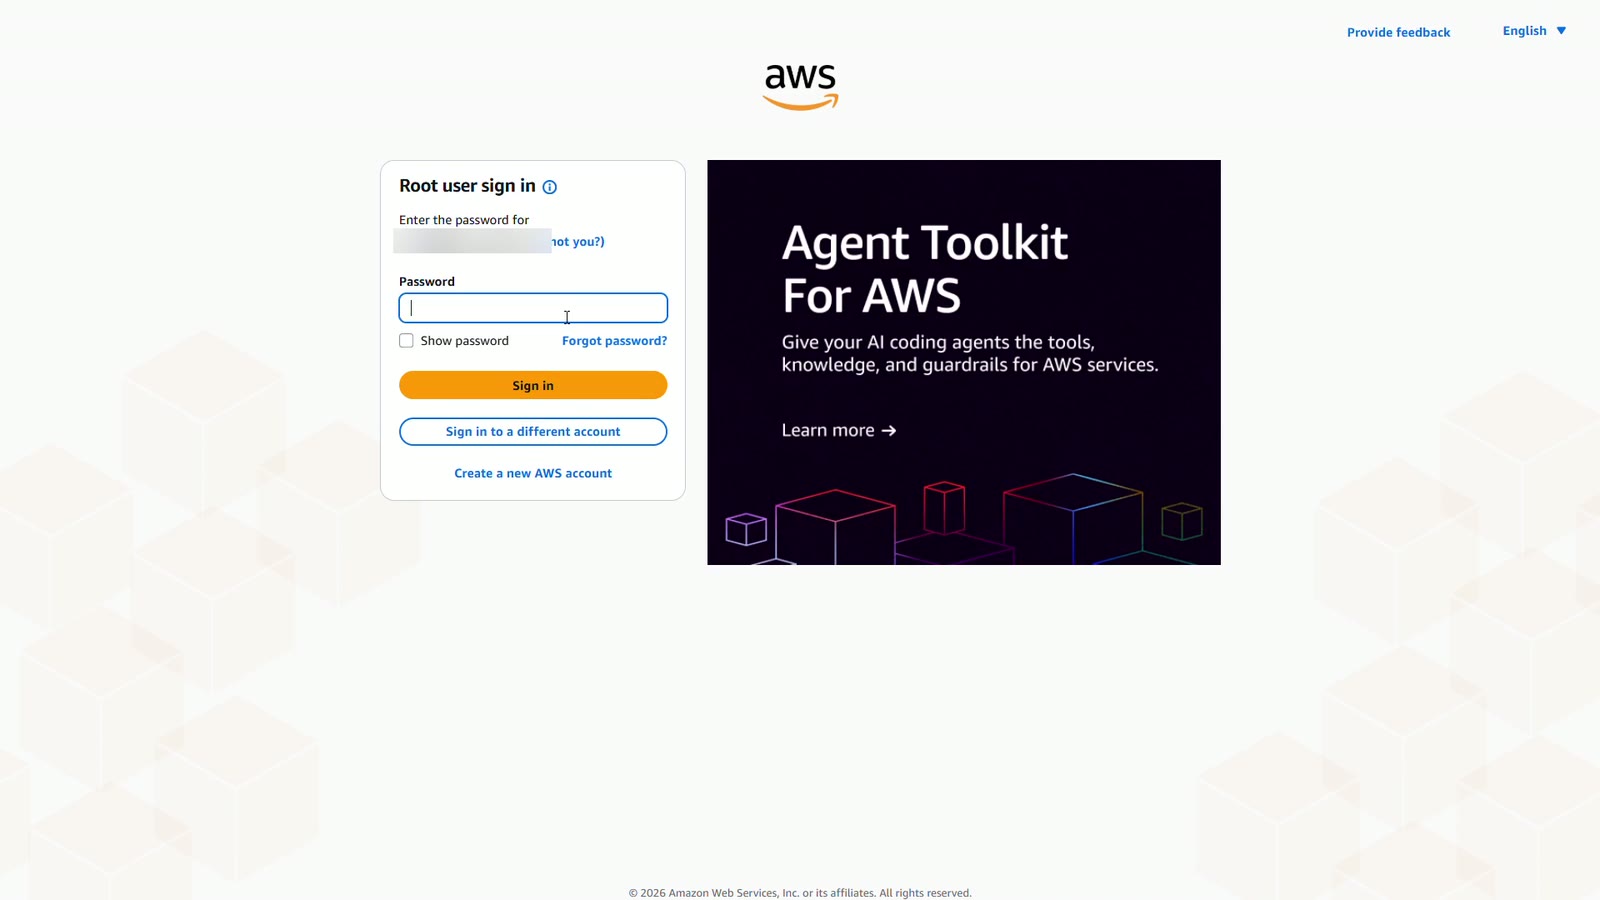
Enter your root password, and sign in.
Root MFA
And here it is. AWS asks you to set up MFA for the root user. It's required within fourteen days, so let's do it right away.
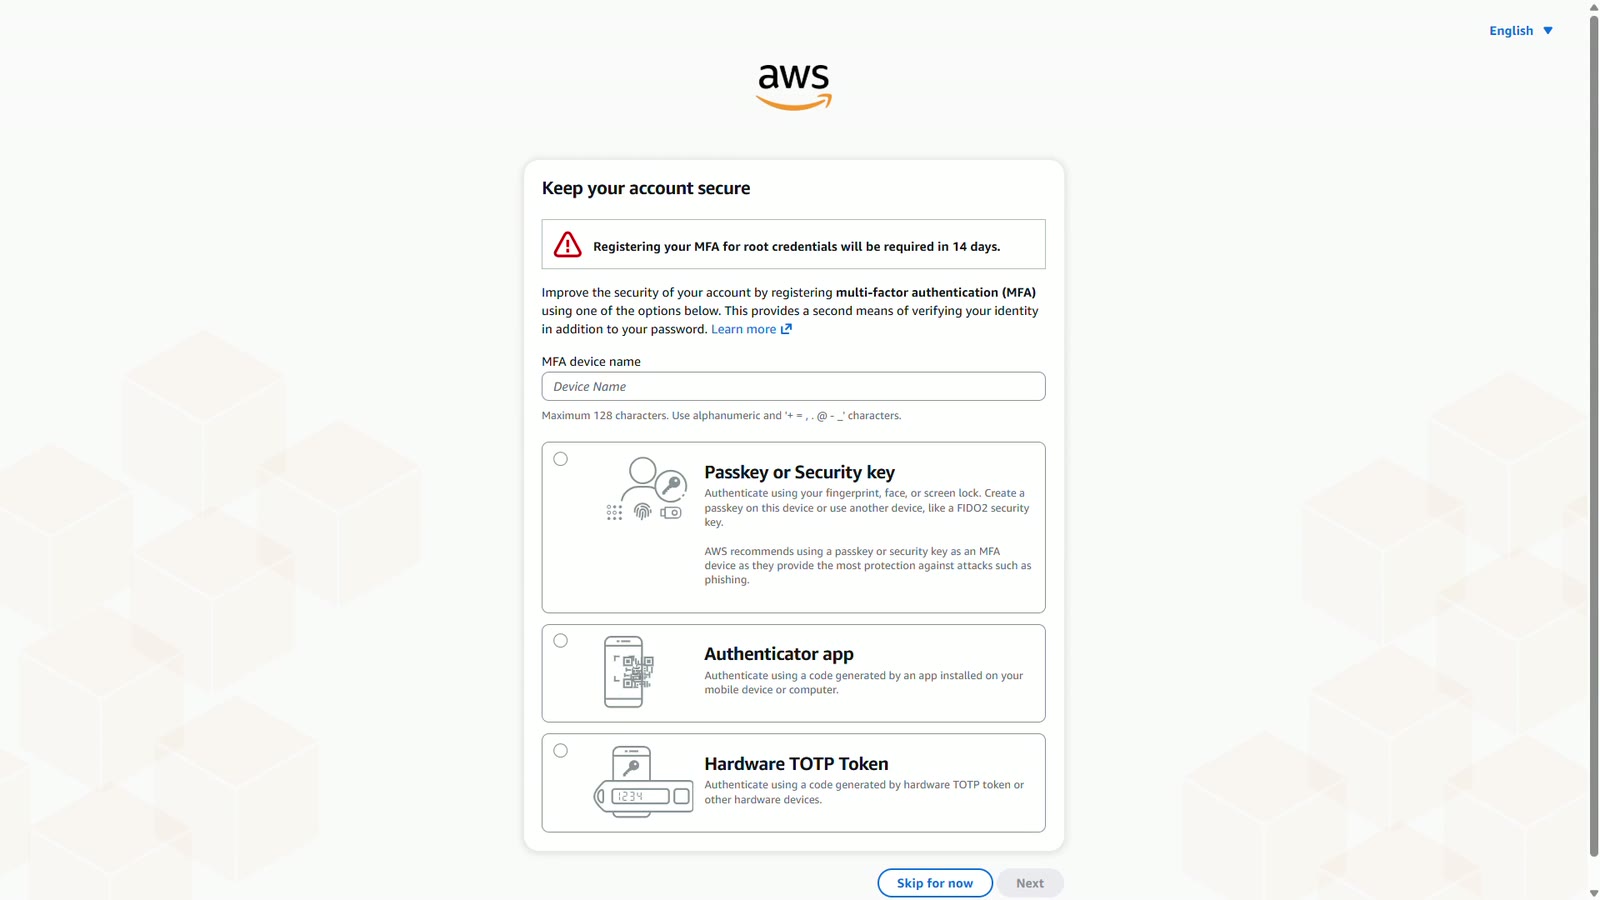
Give the device a name you'll recognize, choose Authenticator app, and choose Next.
Open an authenticator app on your phone, such as Google Authenticator, Microsoft Authenticator, or Authy. Choose Show QR code, and scan it with the app. Treat the QR code like a password – anyone who scans it can generate your codes. Never share or screenshot it.
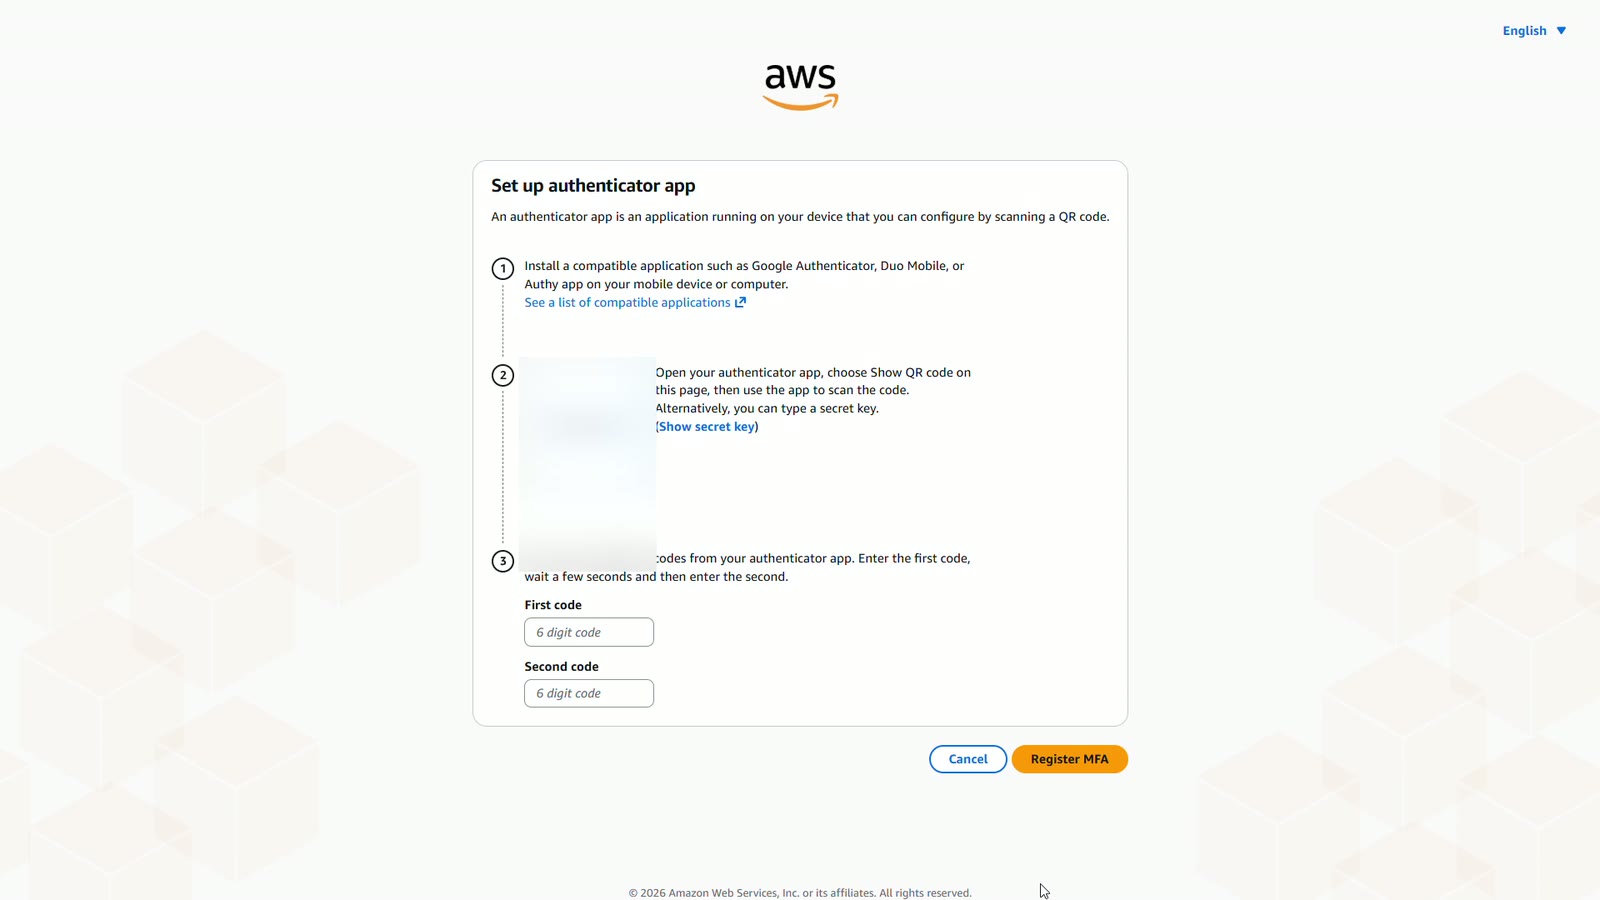
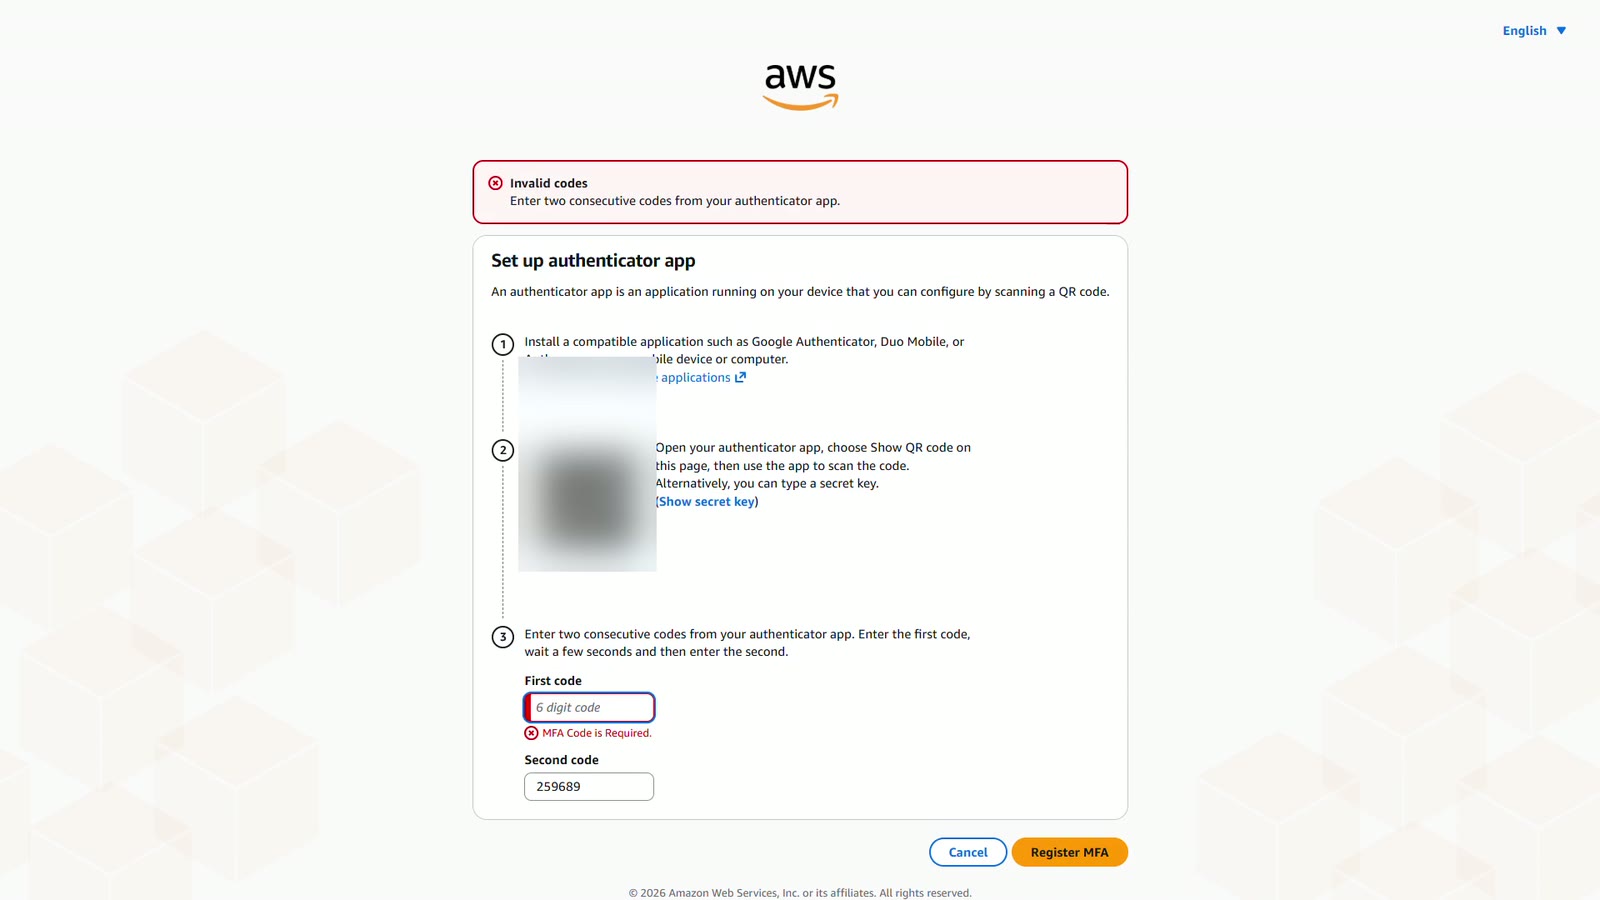
Then type two codes in a row from the app. Enter the first code, wait for the app to show a new one, enter that too, and choose Register MFA.
If AWS says the codes are invalid, they weren't two codes in a row. Wait for a fresh code, and try again.
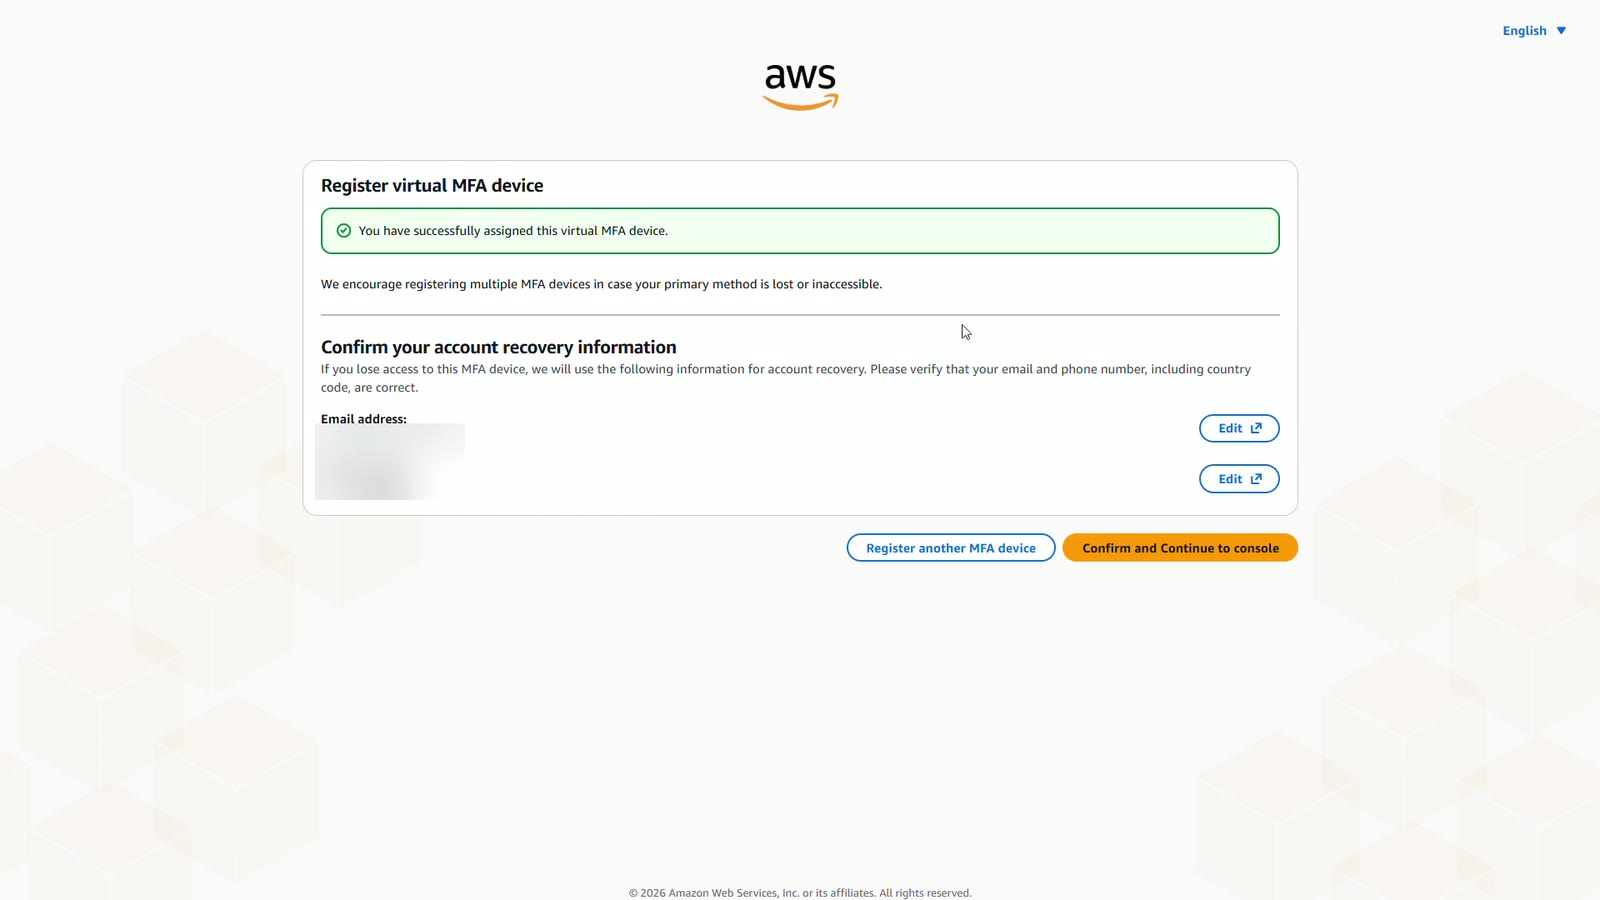
MFA is registered. AWS then asks you to confirm your recovery details.
Sign in with MFA
MFA is set up. Now let's see what signing in looks like from now on. You enter your email and password as before, and then AWS asks for the six digit code from your authenticator app.
Choose Root user, and enter your email address.
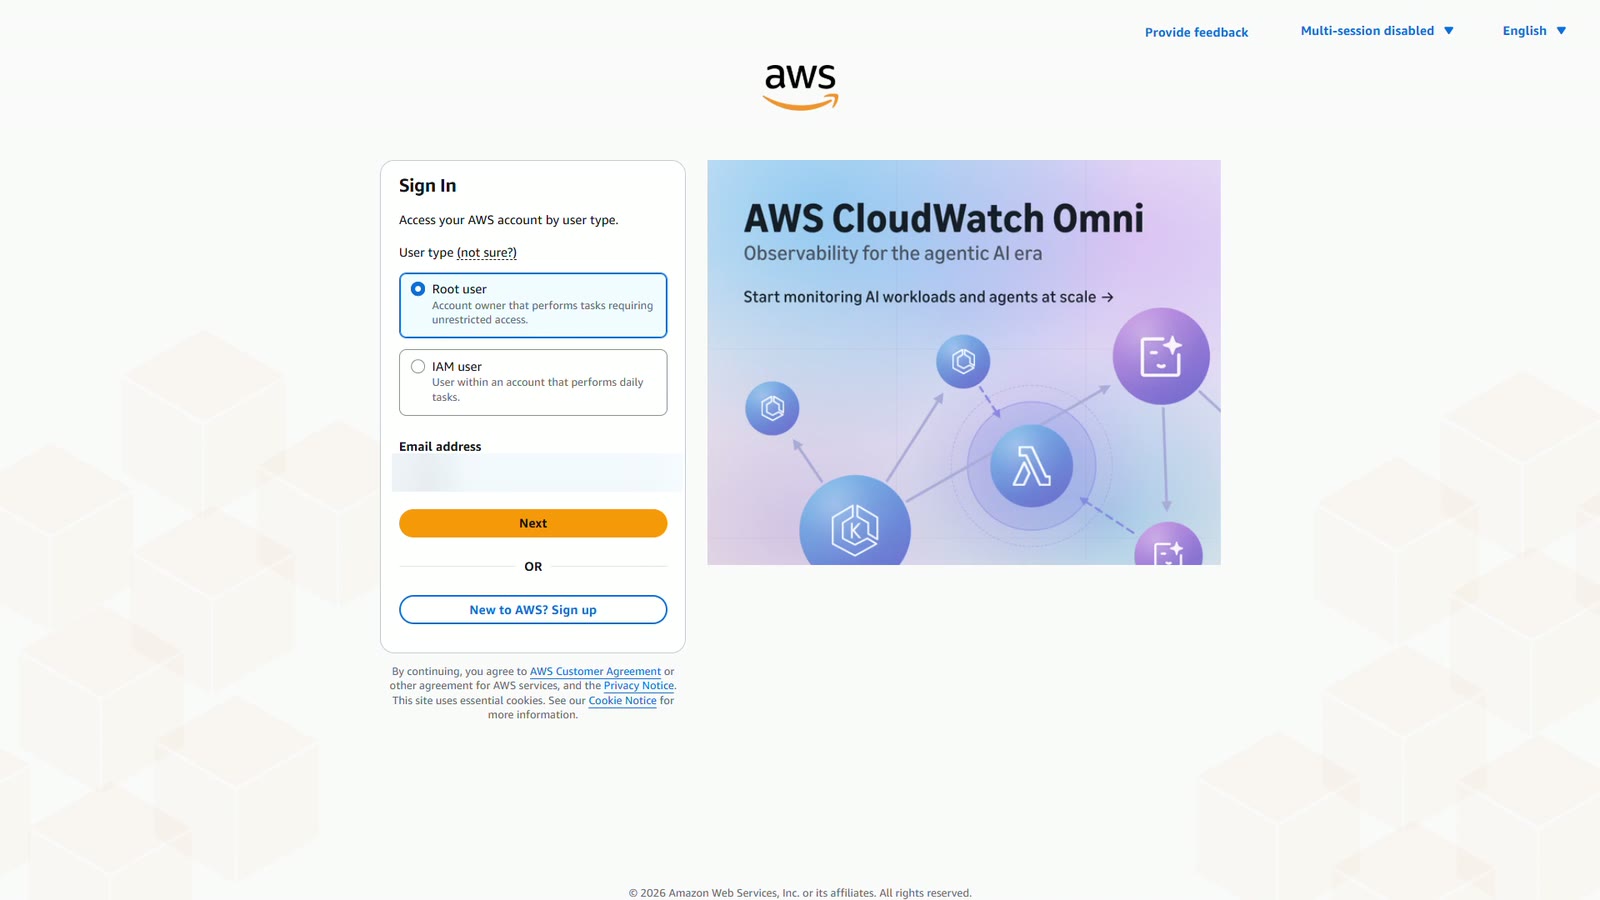
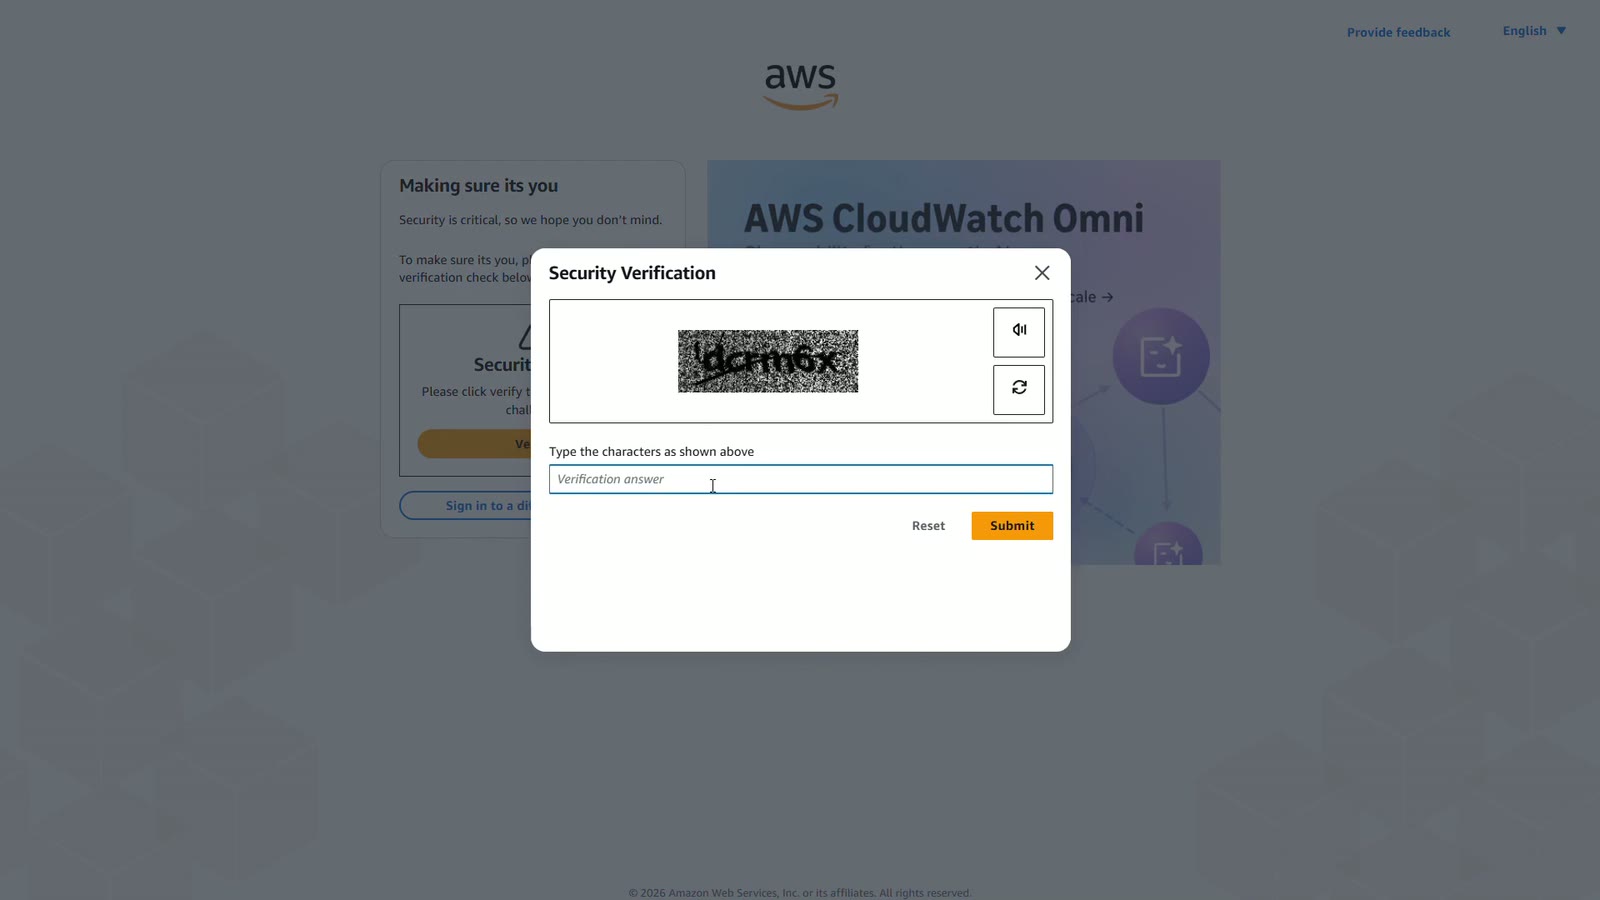
AWS may show a security check. Type the characters you see, and submit.
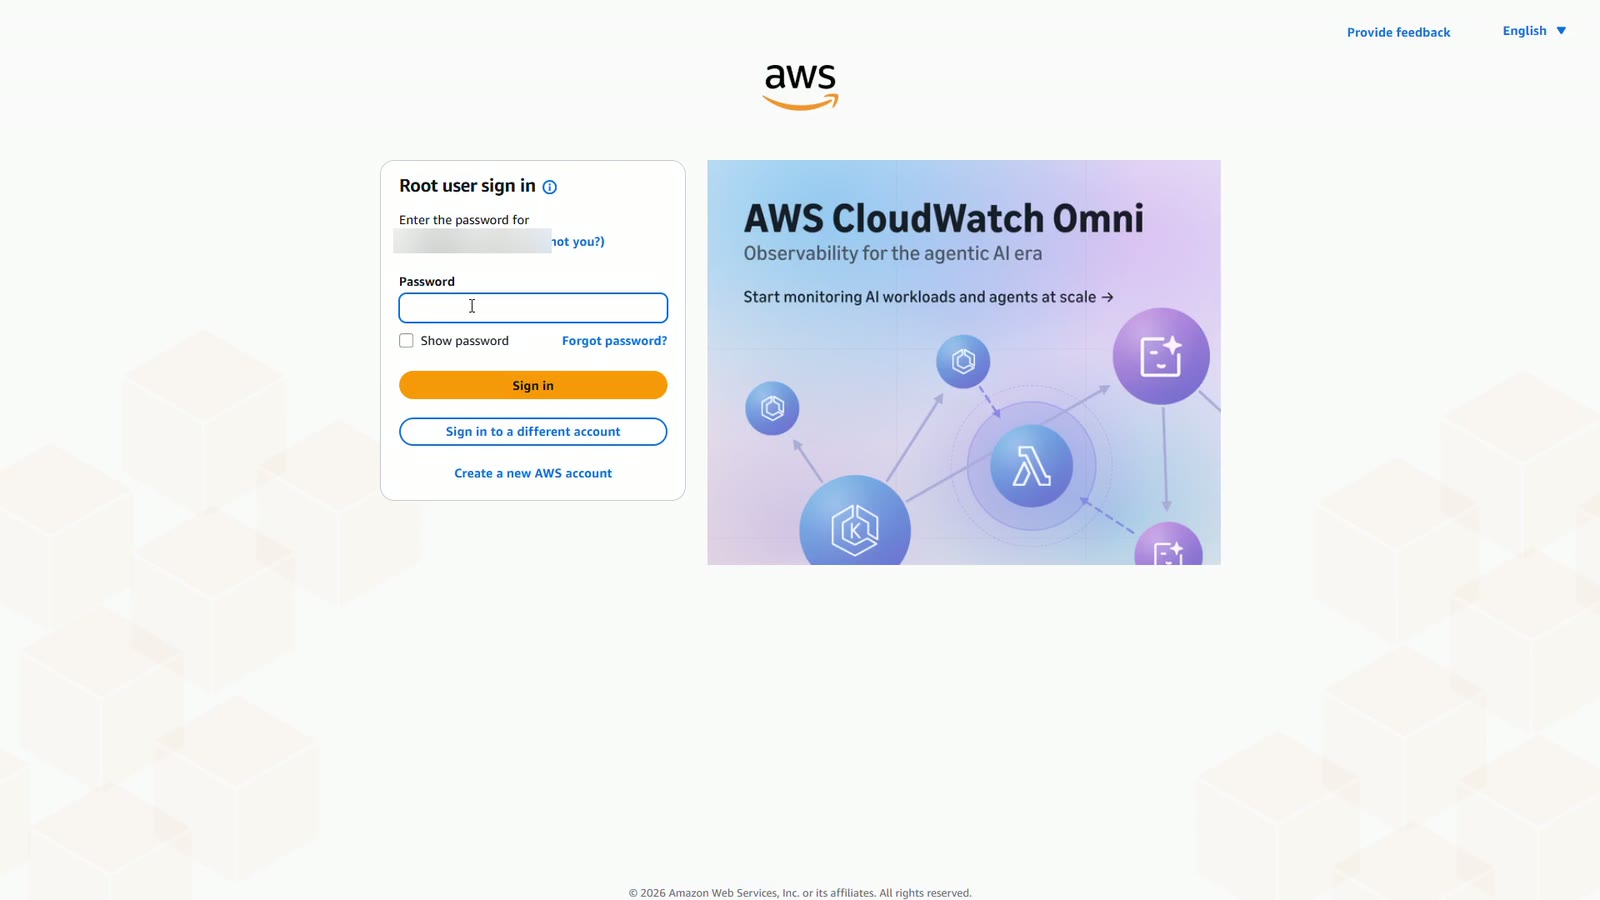
Enter your password.
Now AWS asks for your MFA code. Open your authenticator app, type the current six digit code, and sign in.
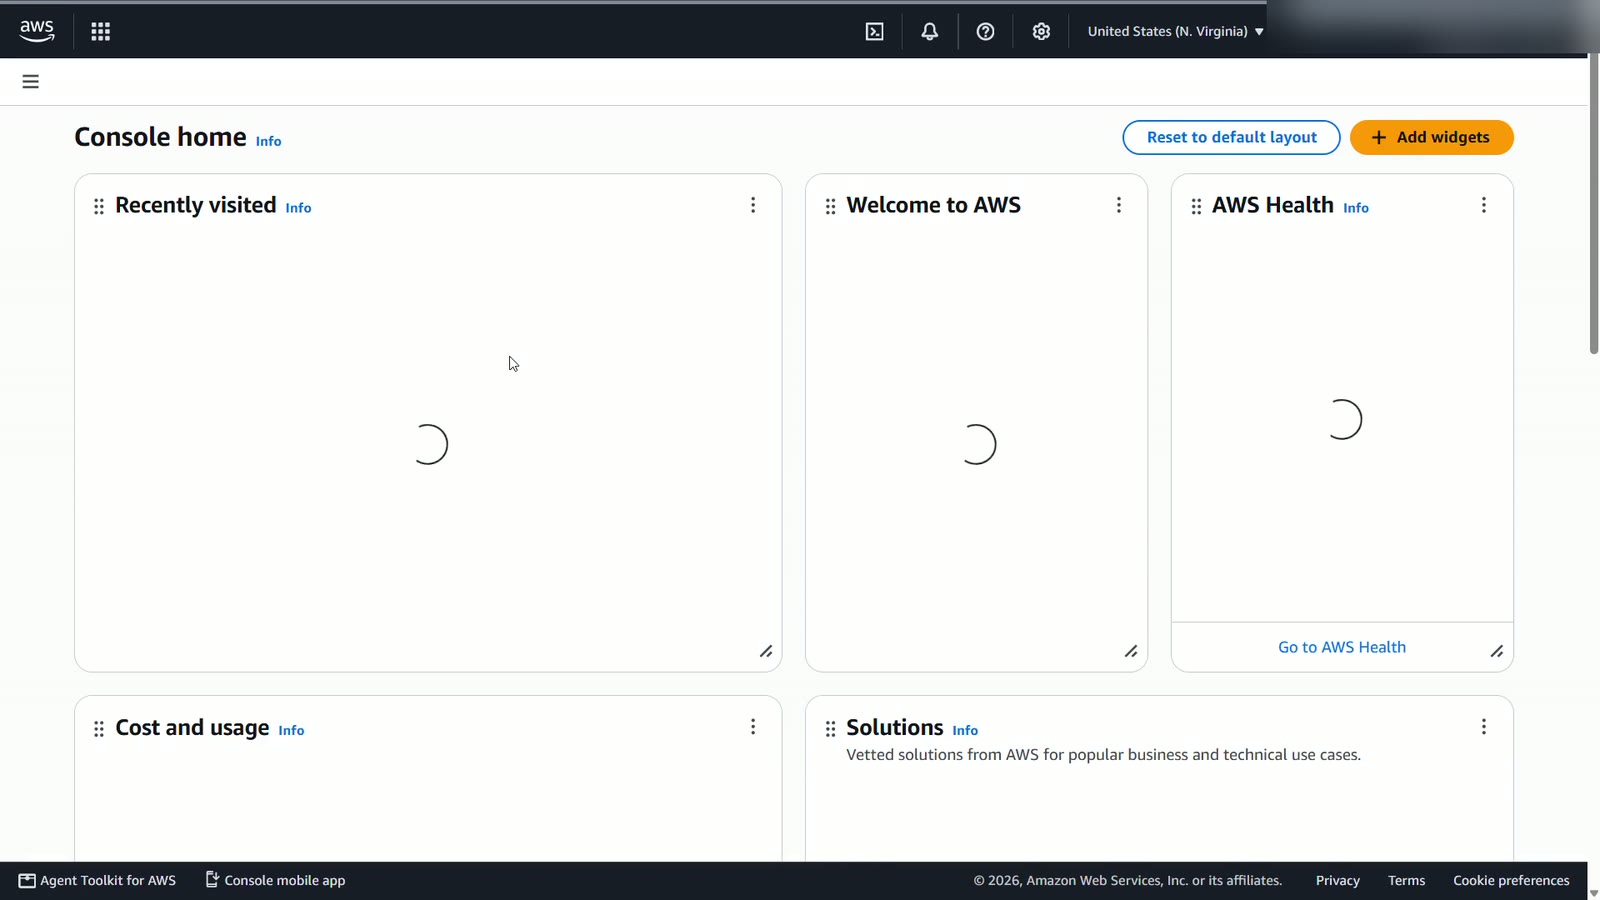
And you're in.
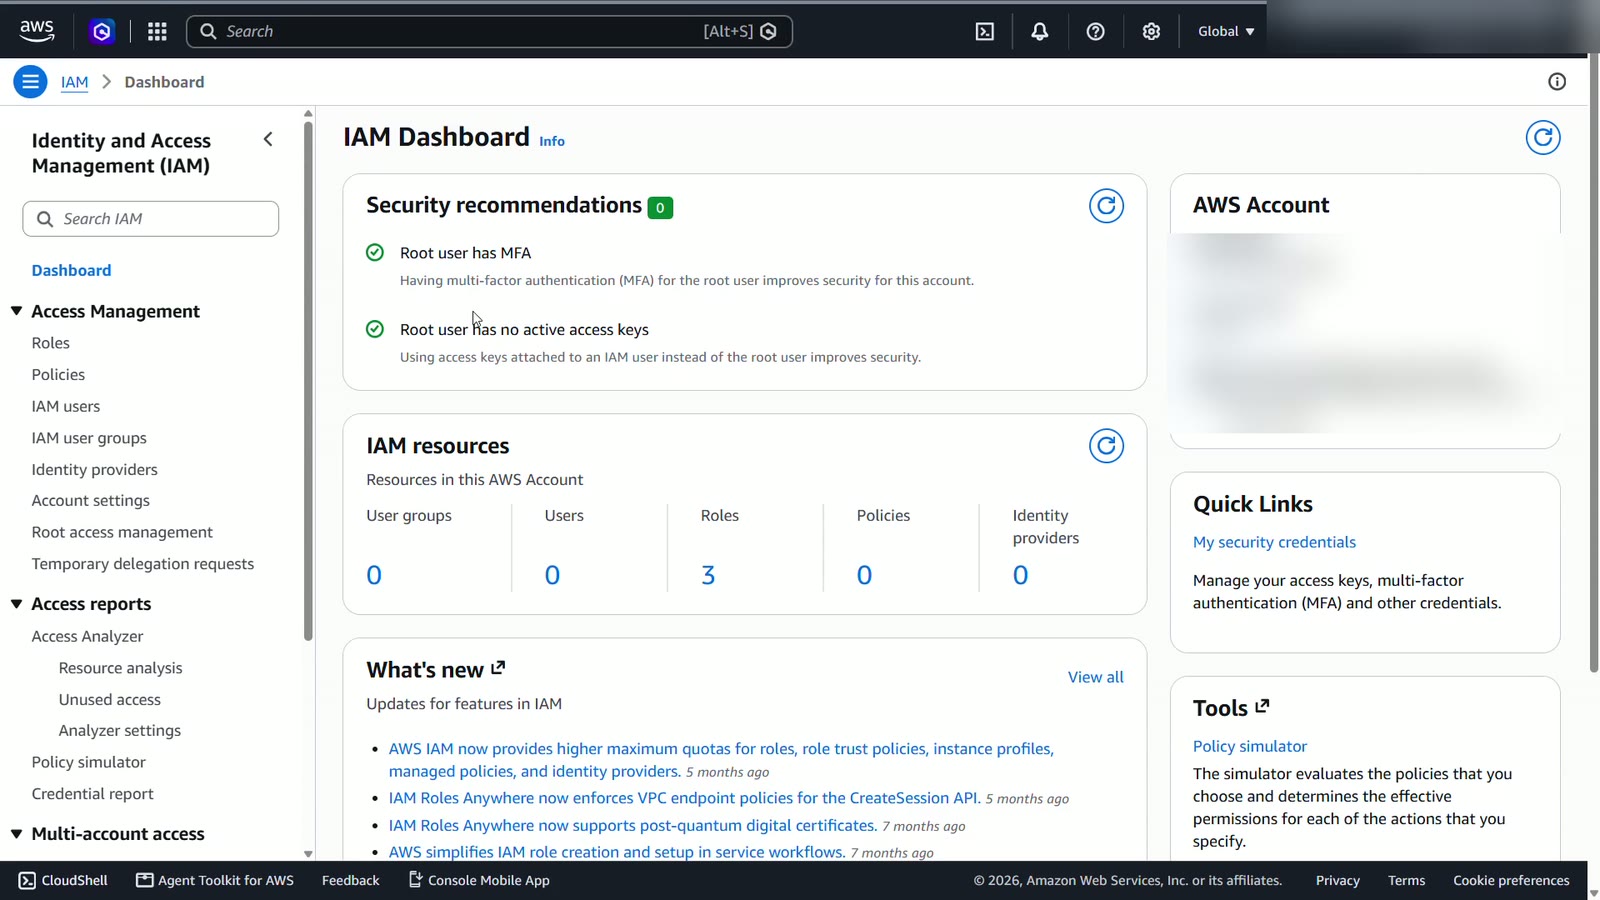
In IAM, the dashboard now shows root user has MFA, with a green check. Your account is much safer.
Summary
- The root user's email and password own the account
- New accounts start on the free plan with AWS credits
- The root user must have MFA – and the QR code is a secret
- Signing in now takes your password plus a code from your phone
What’s next
You now have your own AWS account, and the root user is protected with MFA. In the next lesson, we'll check the rest of the security recommendations and set a budget alert before we build anything.