Set Up a Safe Linux Lab on AWS EC2 (with an Undo Button)
What you’ll learn
- Know the rules for a safe lab – a sandbox account, a budget alert, and nothing important on it
- Launch an Ubuntu LTS server on EC2, with SSH open only to you
- Name the server, and connect from the browser with EC2 Instance Connect
- Take a snapshot, and use it to undo a broken server
What you need
- A personal AWS account with MFA and a budget alert (never a work or client account)
- No AWS account? Use Multipass on your own computer – see the section at the end
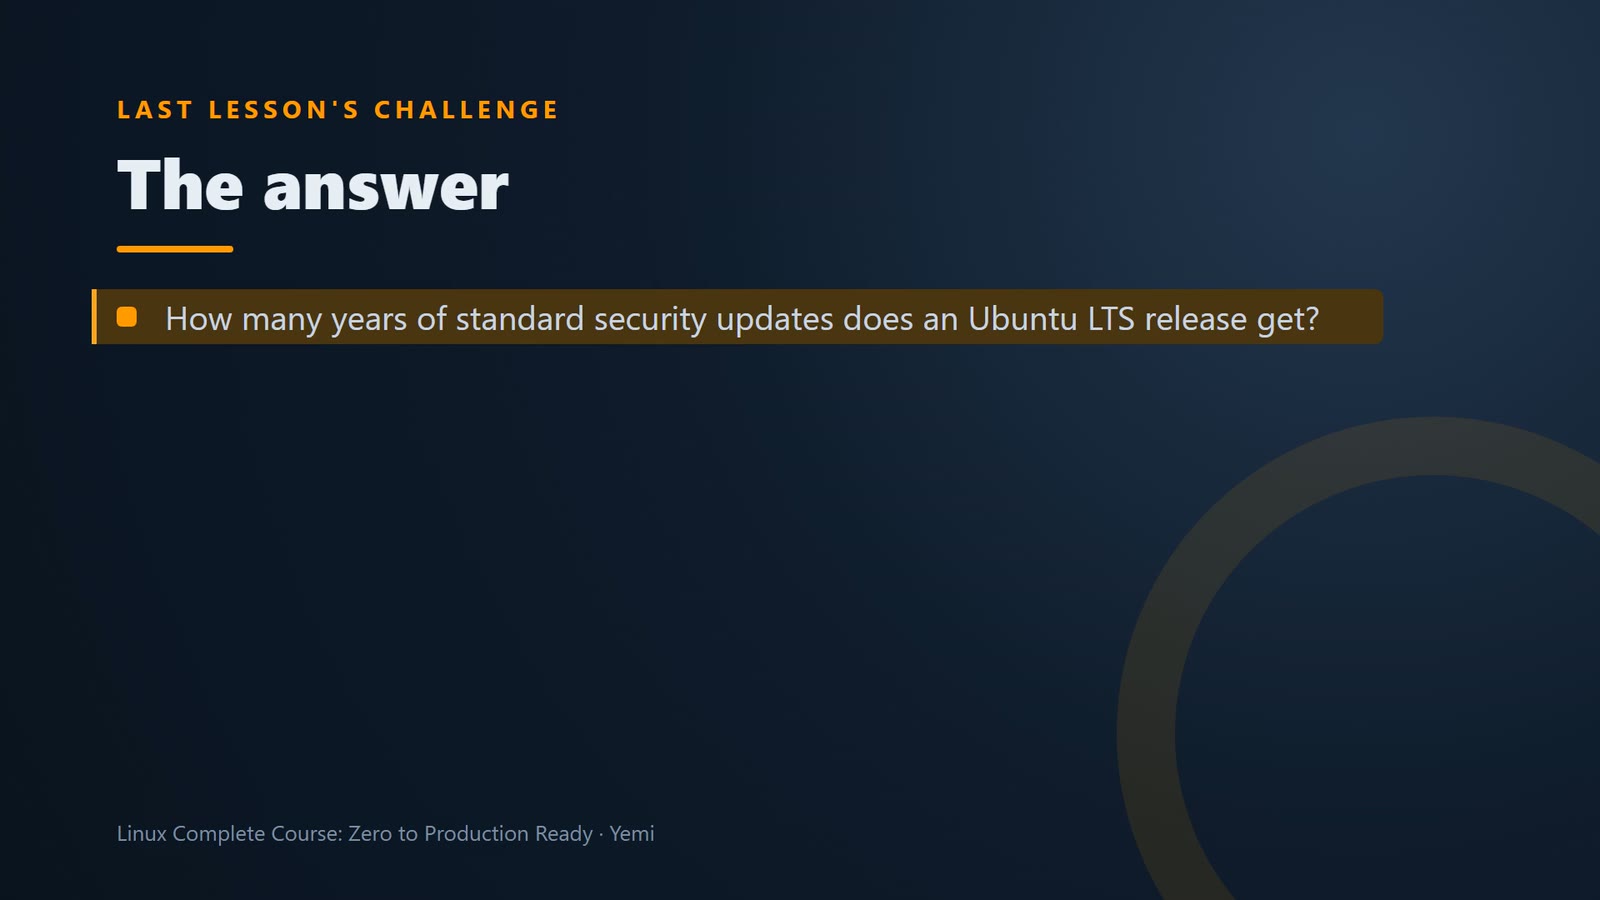
First, last lesson's challenge. How many years of standard security updates does an Ubuntu LTS release get? The answer is: 5 years. And with Ubuntu Pro, security updates go on for up to 10 years.
Lab rules
You'll break things while you learn. That's normal. So, three rules. Use your own sandbox AWS account, never one from work or a client. Turn on a budget alert. And keep nothing important on the lab server.
Launch the server
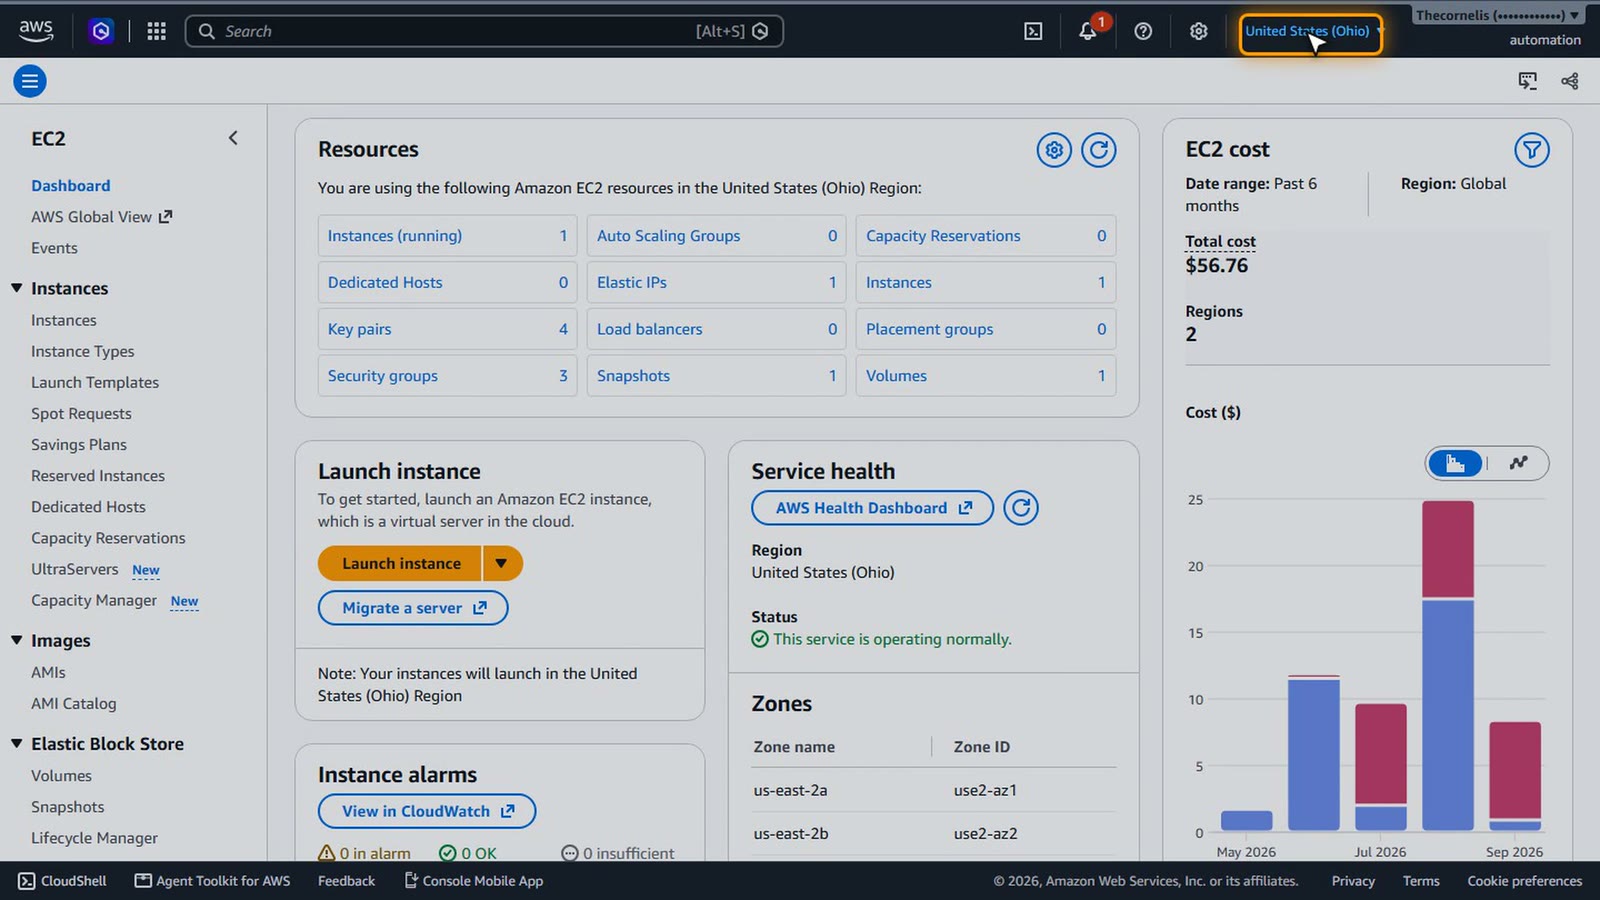
We're in the EC2 console, in the Region us-east-2.
Open the Instances page.
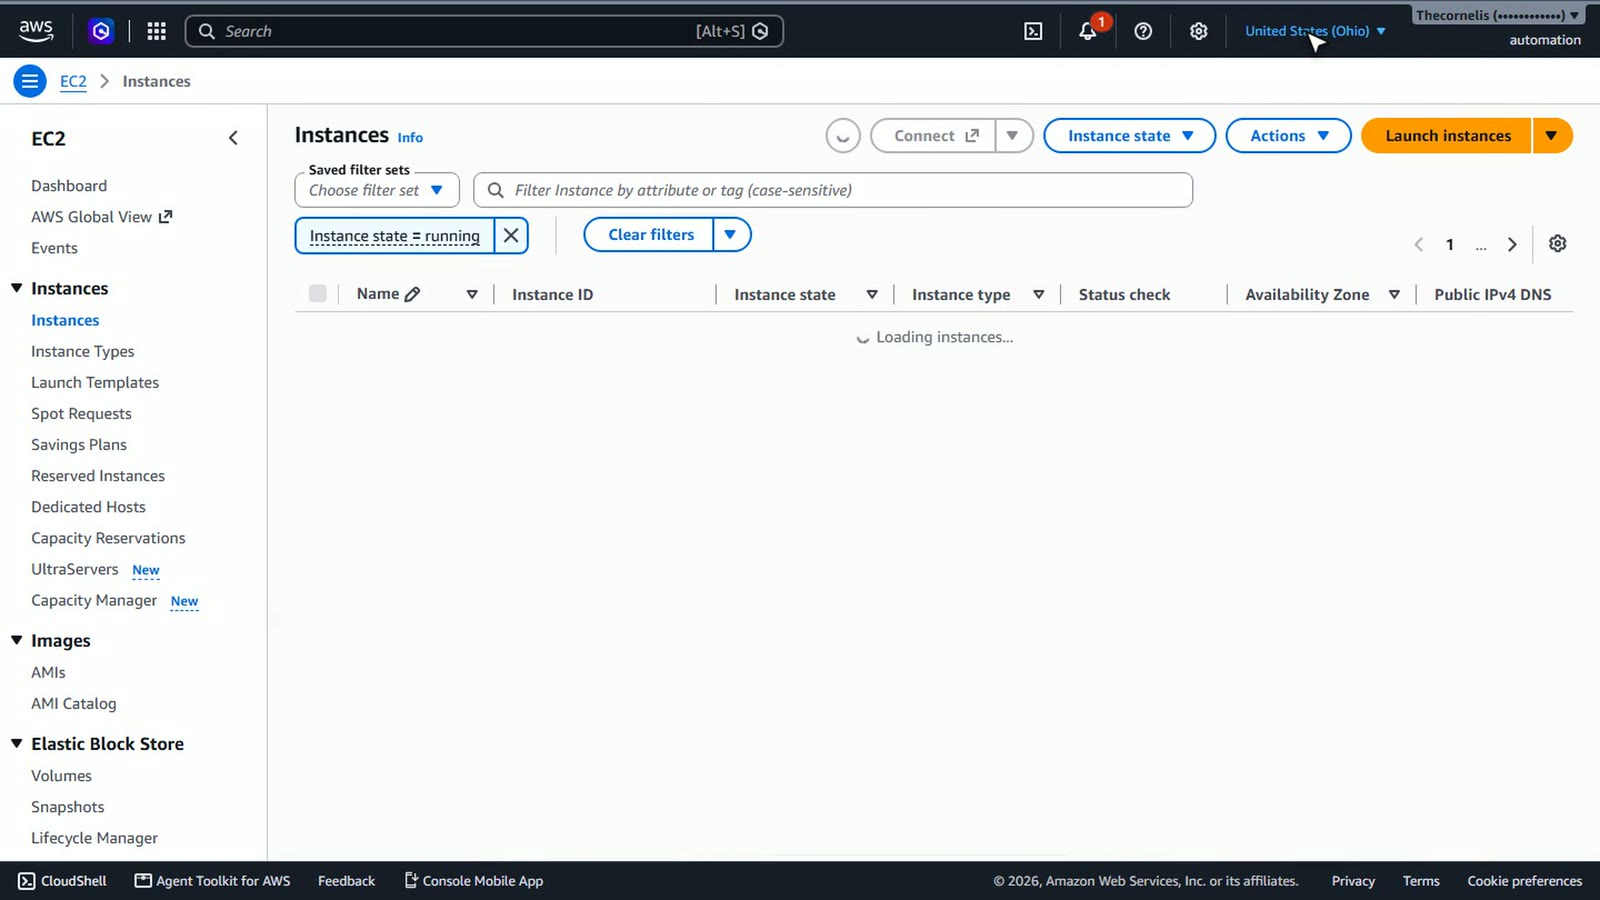
To create a server, choose Launch instances.
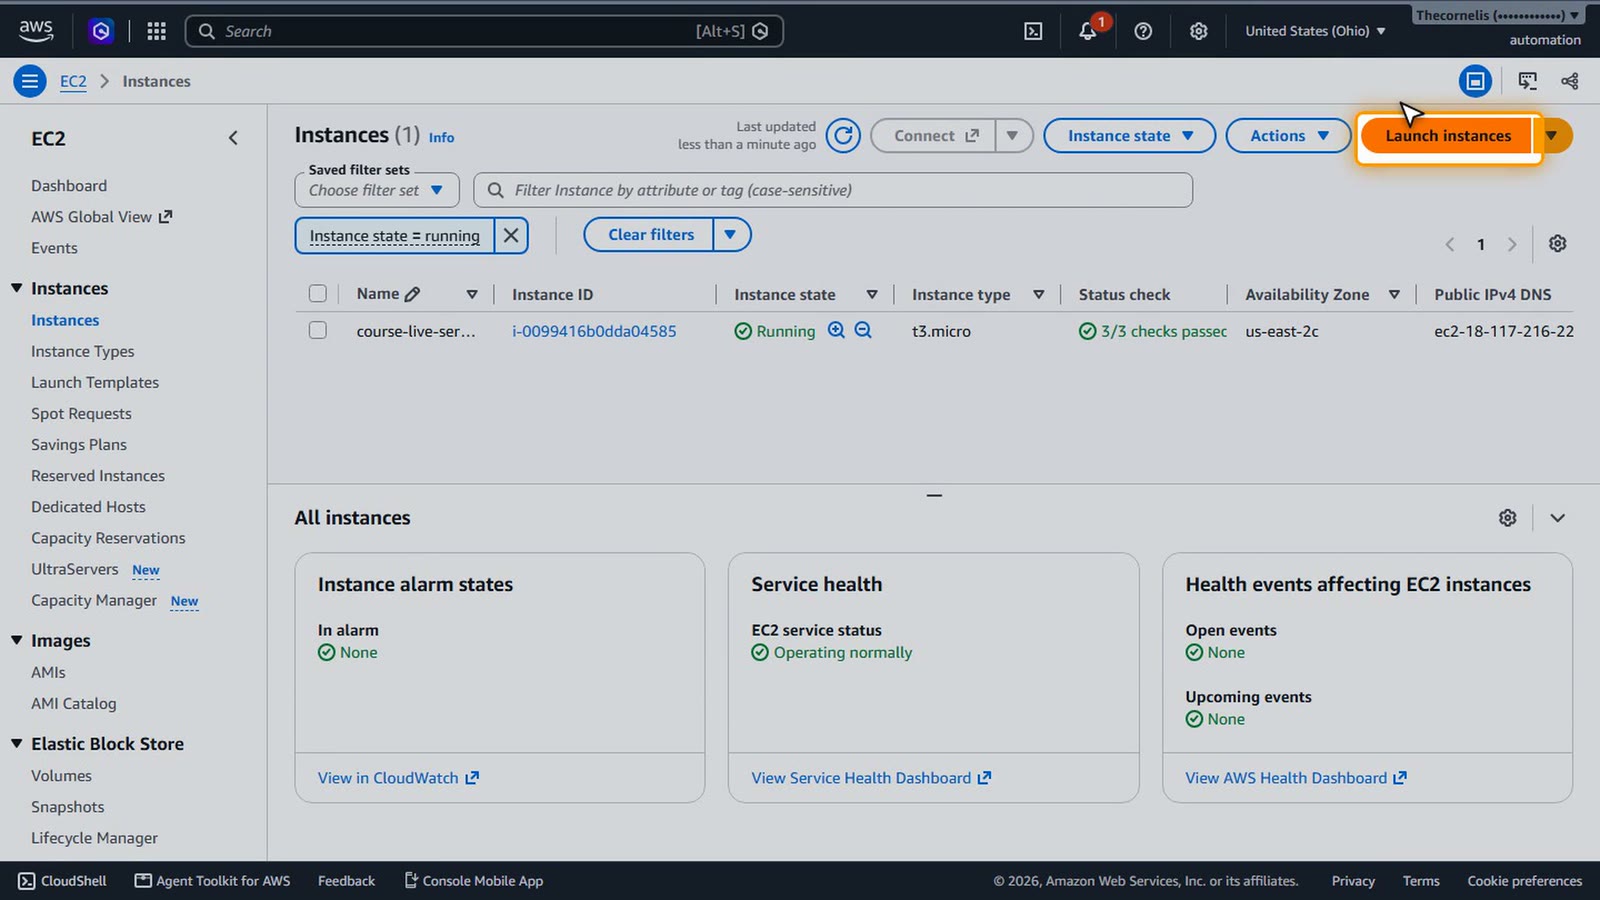
Name it shop-server. This is the shop's server for the whole course.
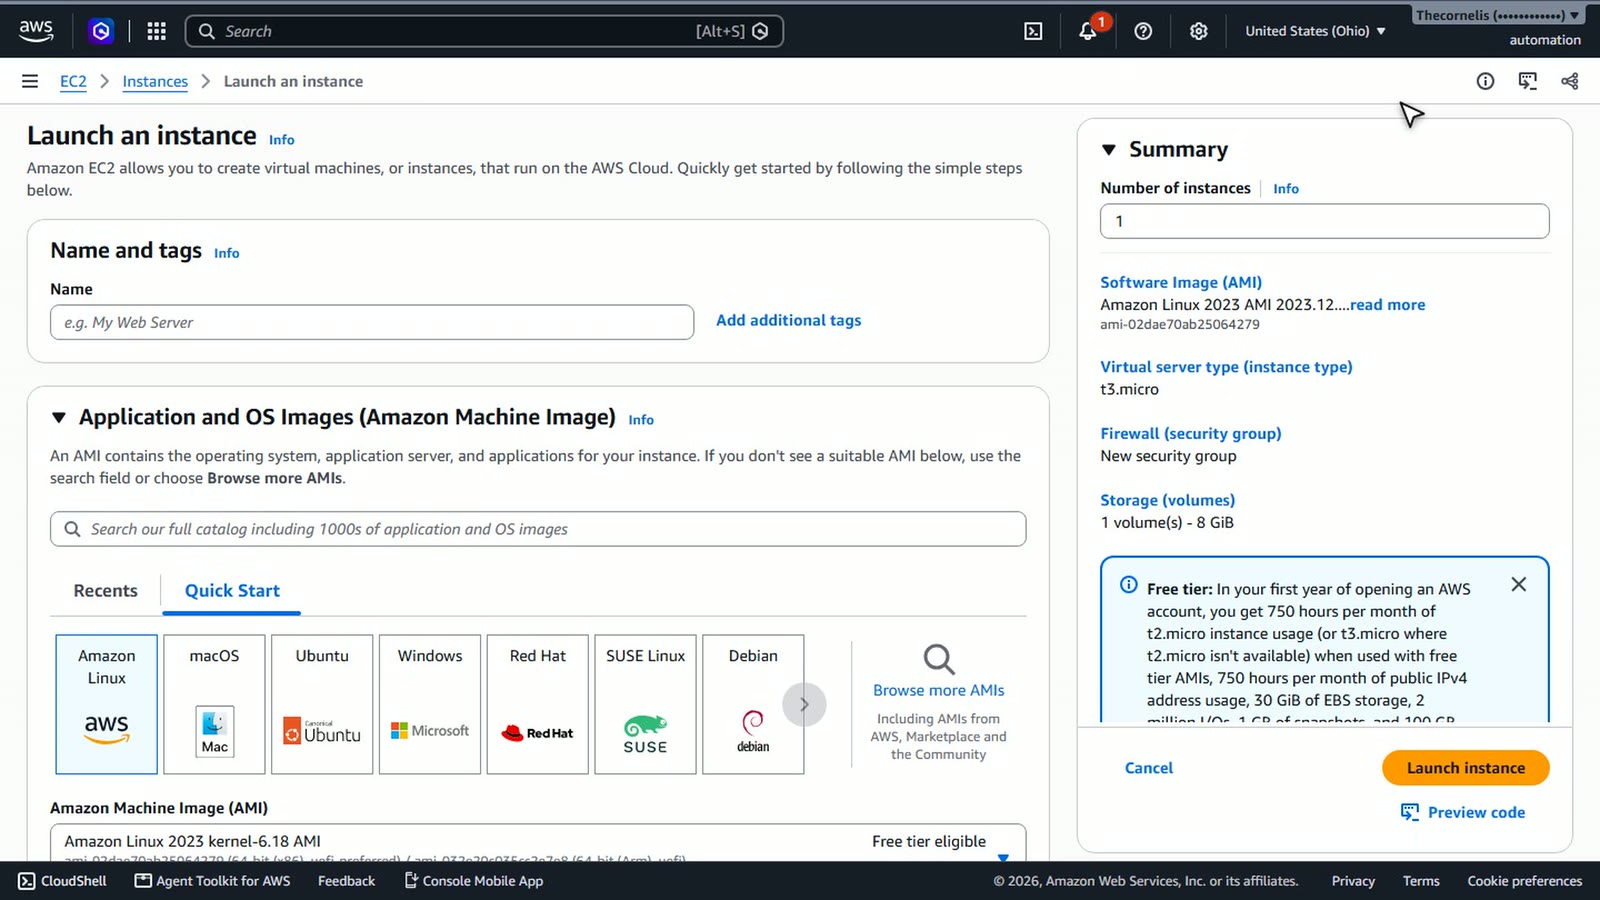
Under Application and OS Images, choose Ubuntu.
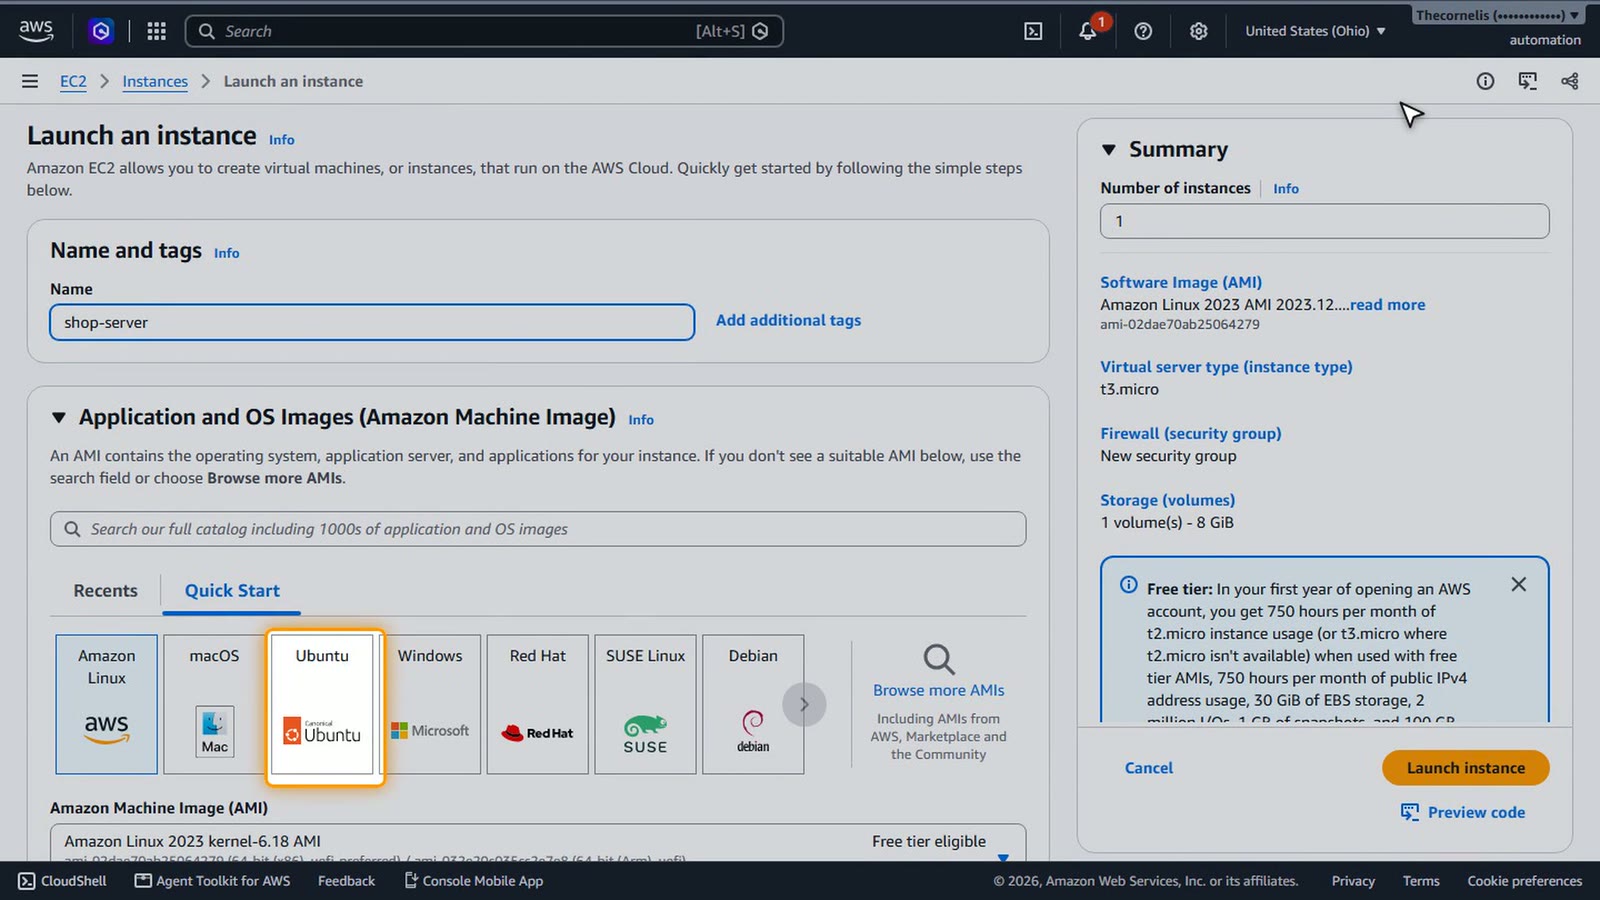
Check it says Ubuntu Server, LTS. The long term support version, from the last lesson.
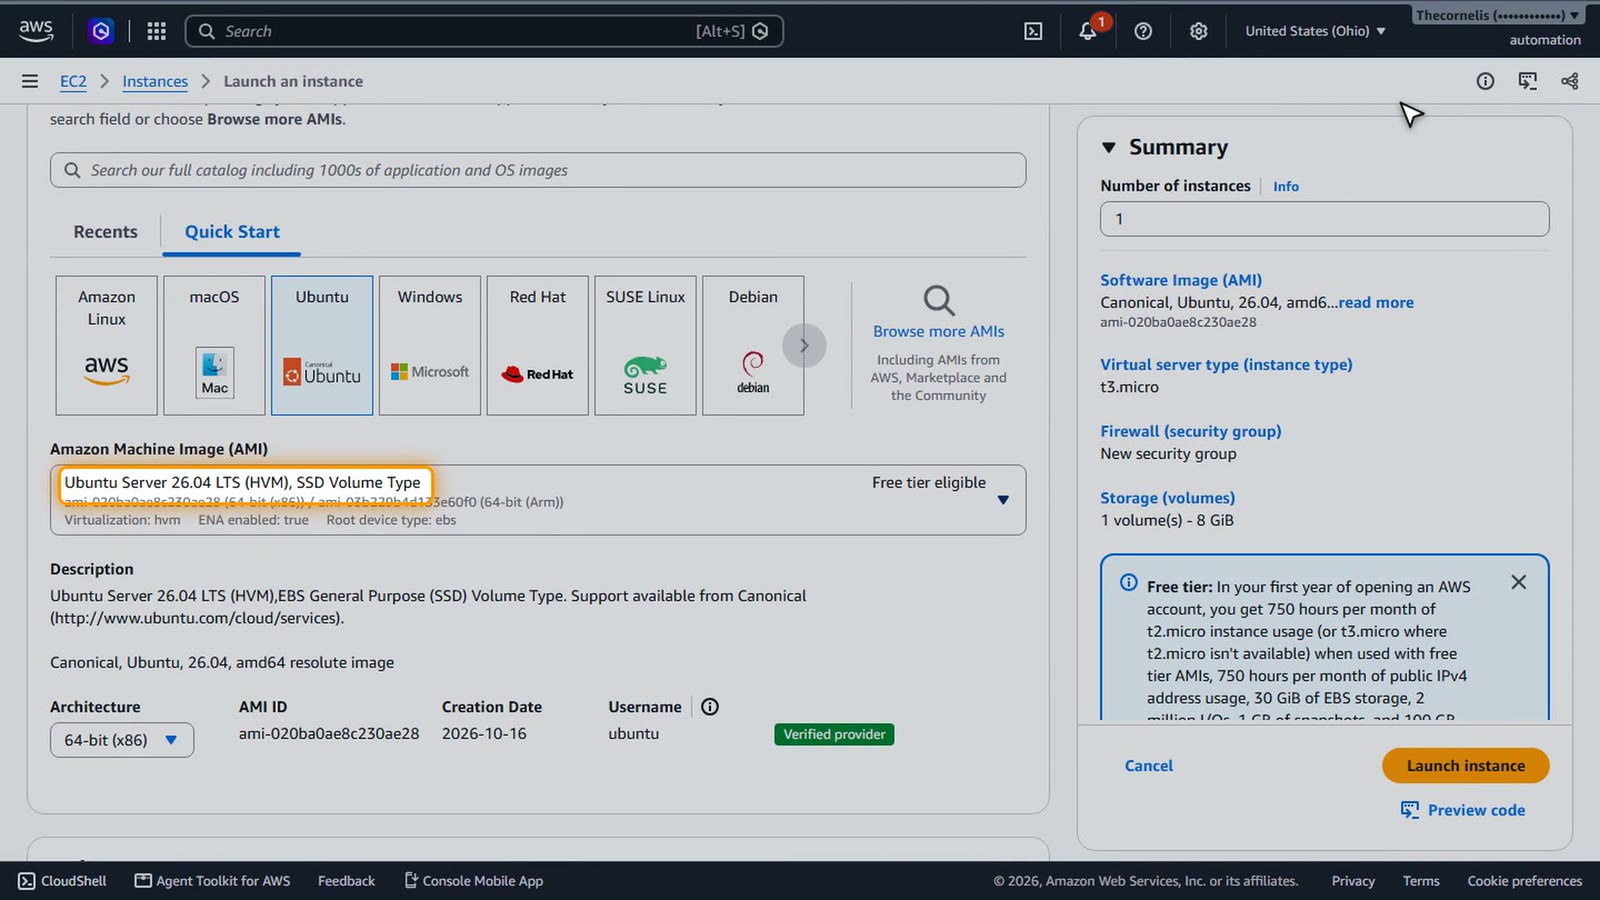
A key pair
Under Key pair, choose Create new key pair. That's how you'll log in with SSH, next lesson.
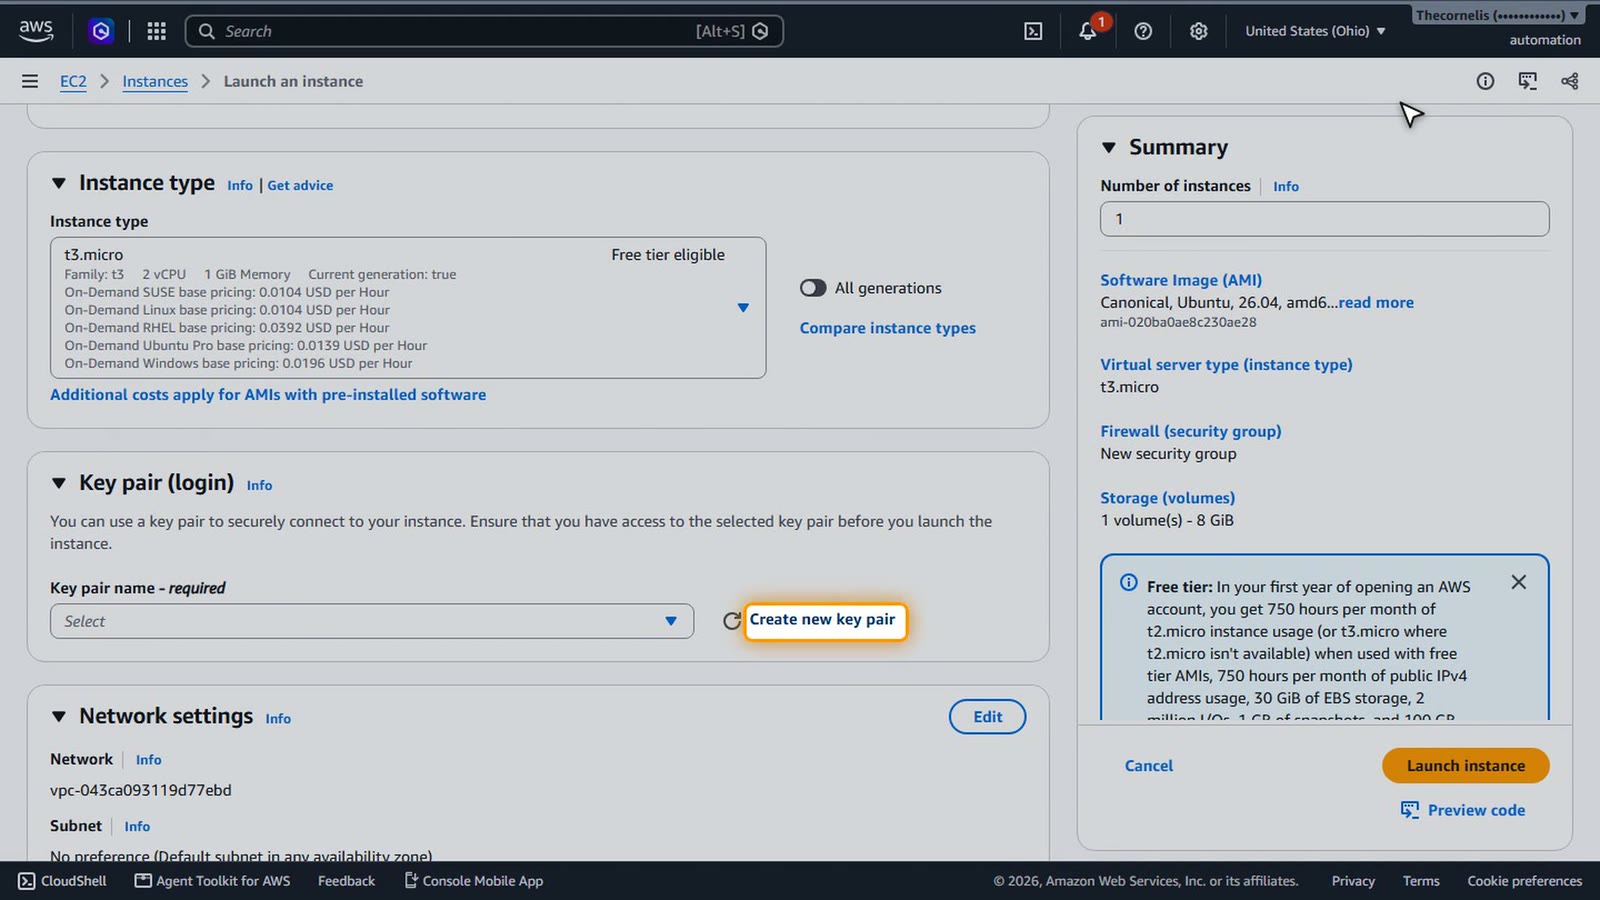
Name it shop-server-key.
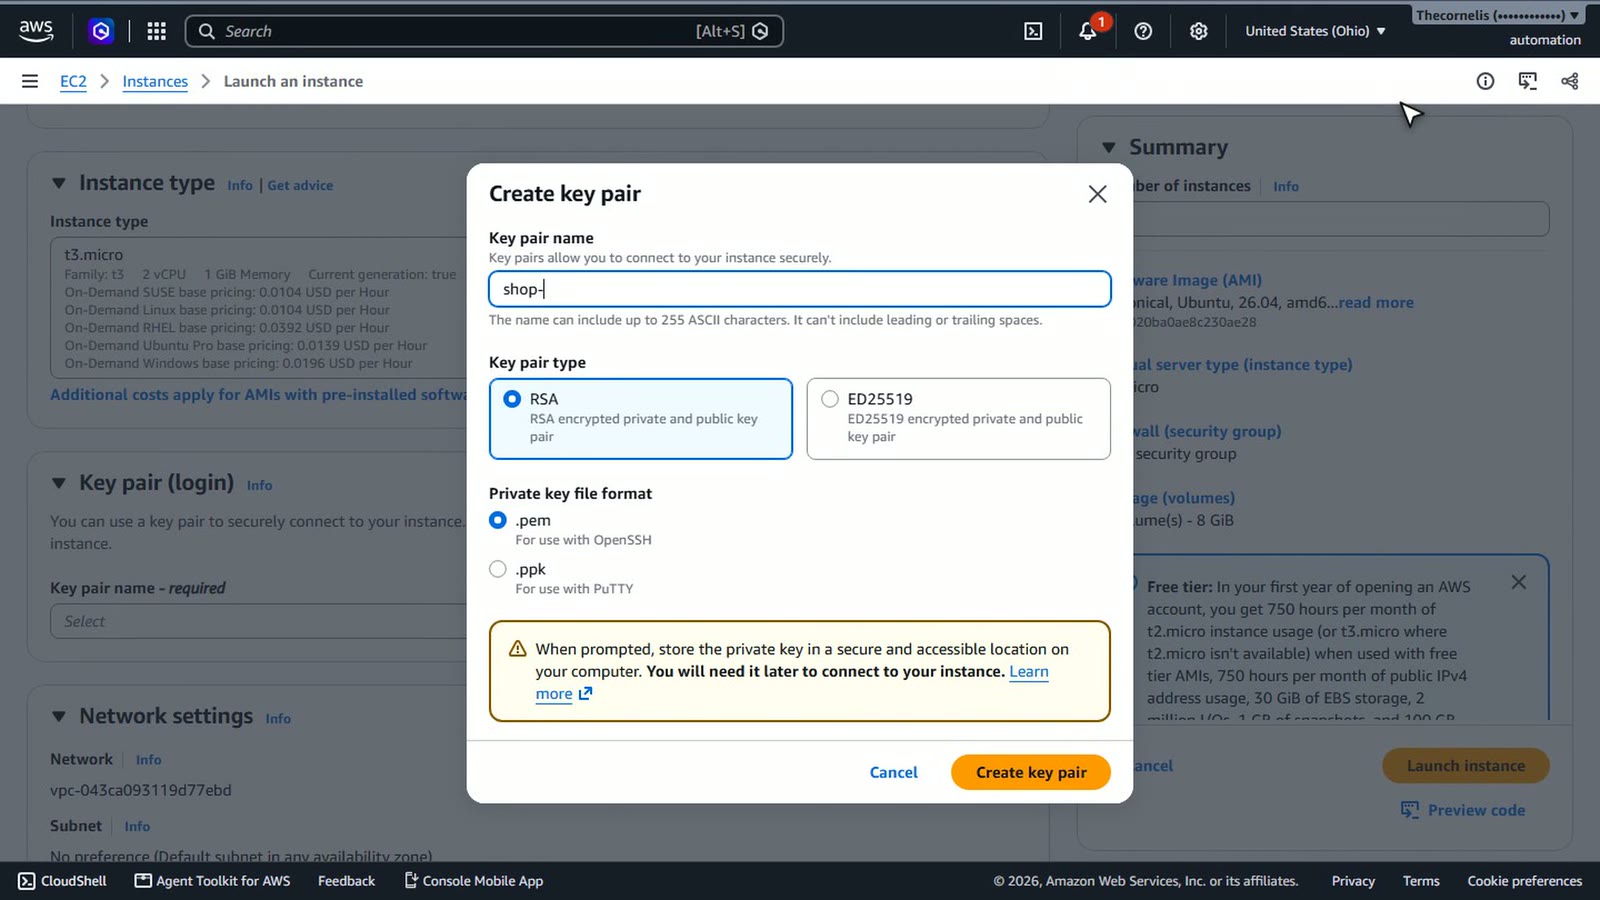
Choose ED25519, a modern key type, and keep the pem format.
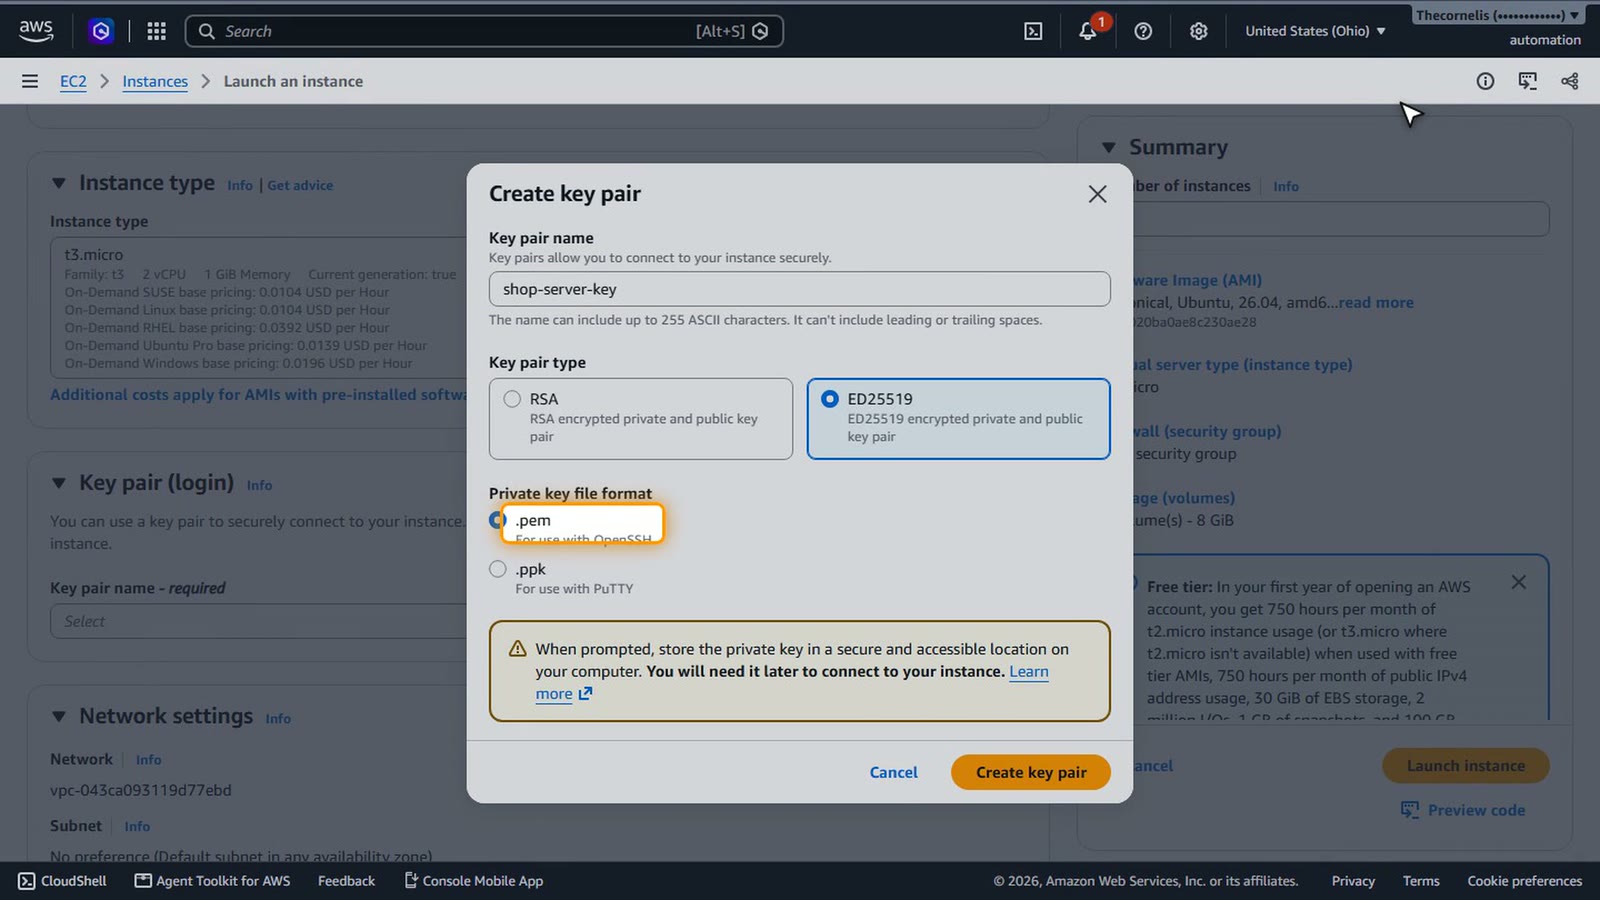
Choose Create key pair. Your browser downloads the private key, shop-server-key dot pem.
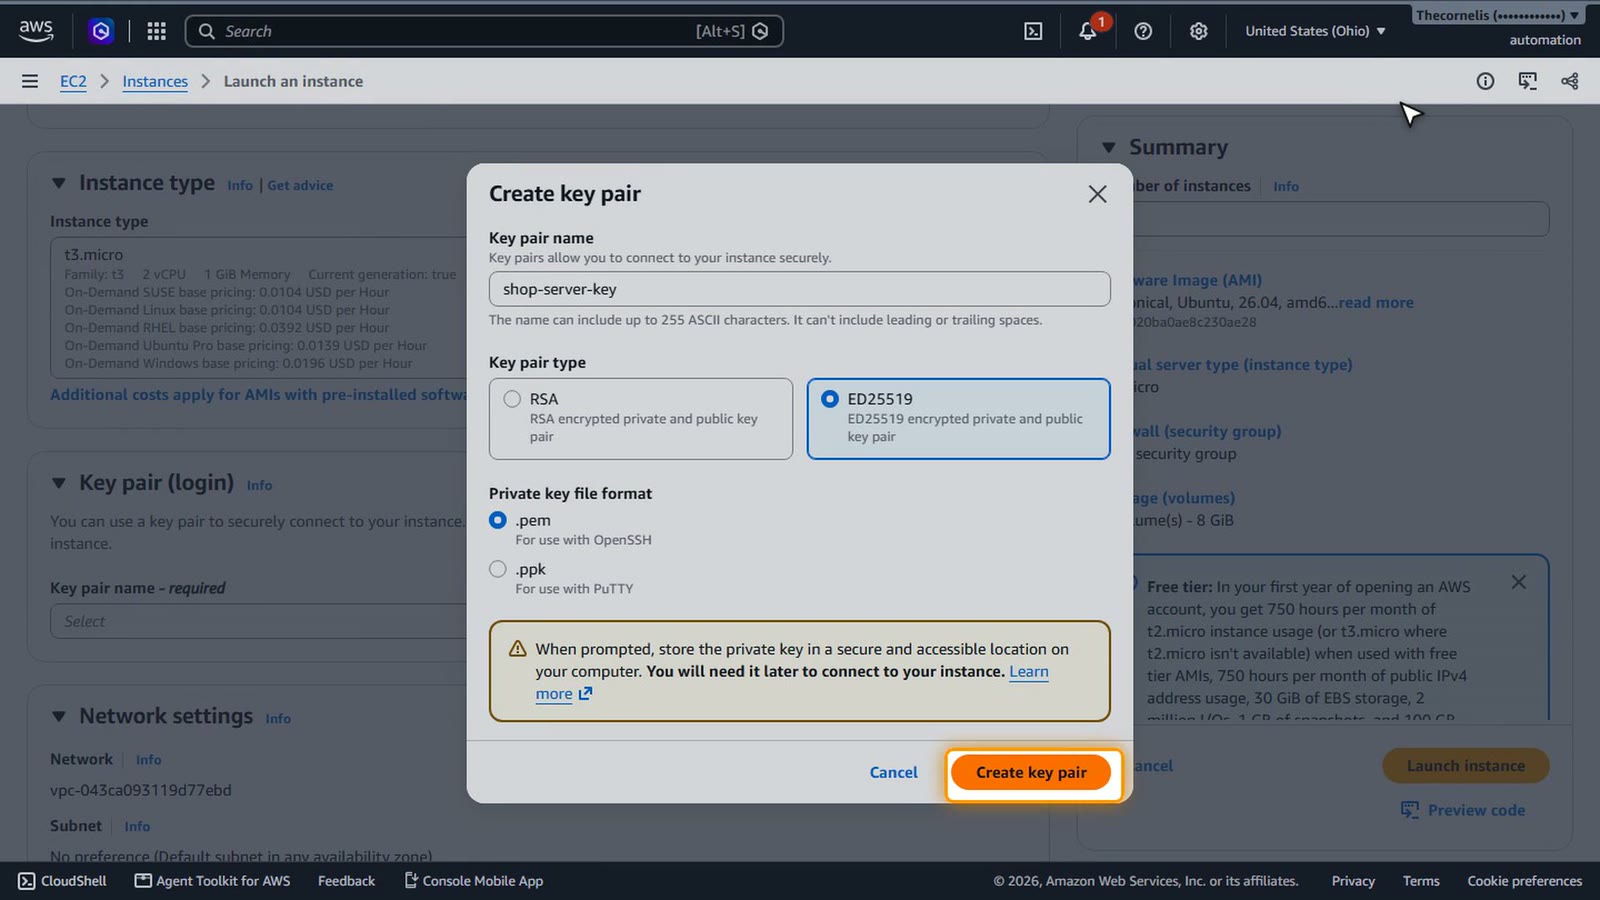
You only get it once. Keep it safe, and never share it, or put it in a code repository.
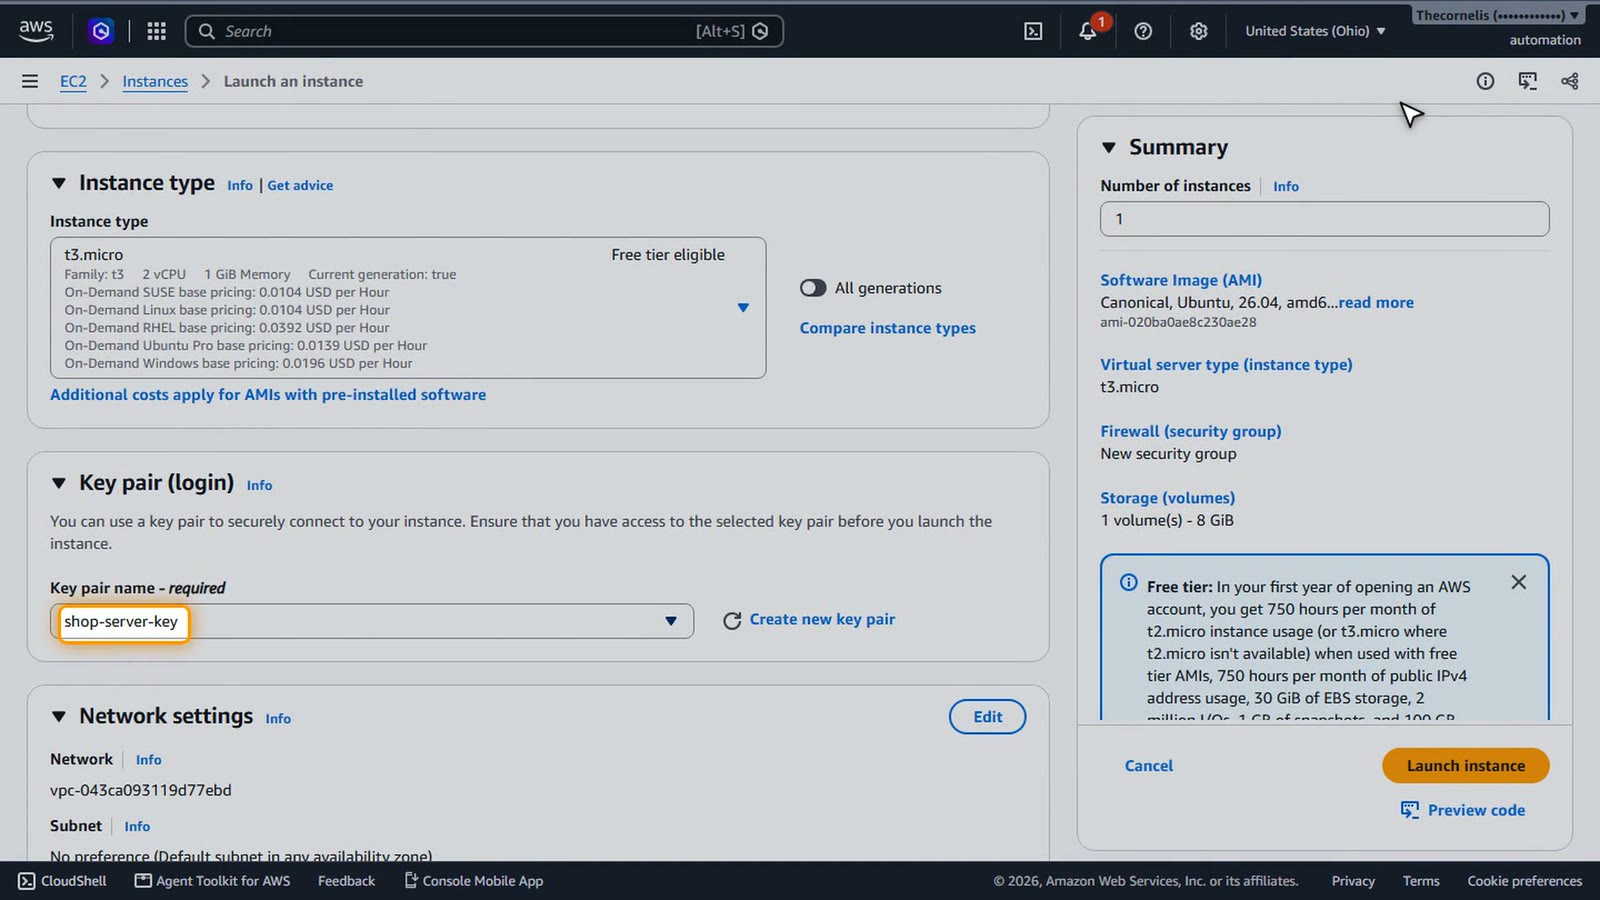
Network settings
Now, Network settings. By default, SSH is allowed from anywhere.
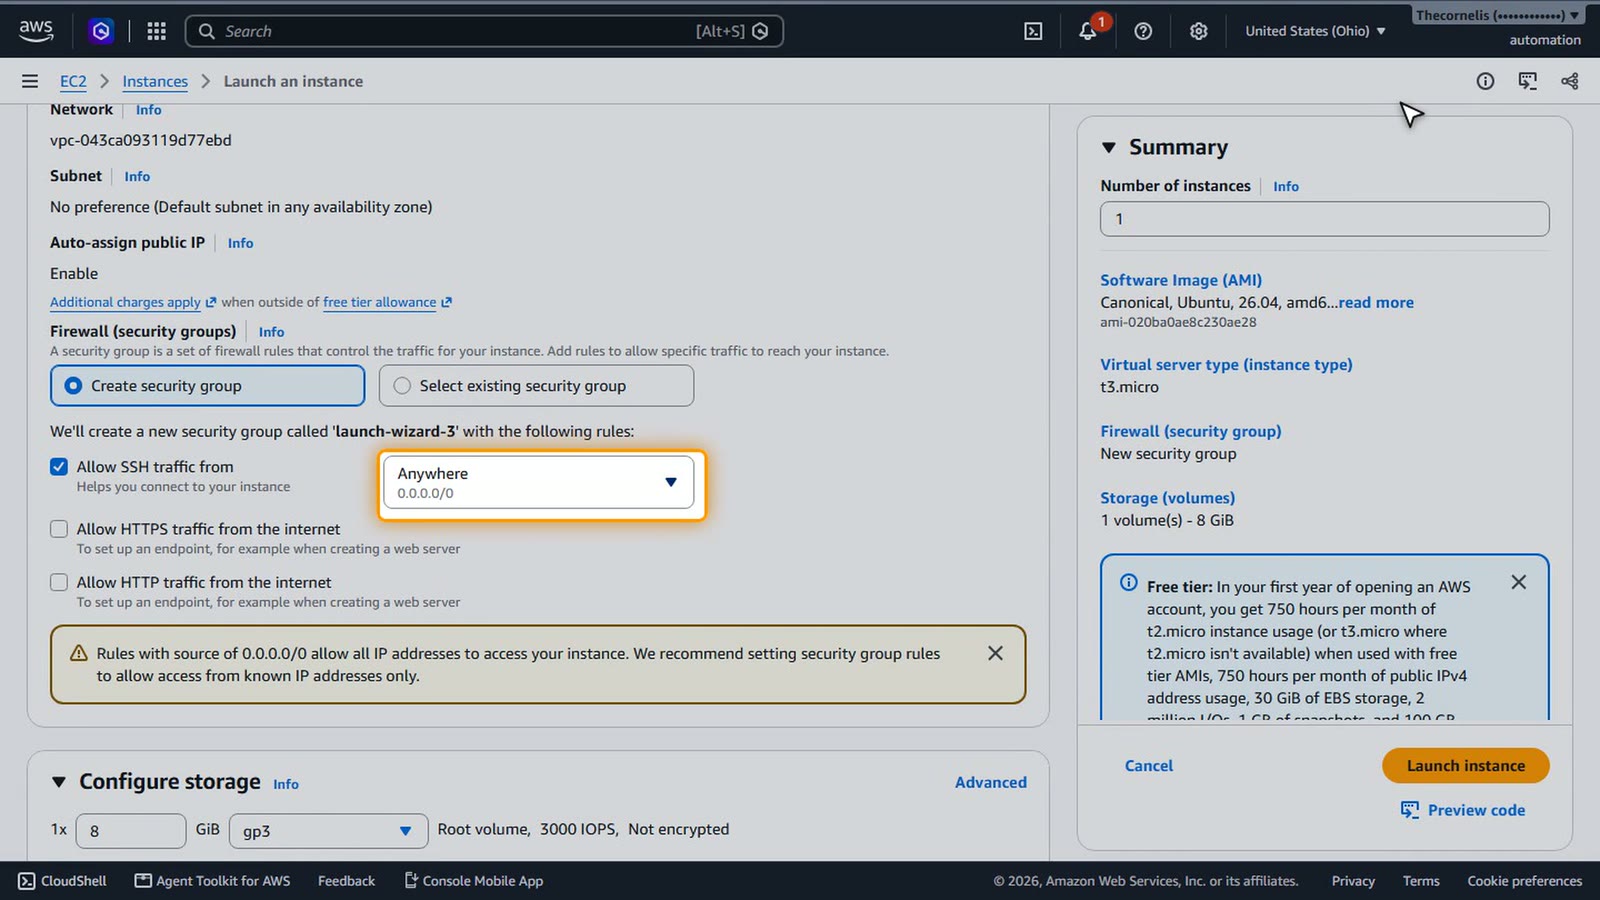
Change it to My IP, so only your own address can even try to log in.
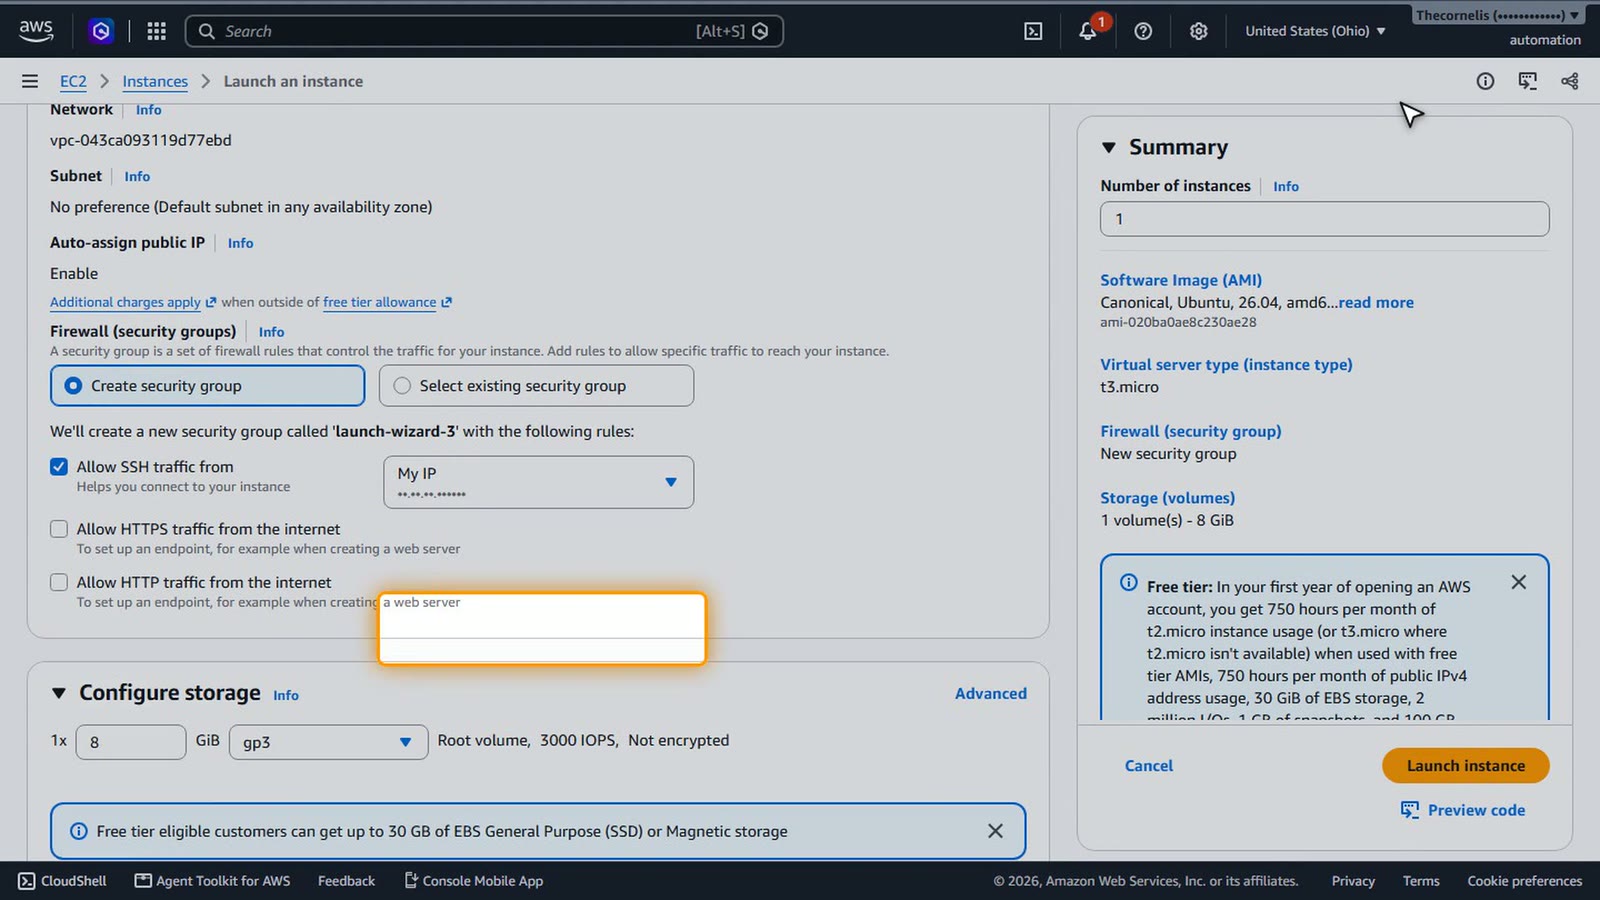
And tick Allow HTTP traffic from the internet, for the website in lesson 4.
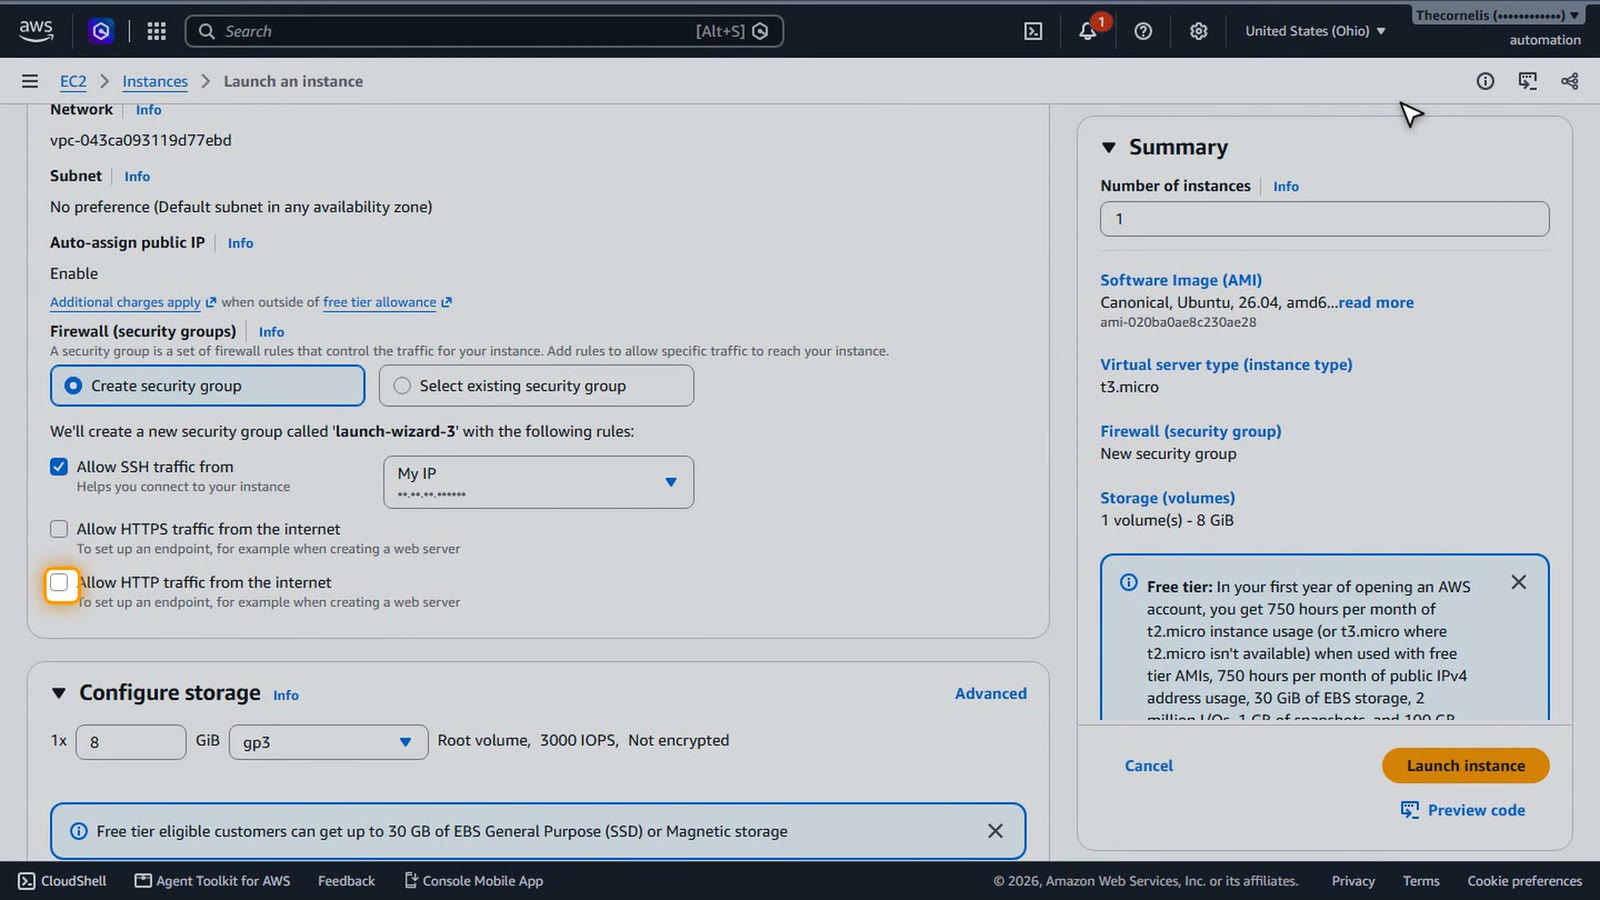
A website is meant to be public. SSH is not.
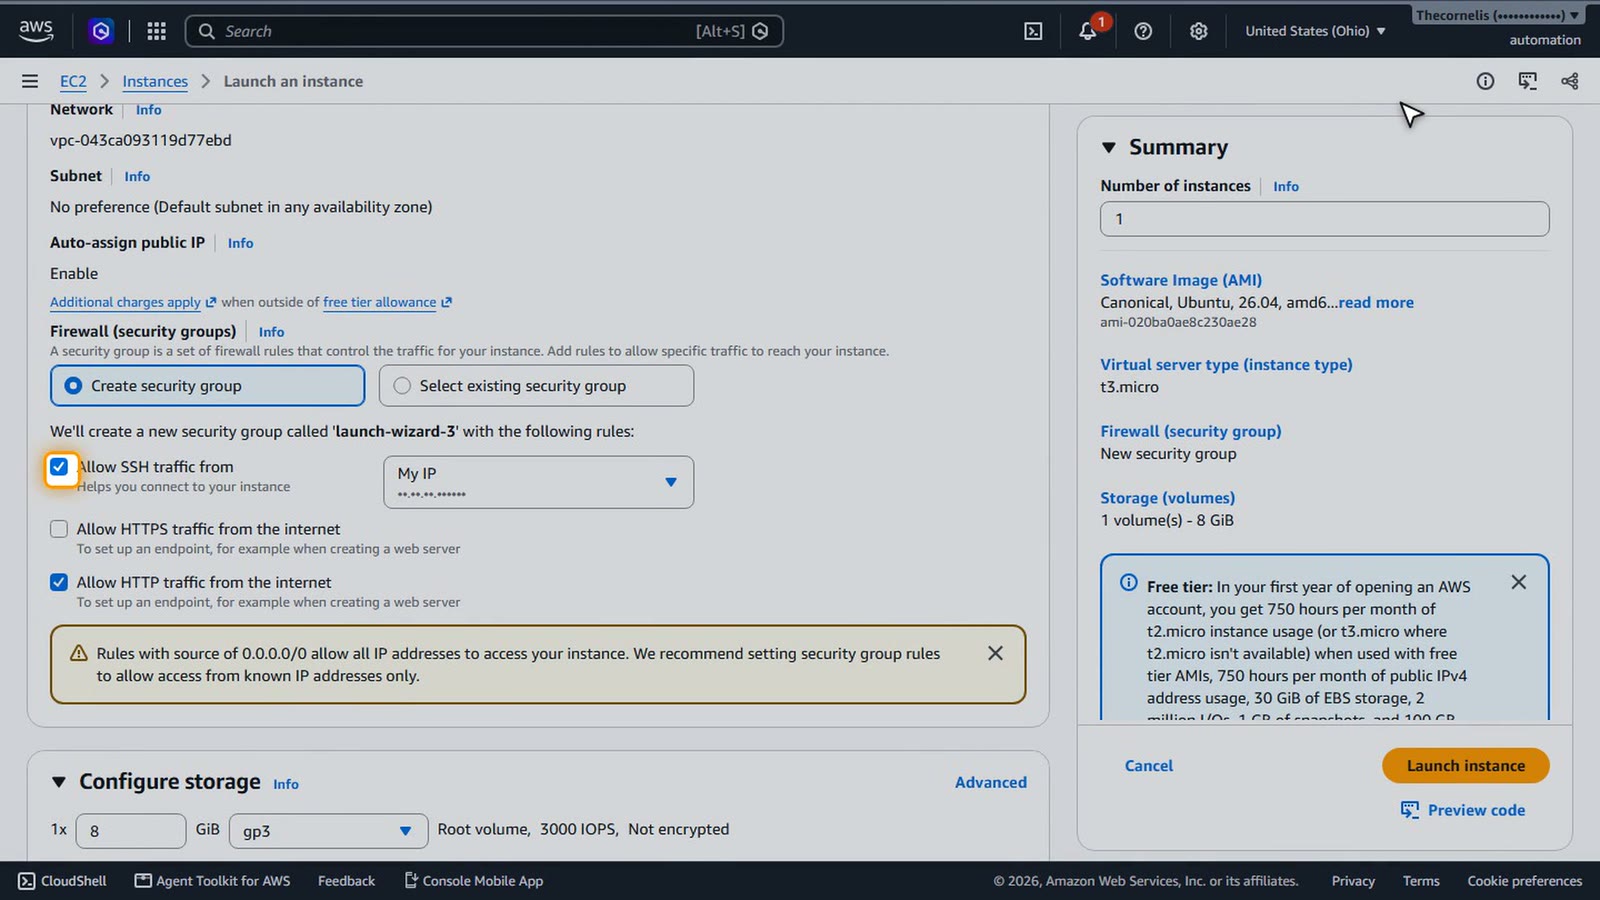
Leave the storage as it is, and choose Launch instance.
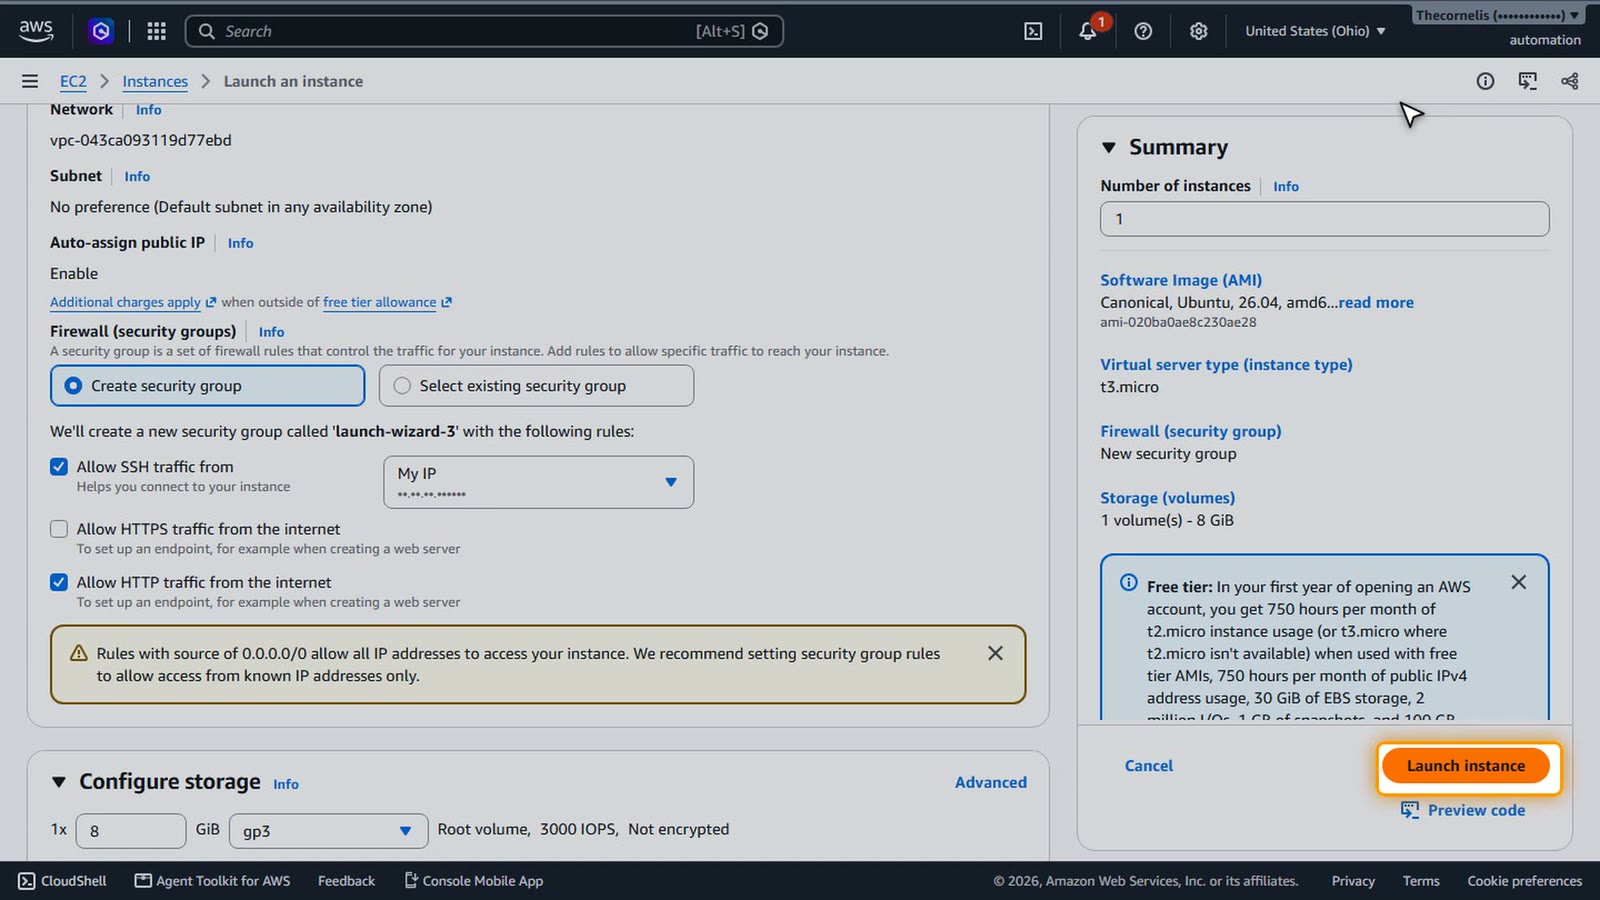
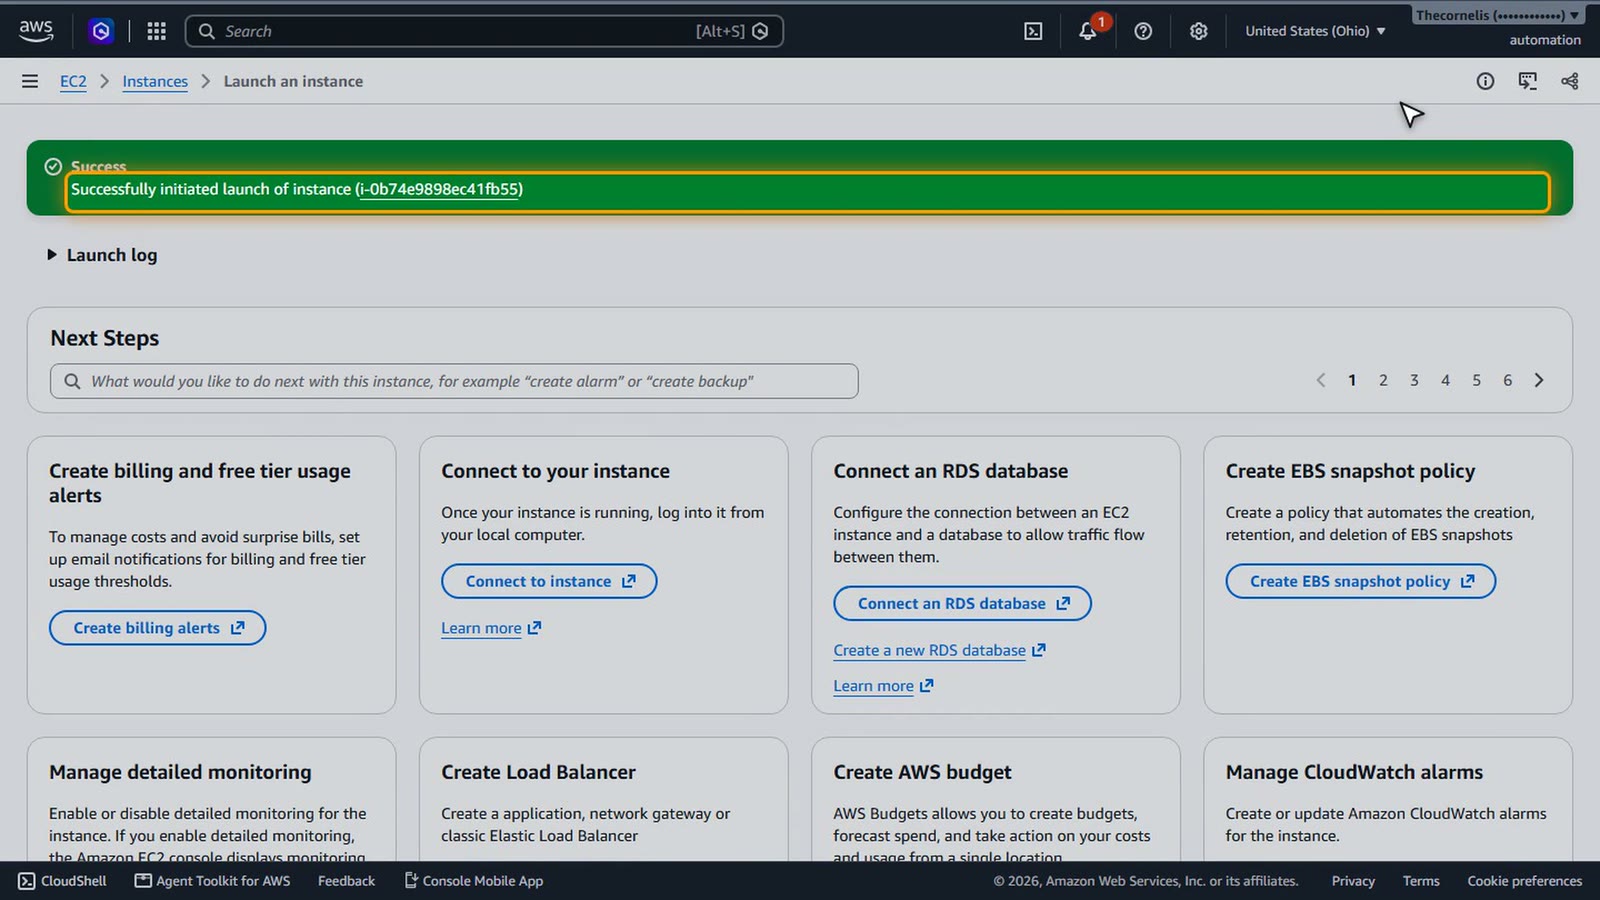
The launch has started.
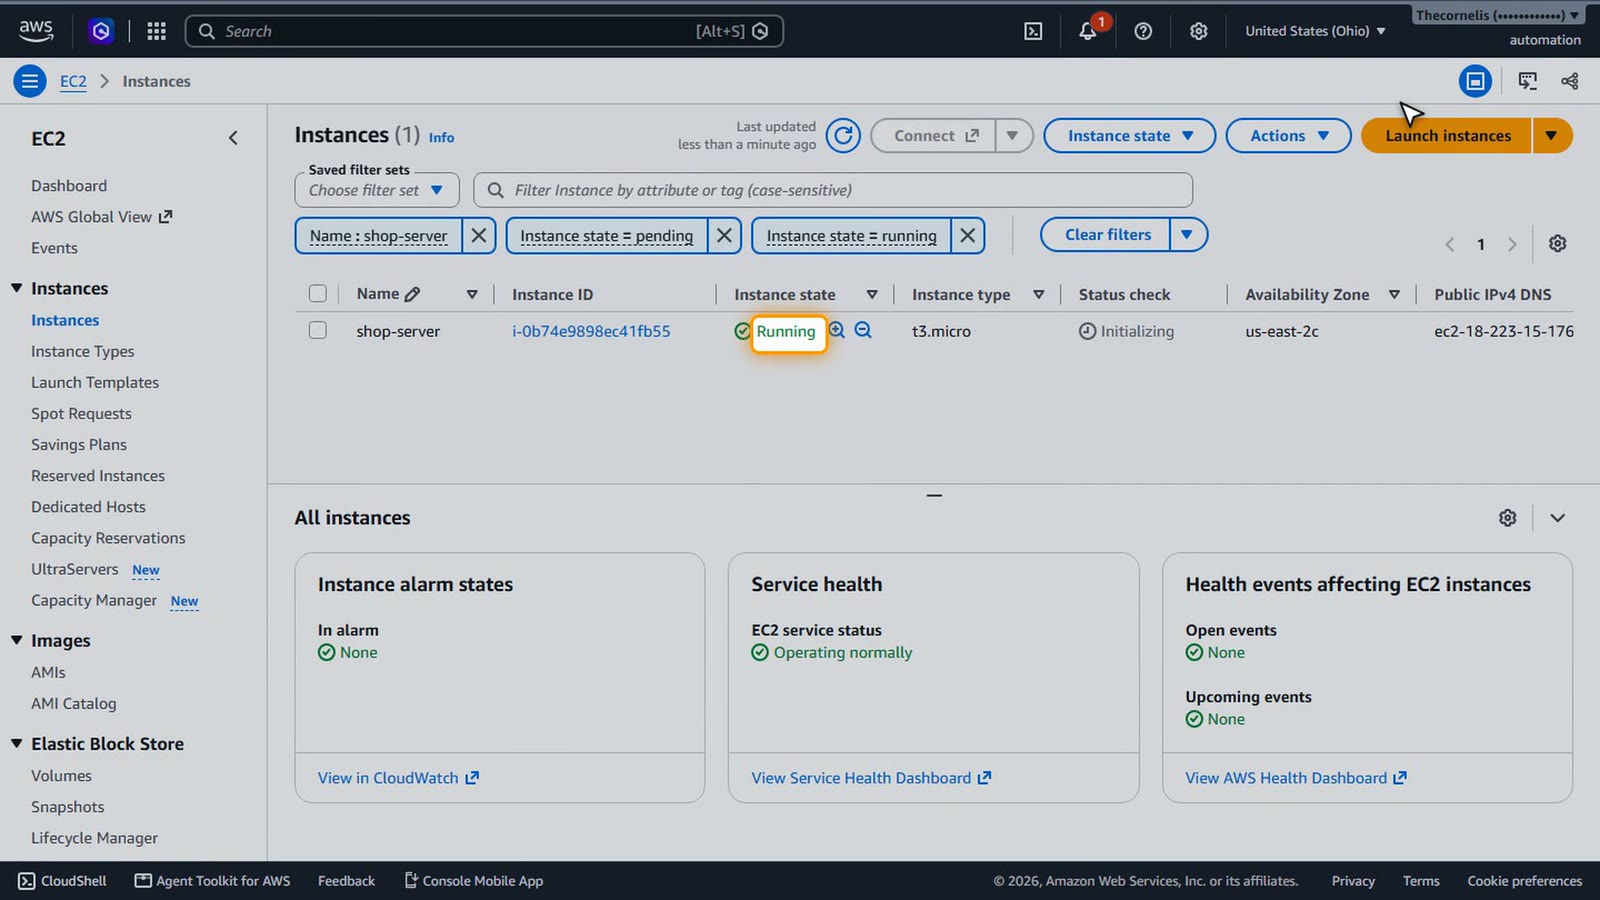
Back in the instance list, wait until shop-server says Running. It takes about a minute.
A browser terminal
Now, a terminal right in the browser, with EC2 Instance Connect. It needs one more firewall rule. Select shop-server.
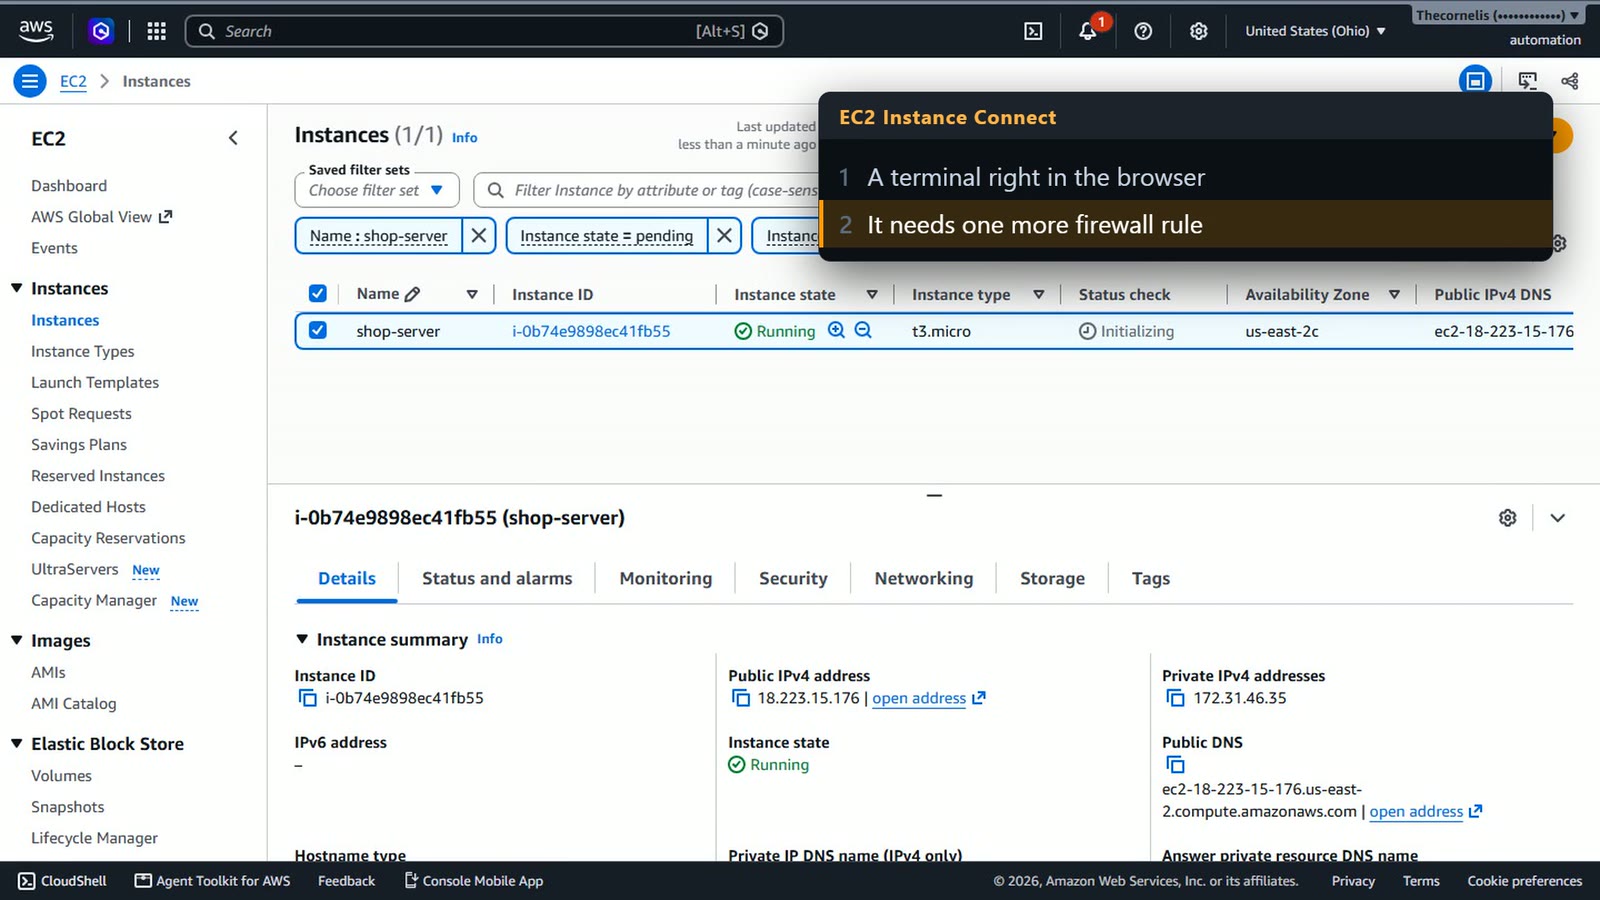
Open the Security tab.
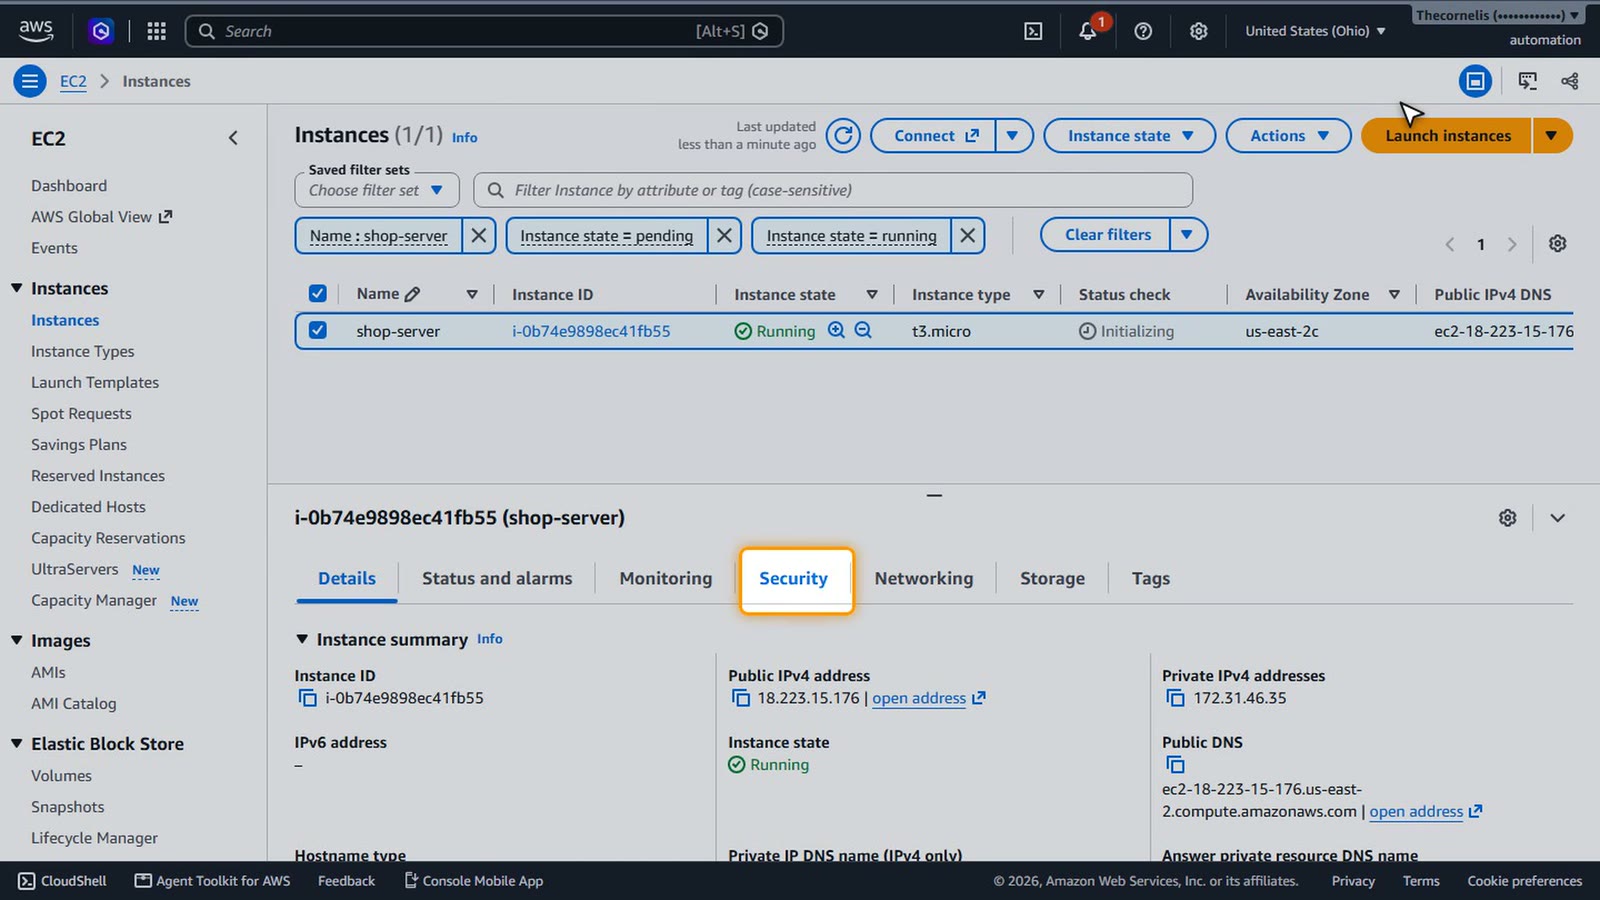
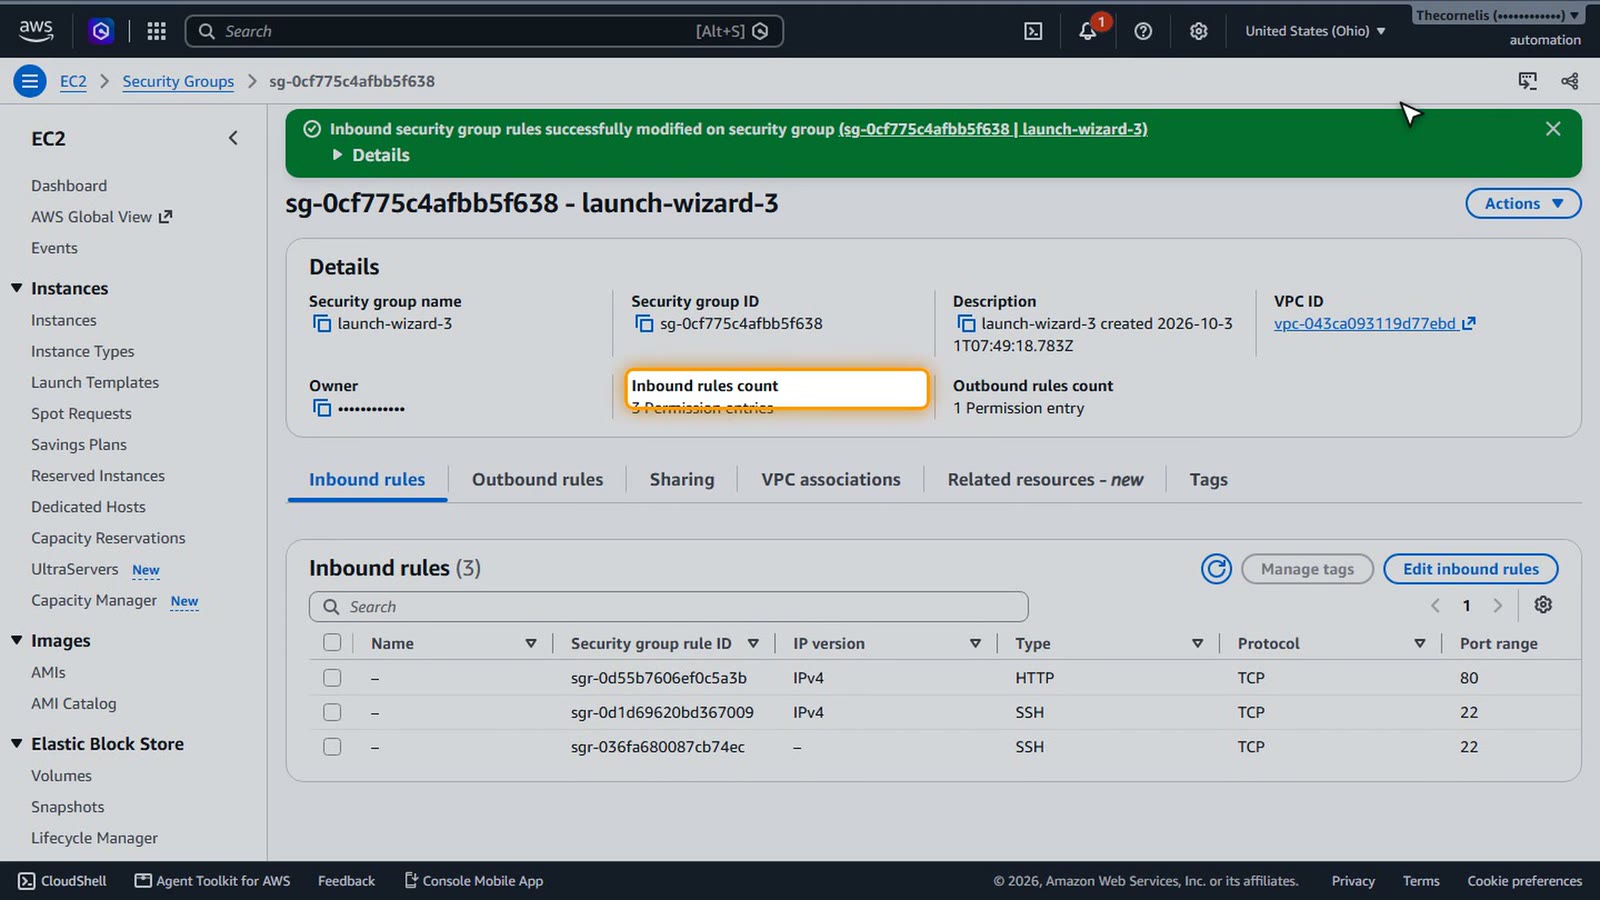
And choose its security group.
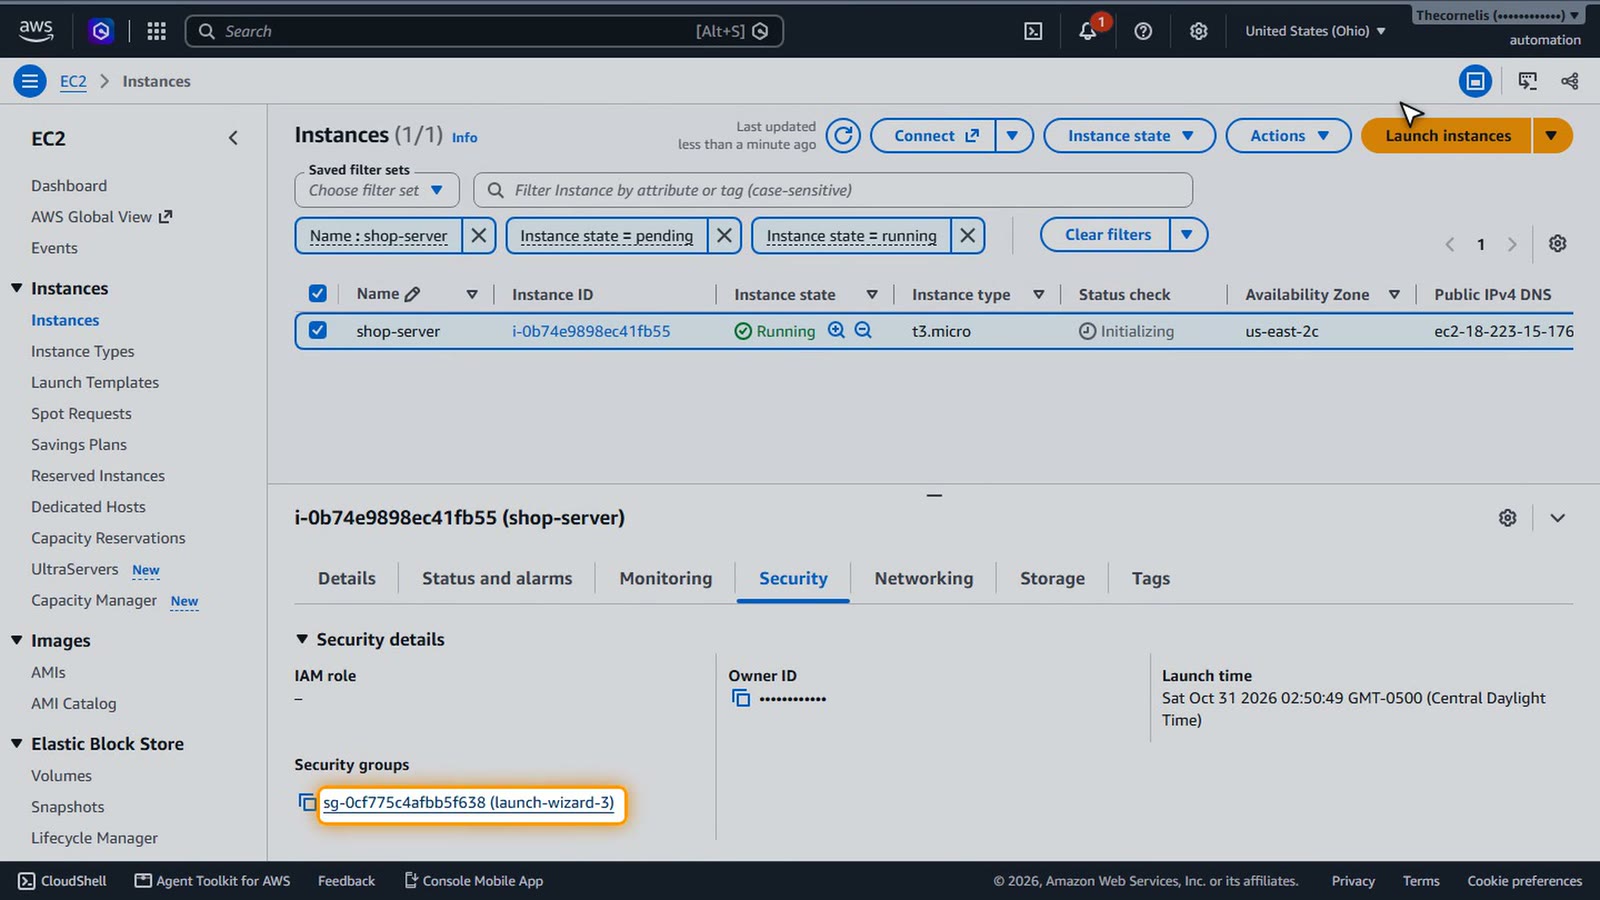
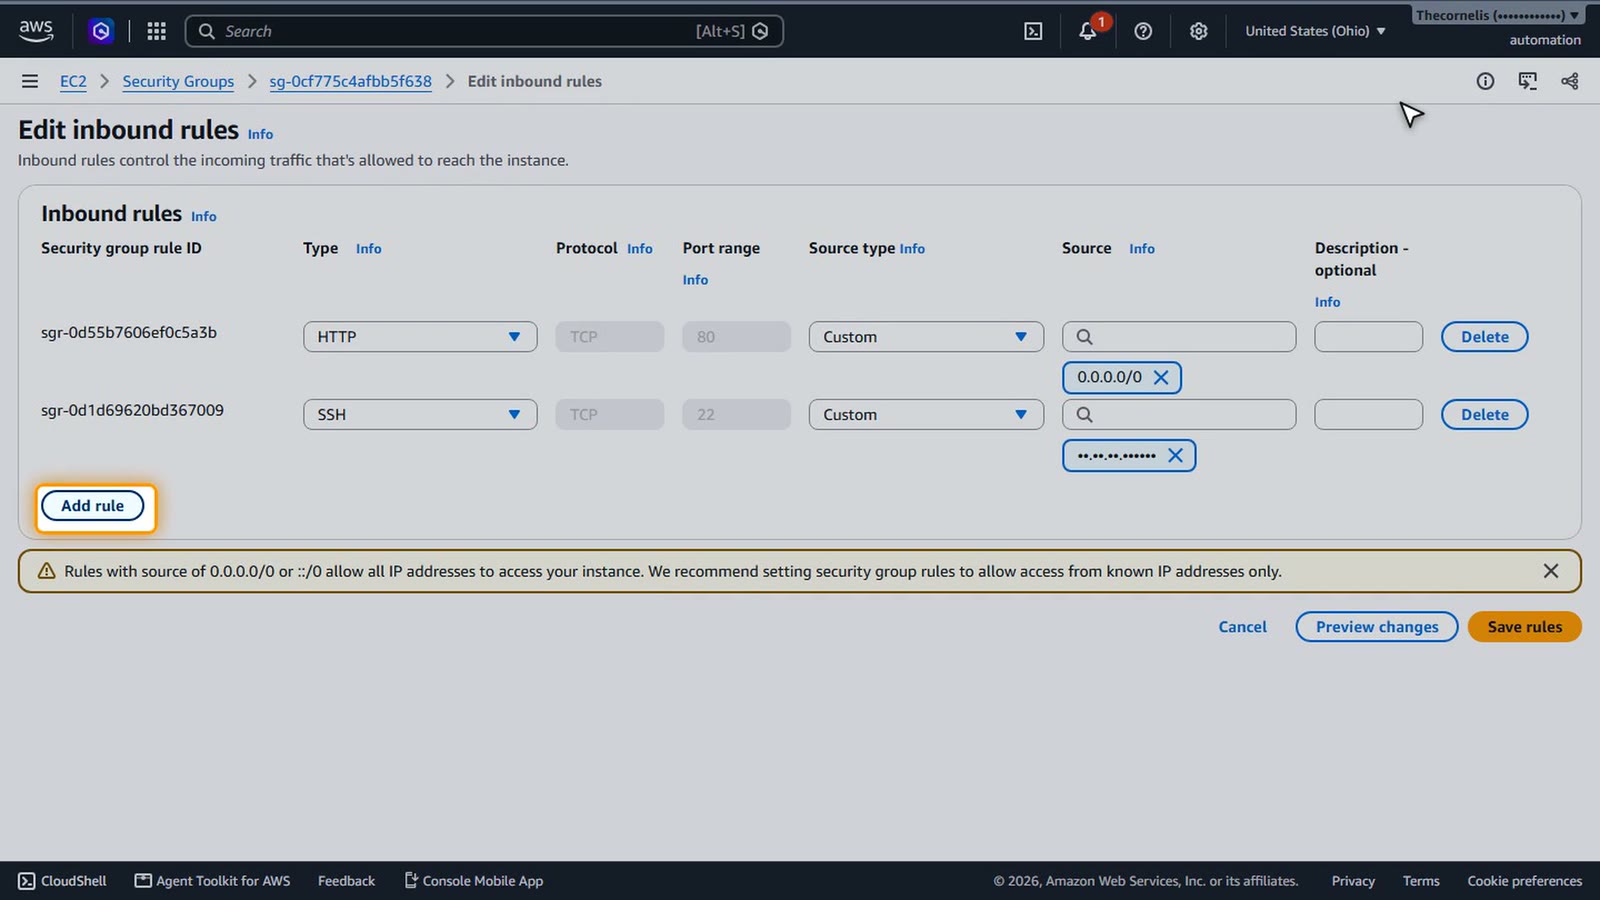
Choose Edit inbound rules.
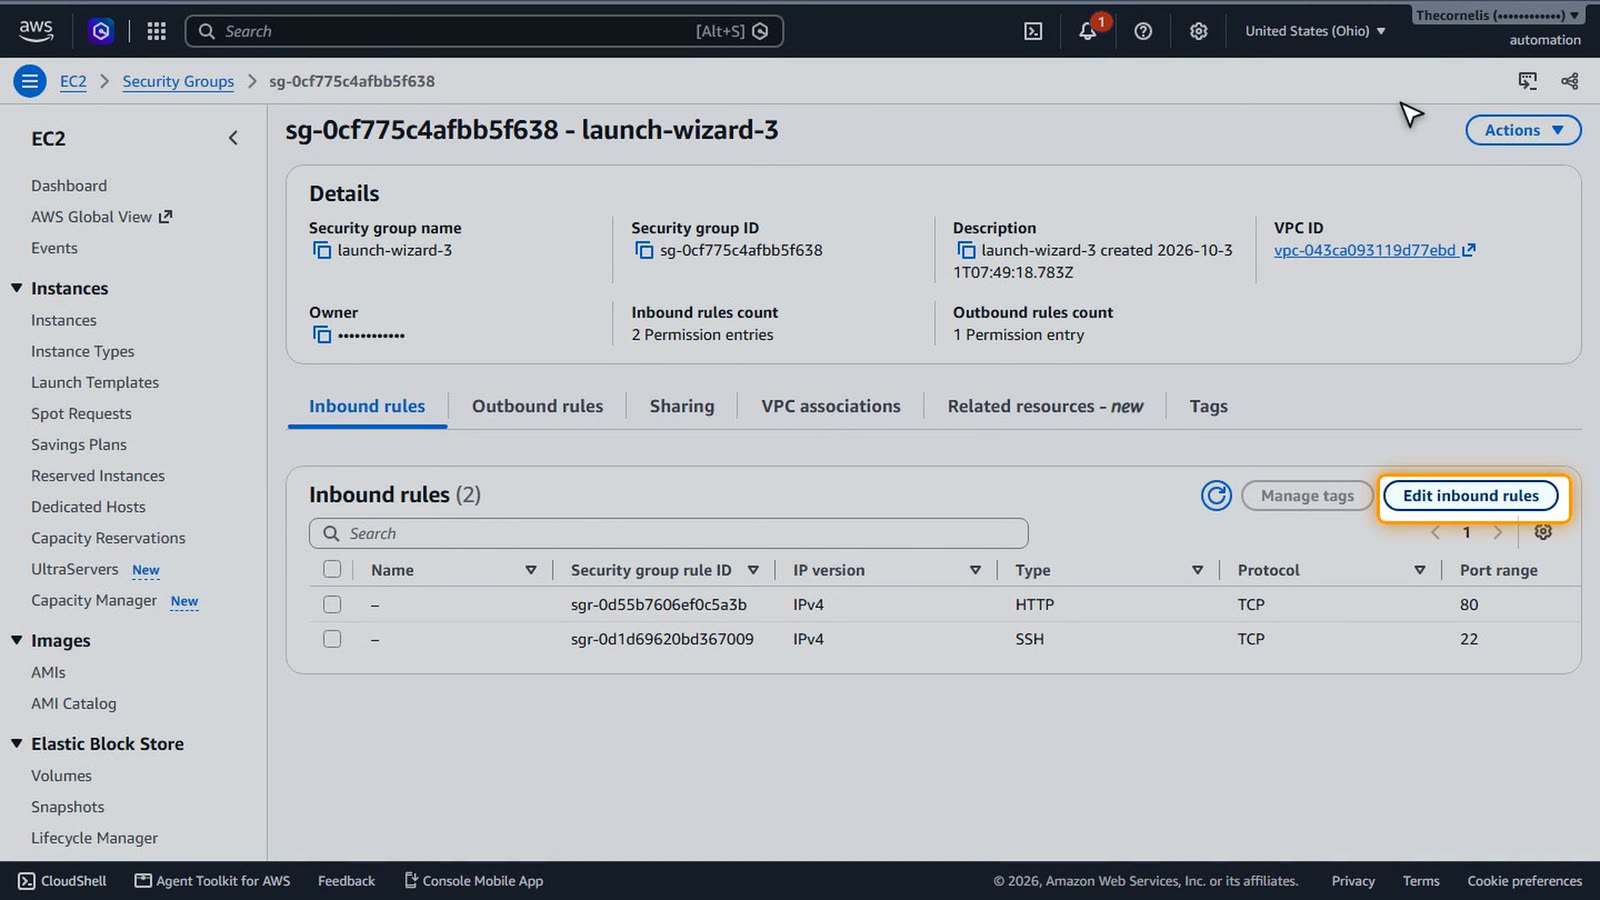
Add rule, and for the type, choose SSH.
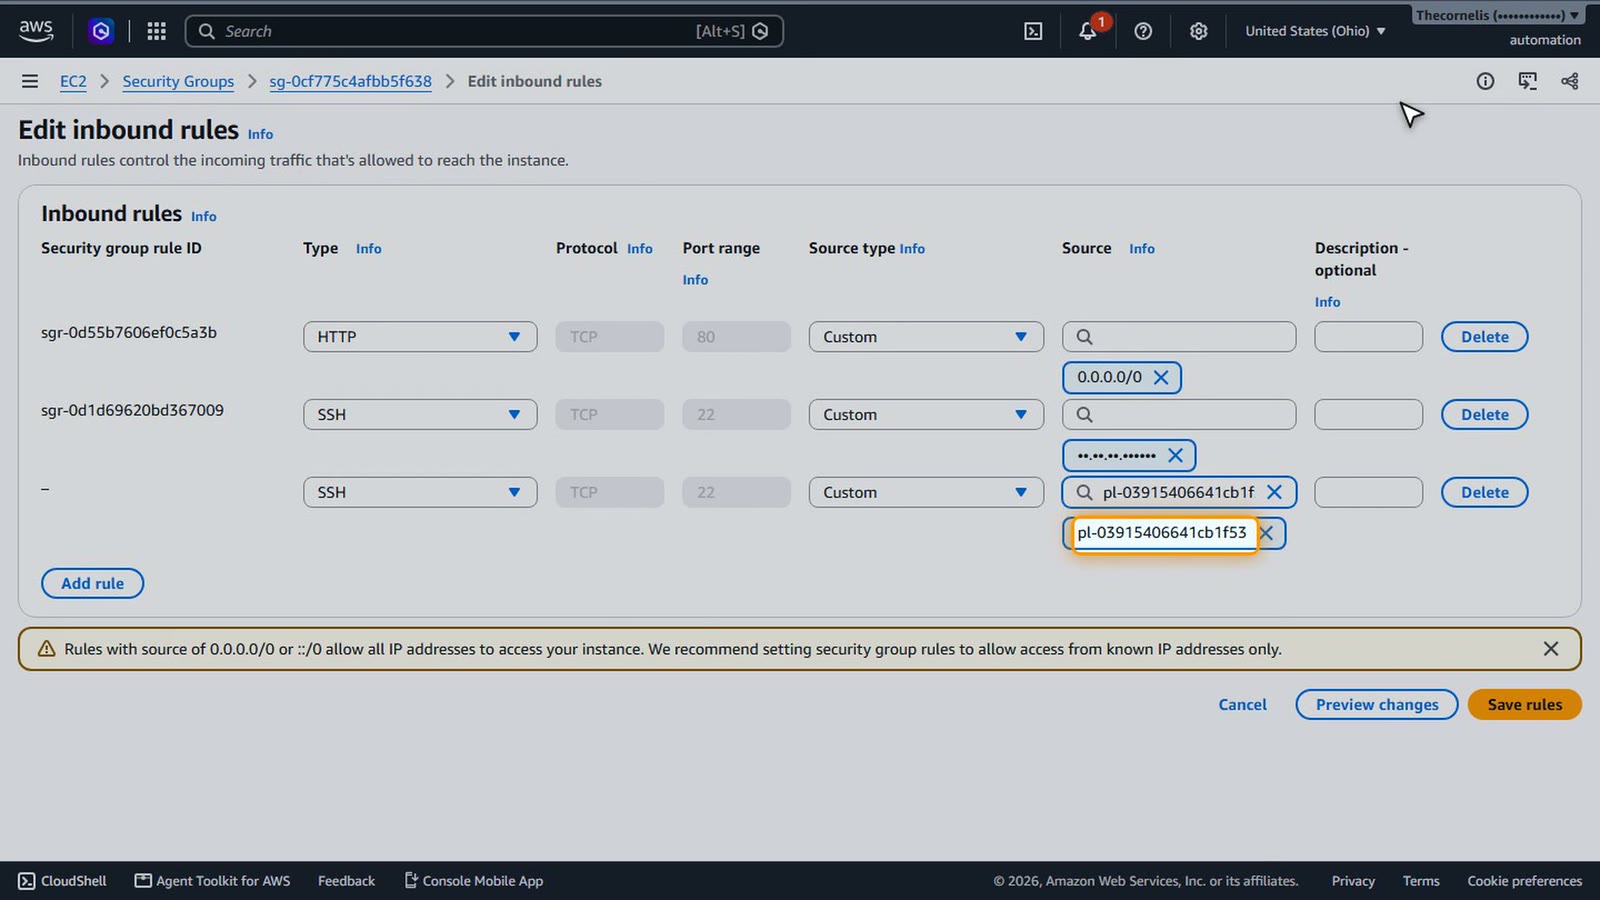
Source: type ec2-instance-connect and pick the prefix list com.amazonaws.us-east-2.ec2-instance-connect (the Region in the name must match yours).
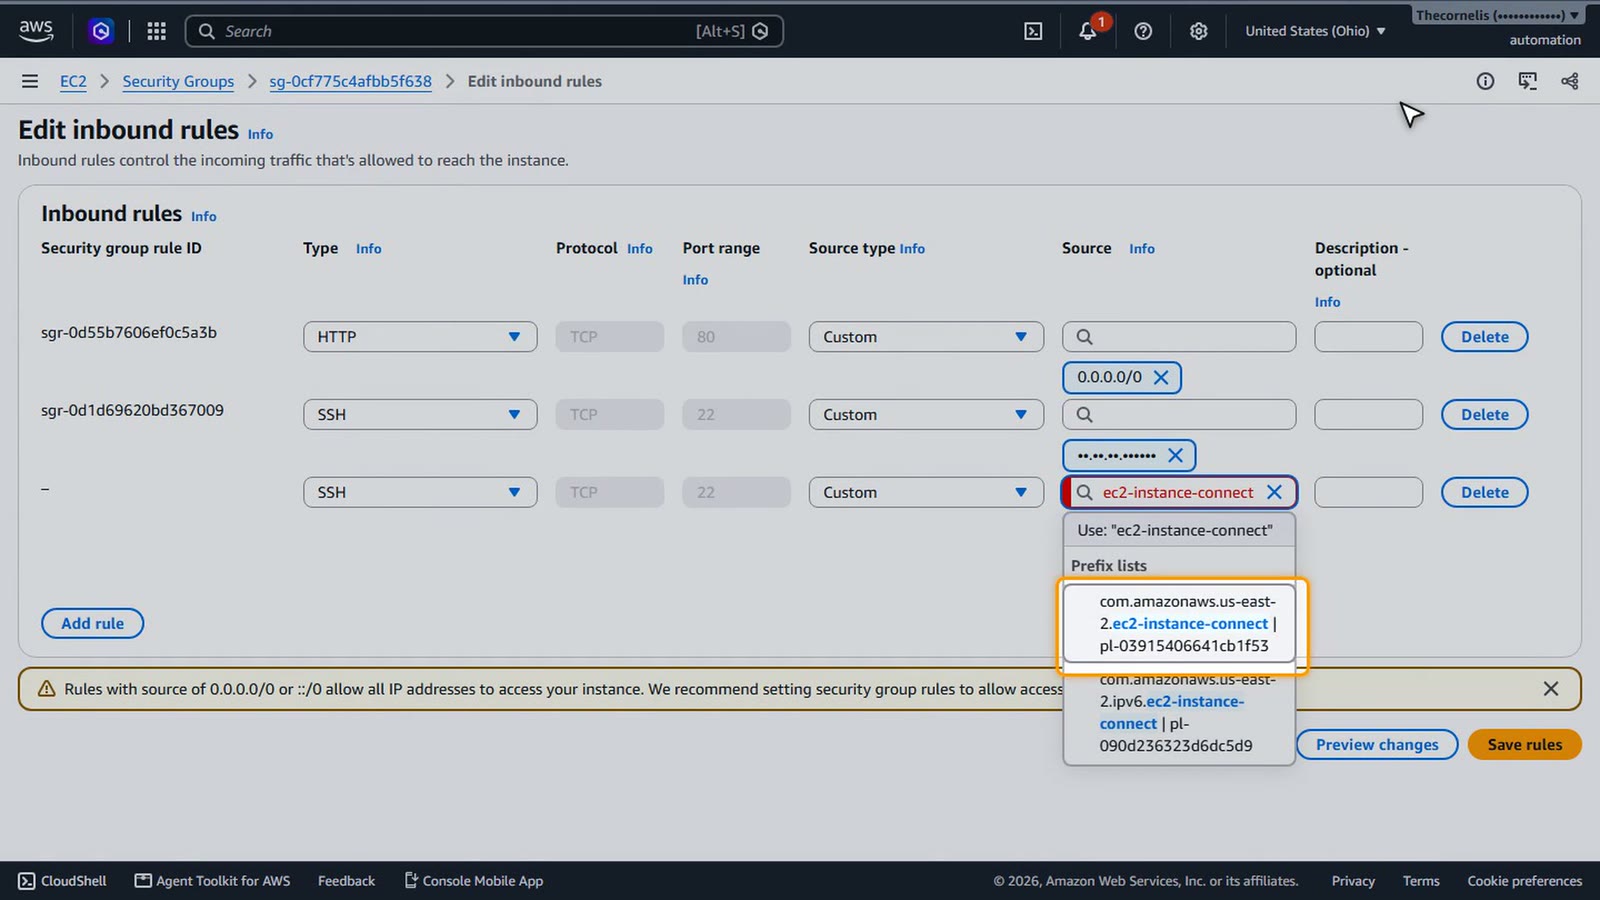
Those are AWS's Instance Connect addresses, and nothing else.
Save the rules.
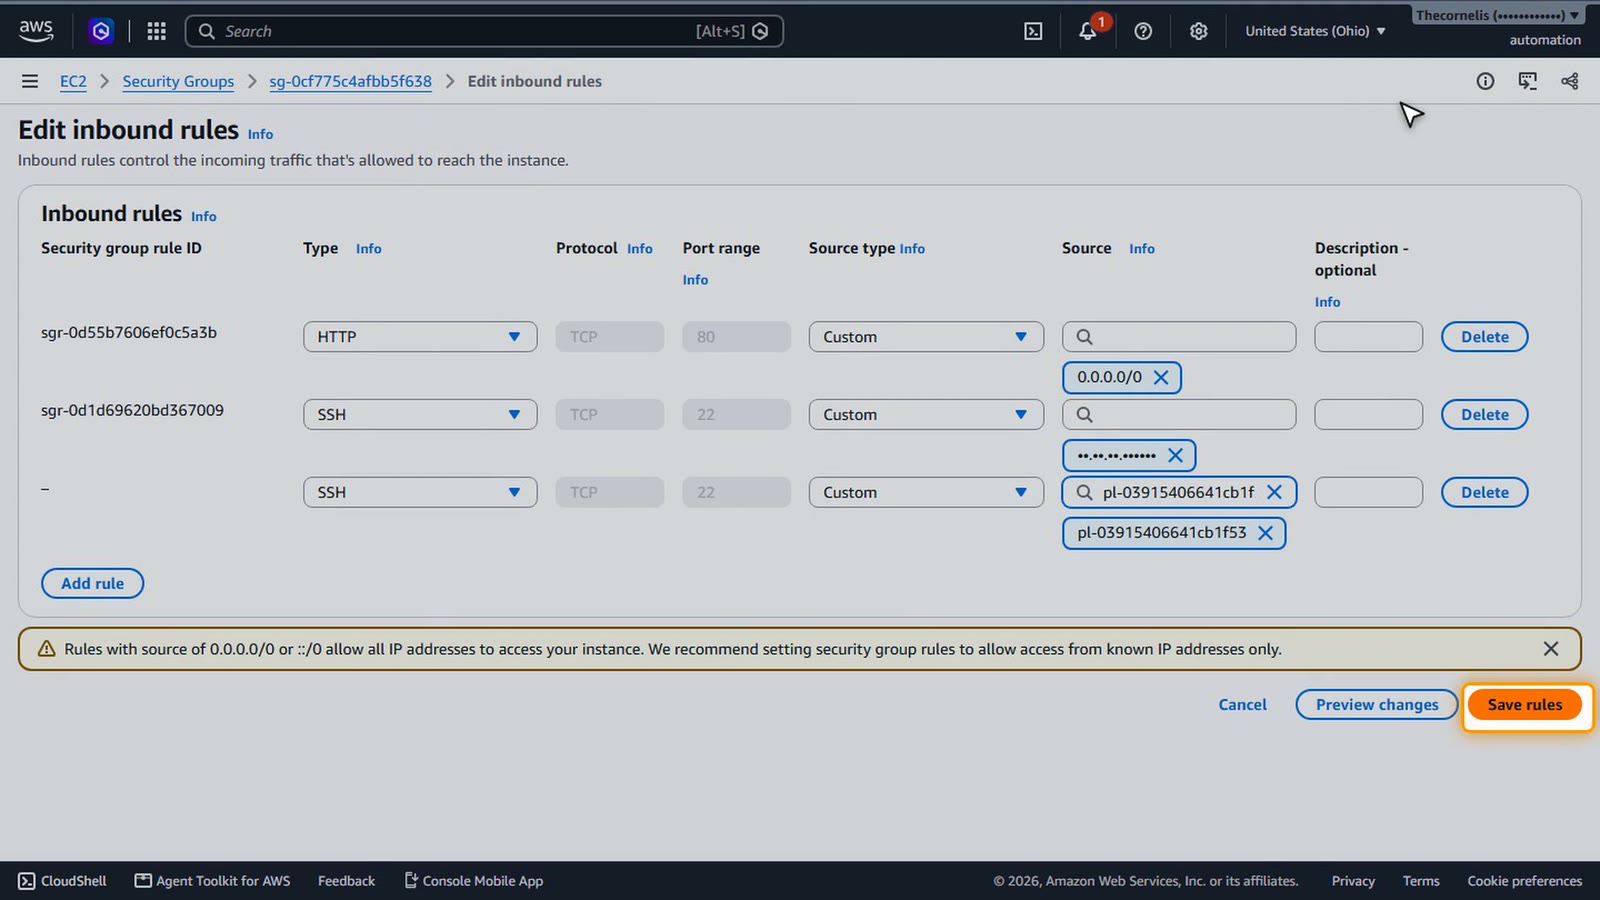
SSH is now open to exactly two places, your address, and Instance Connect. HTTP is open to everyone, for the website.
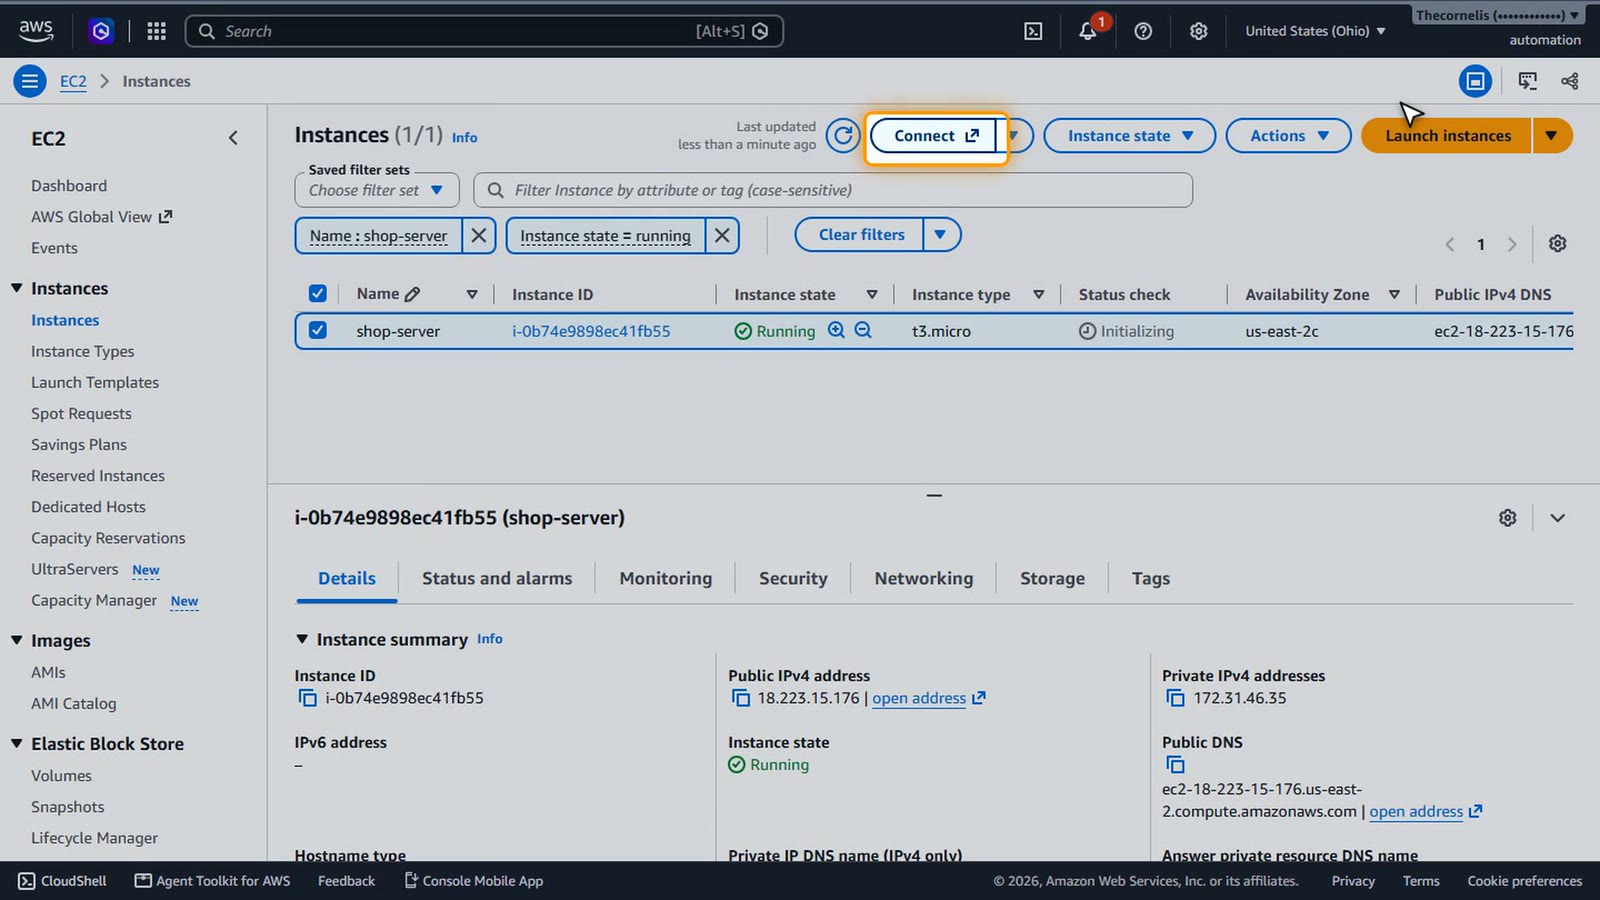
Back to the instances. Select shop-server, and choose Connect.
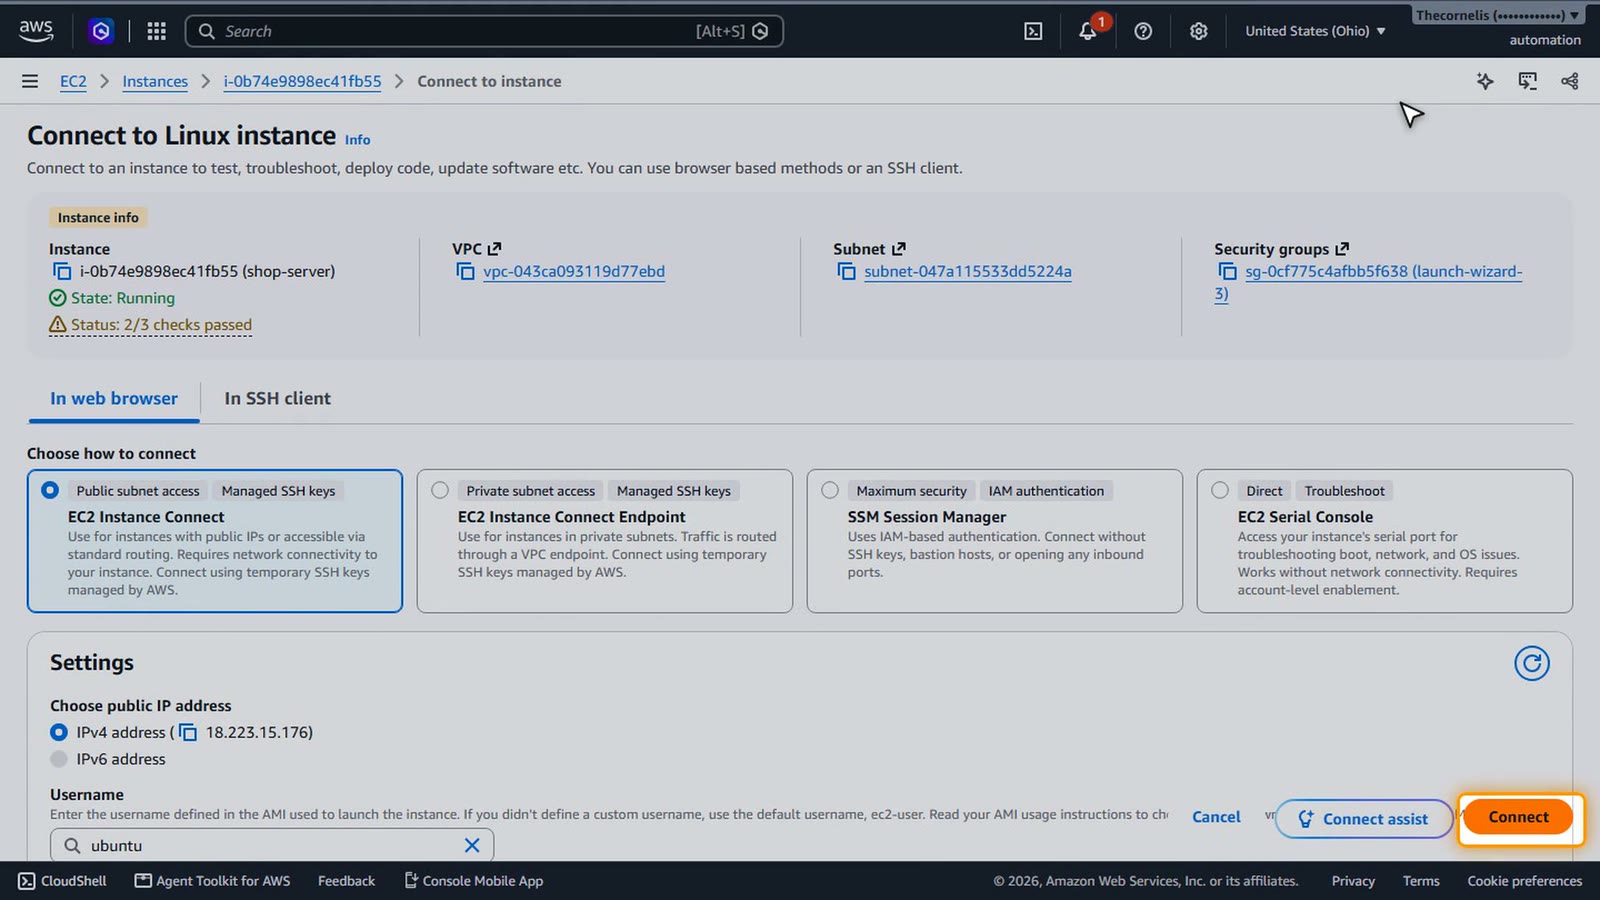
EC2 Instance Connect, with the username ubuntu, and Connect.
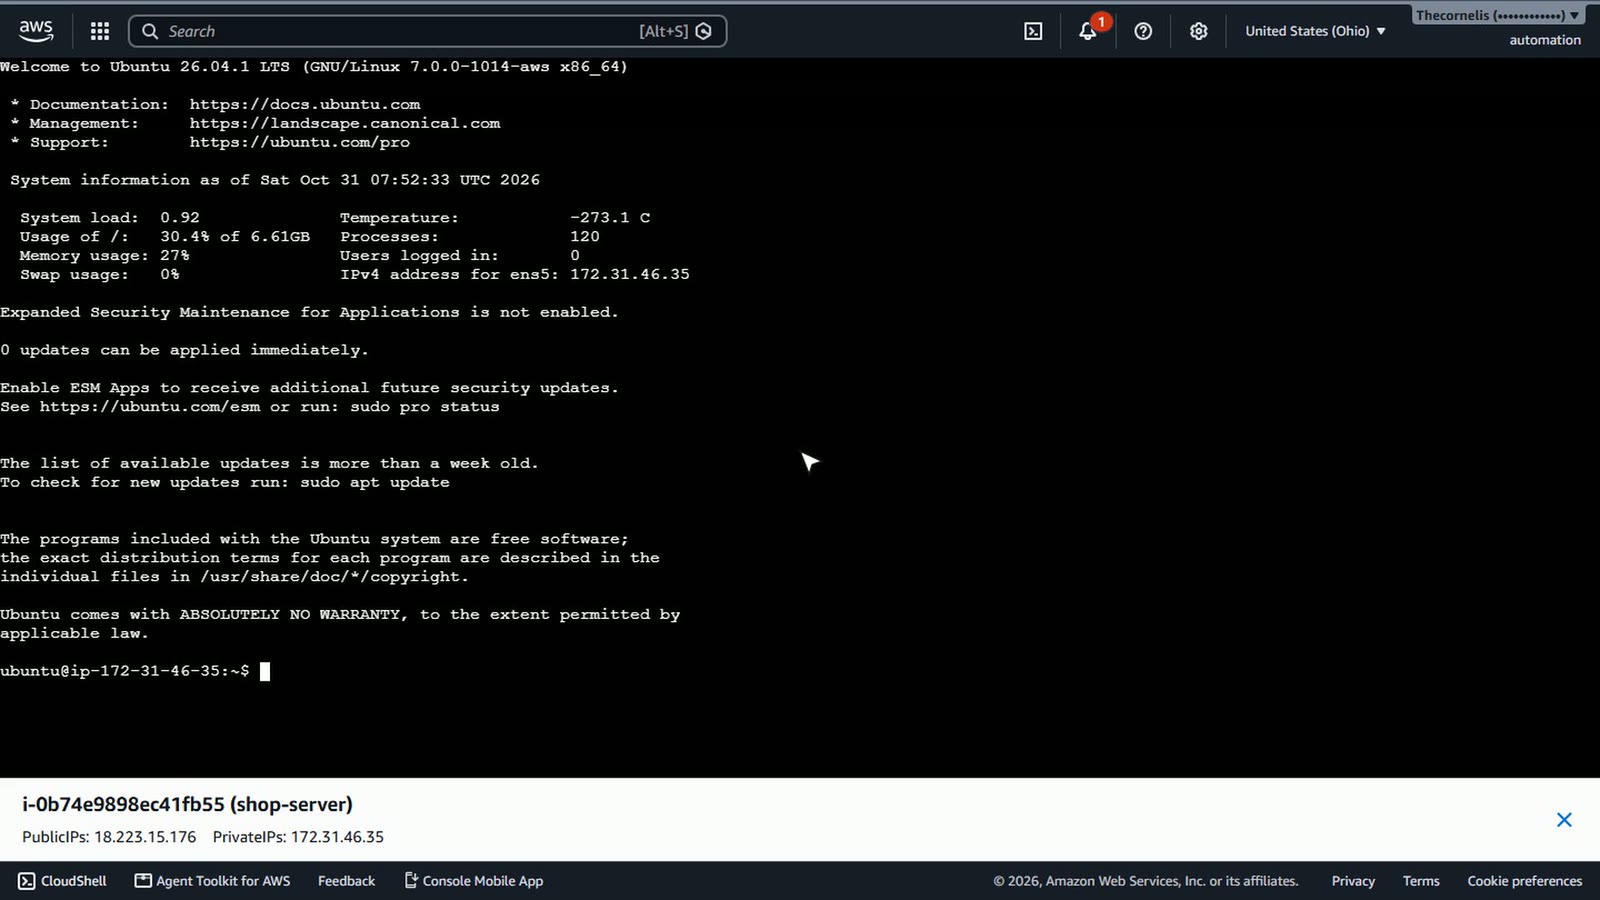
The terminal opens in a new tab.
Name your server
You're in. A shell on your own Linux server. Let's give it a proper name. sudo hostnamectl set-hostname shop-server.
sudo hostnamectl set-hostname shop-server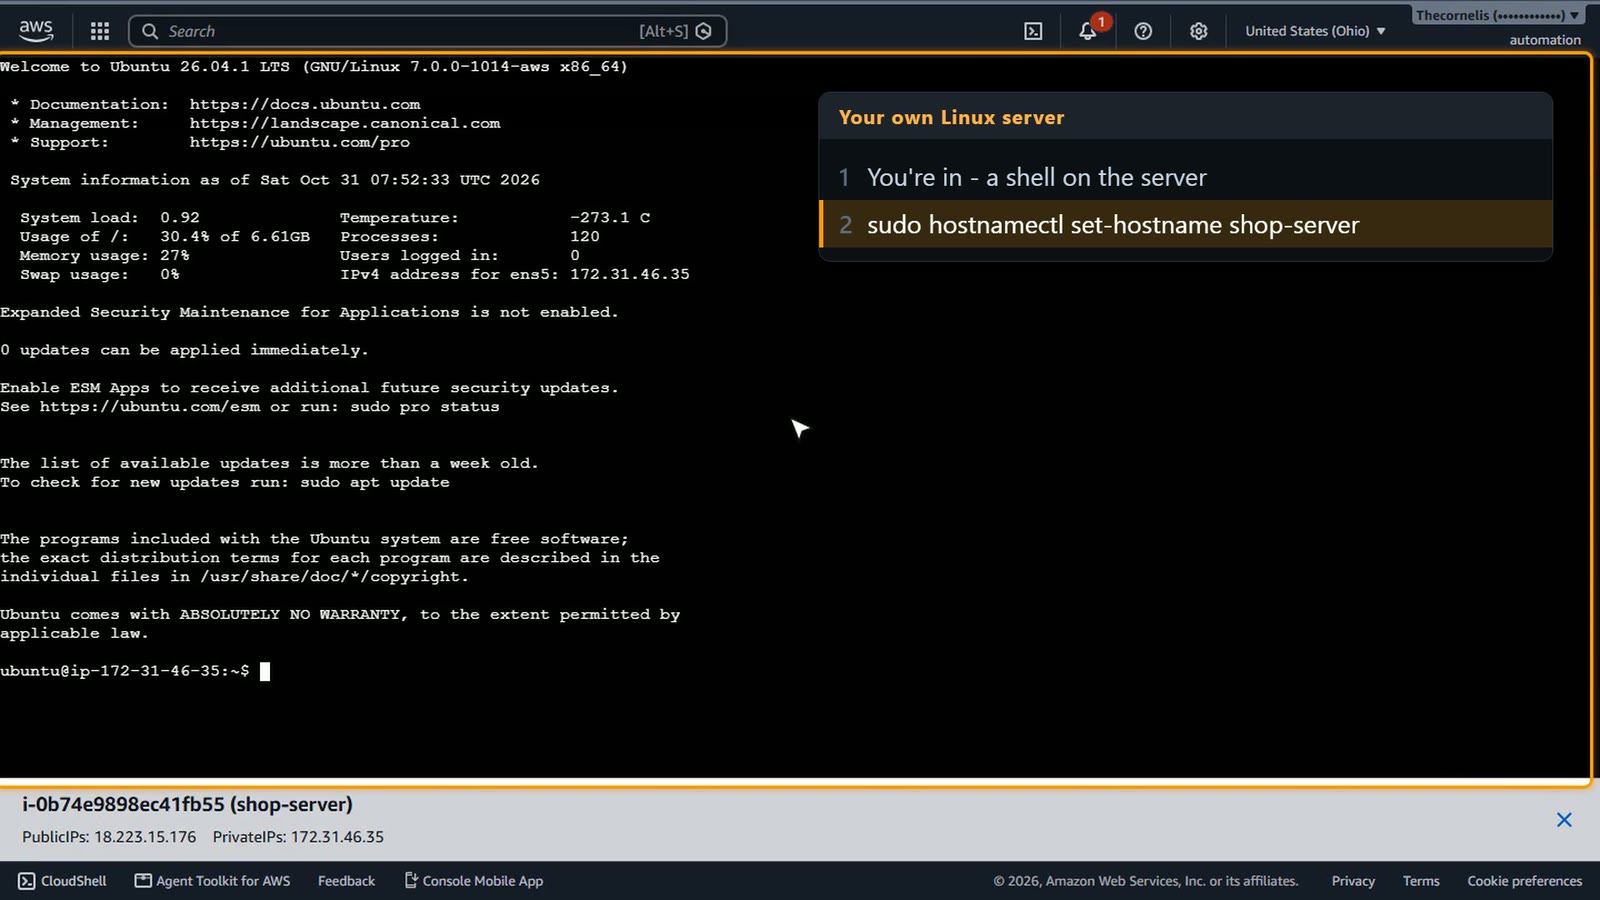
Sudo means, do this as the administrator. Now check what we're running. head minus 2, slash etc slash os-release.
head -2 /etc/os-release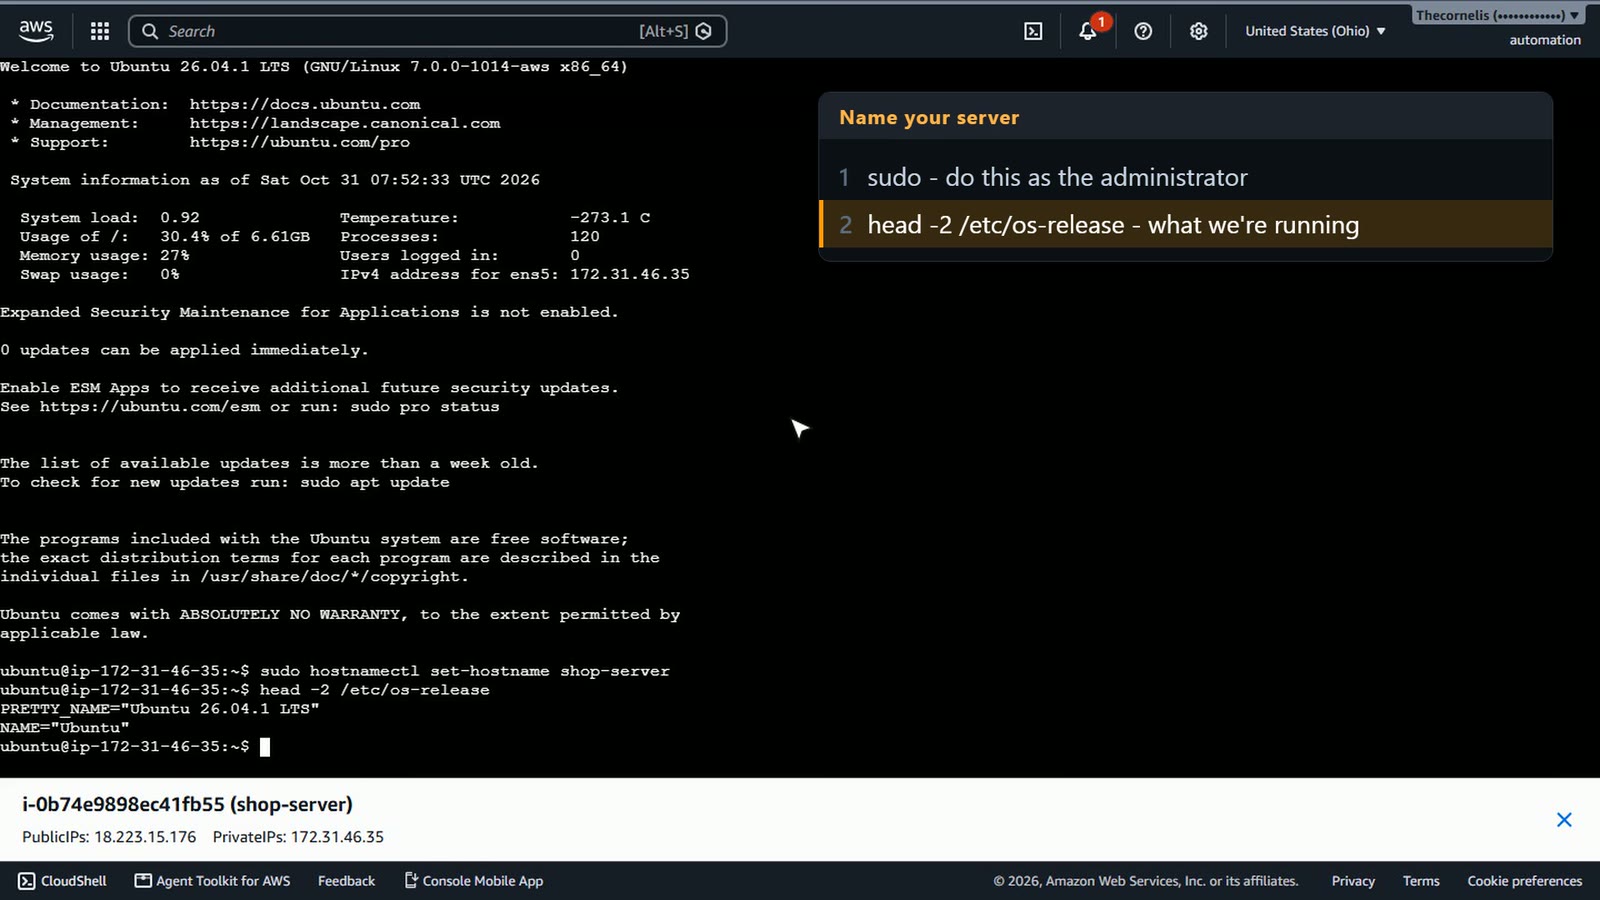
Ubuntu, the LTS release. Type exit. The new name shows up next time you log in.
exit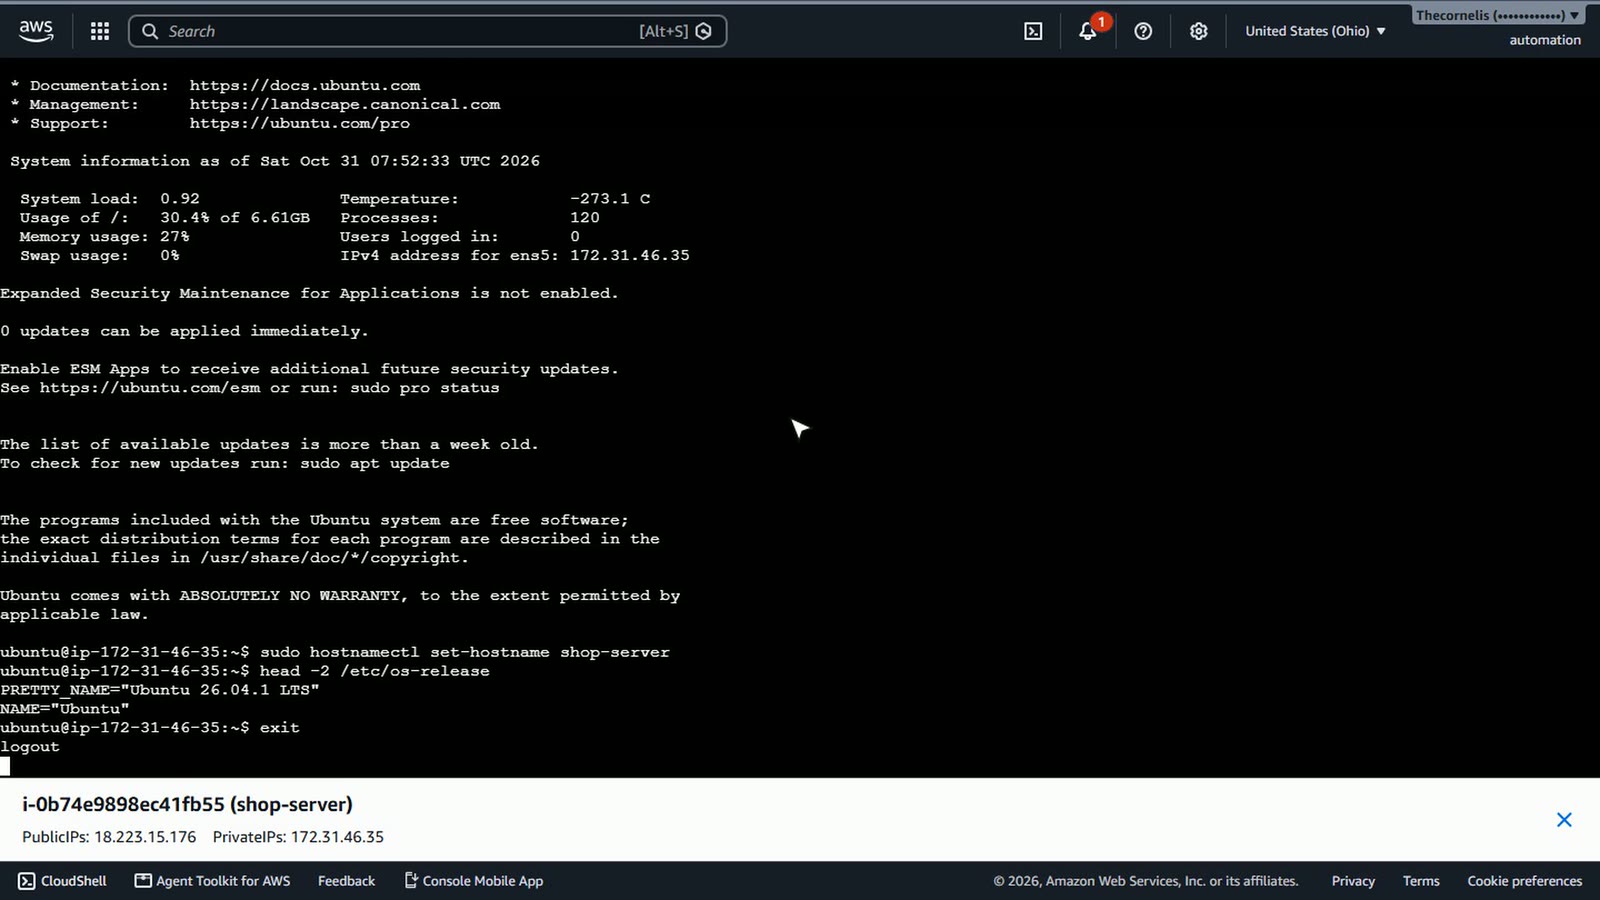
Take a snapshot
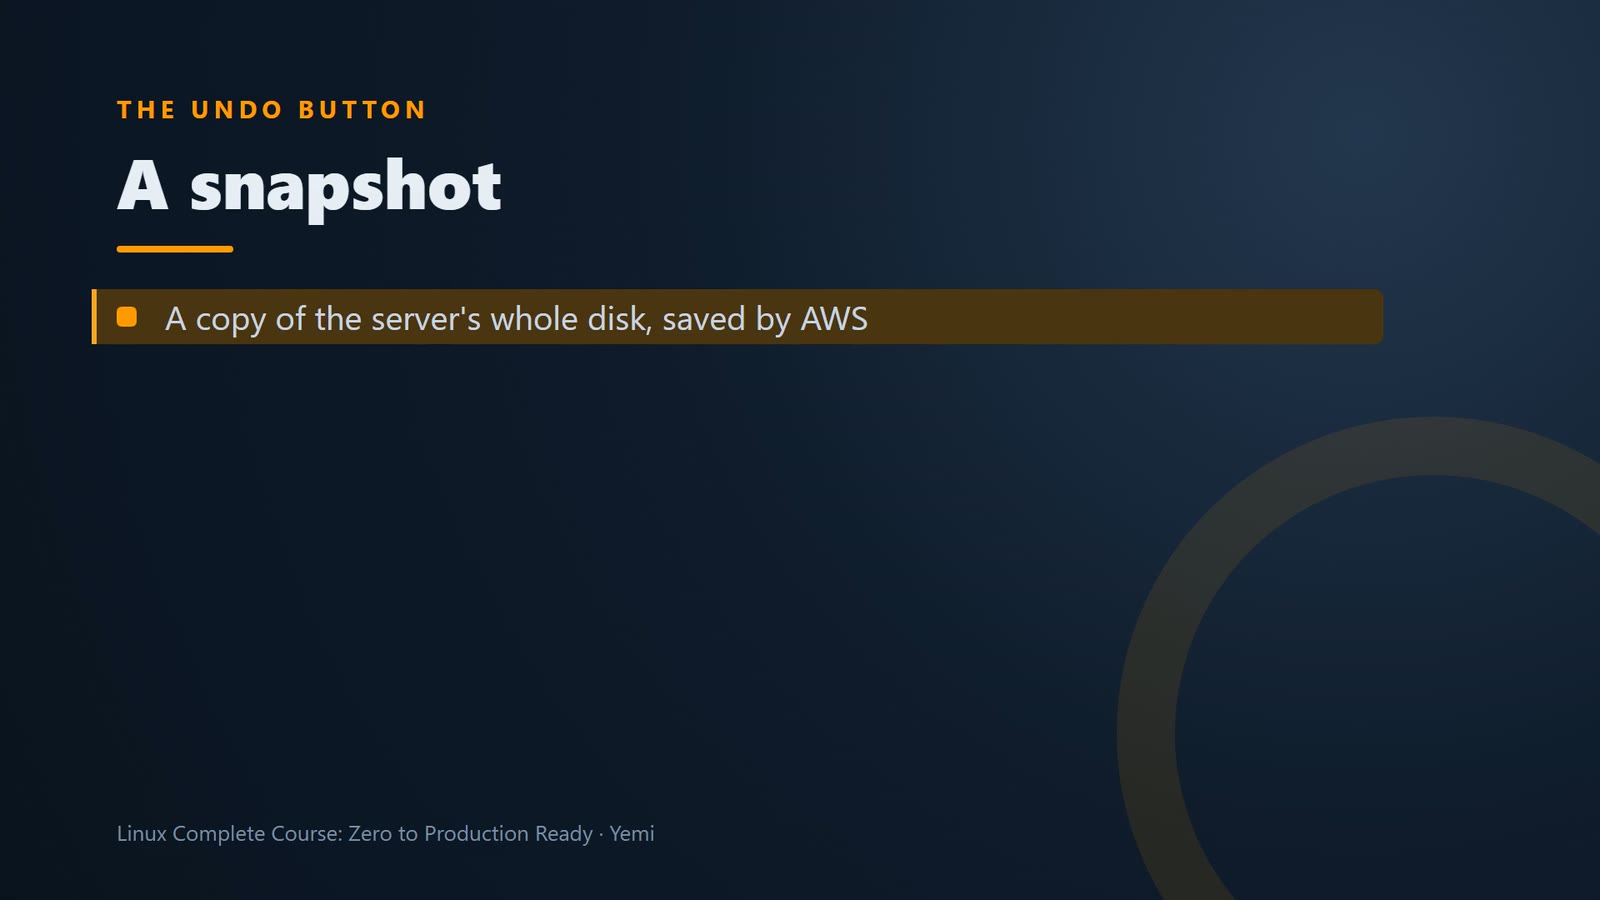
Now, the undo button. A snapshot is a copy of the server's whole disk, saved by AWS. Take one before anything risky.
Open Snapshots, under Elastic Block Store.
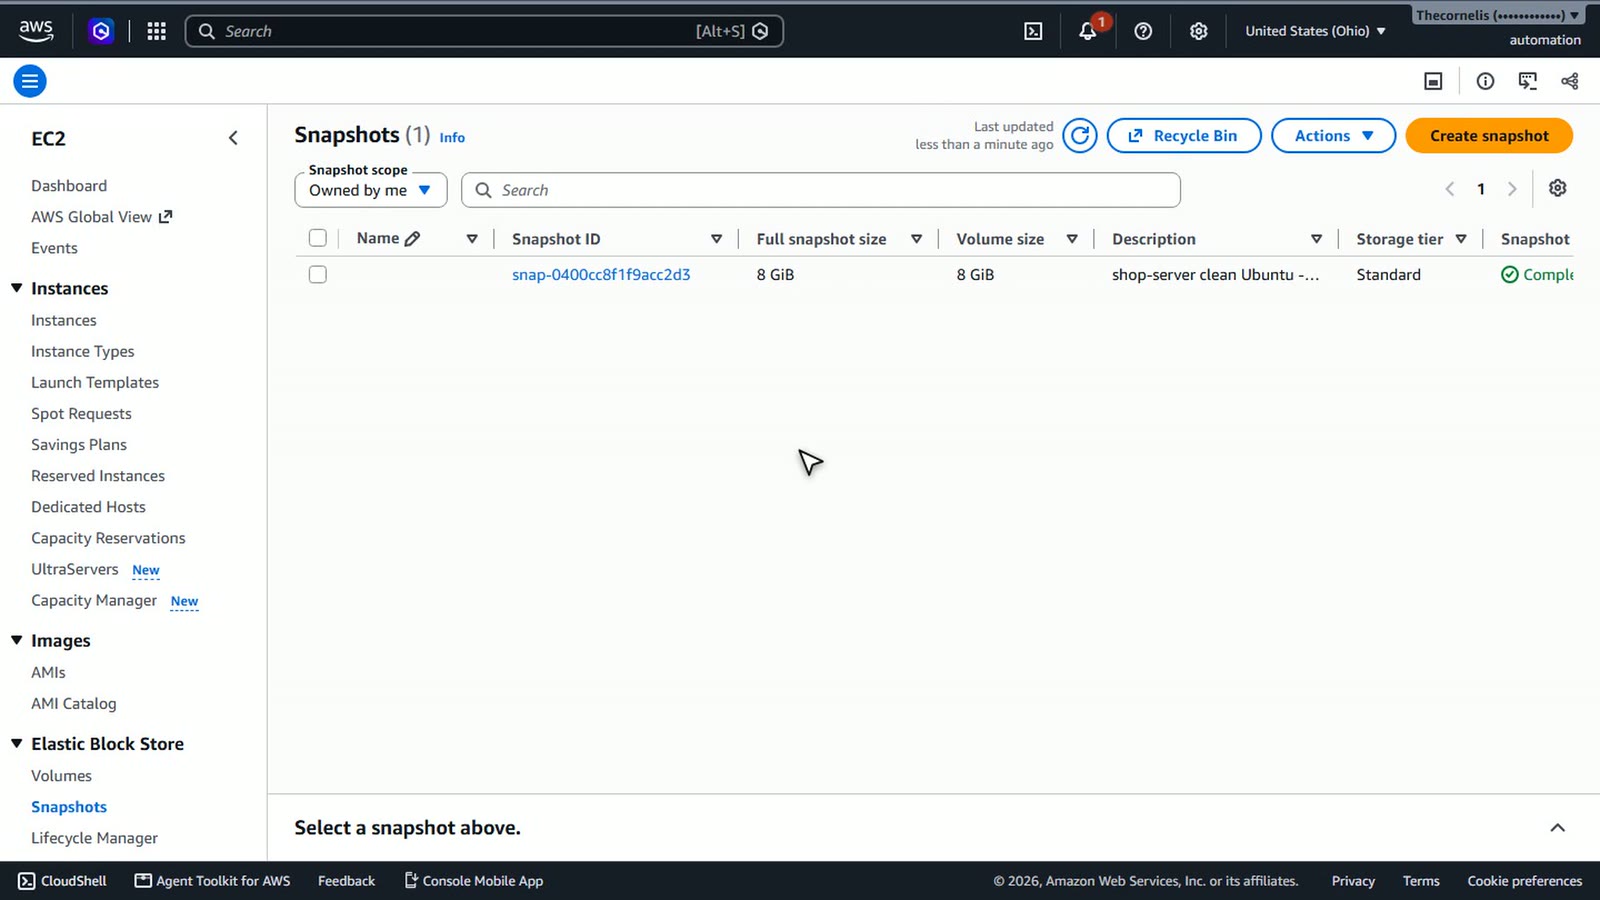
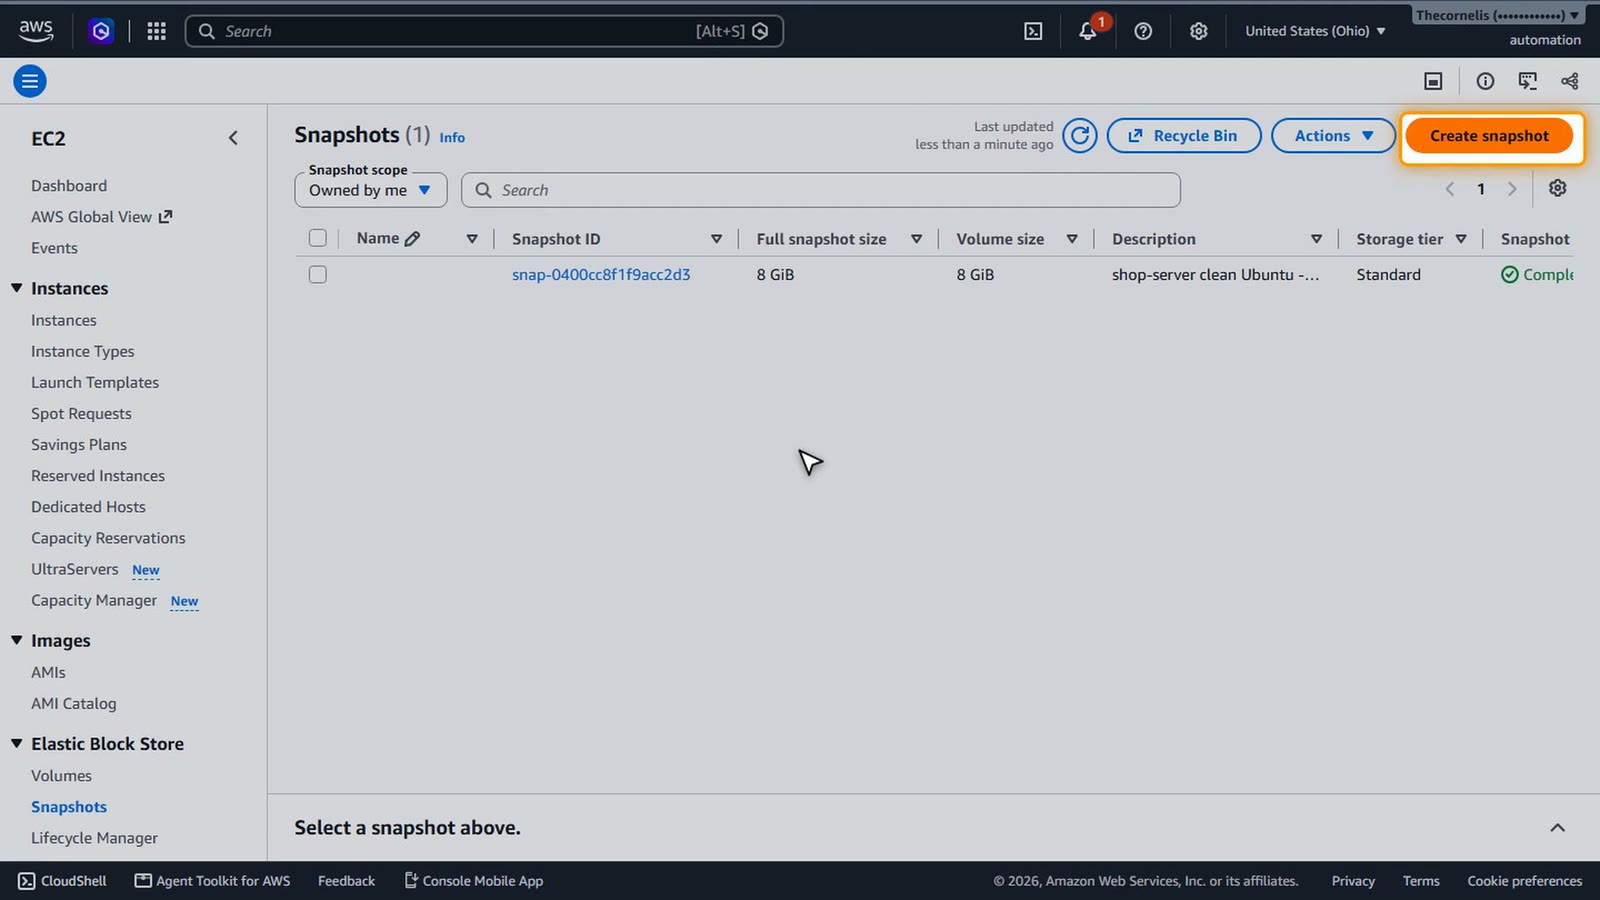
Choose Create snapshot.
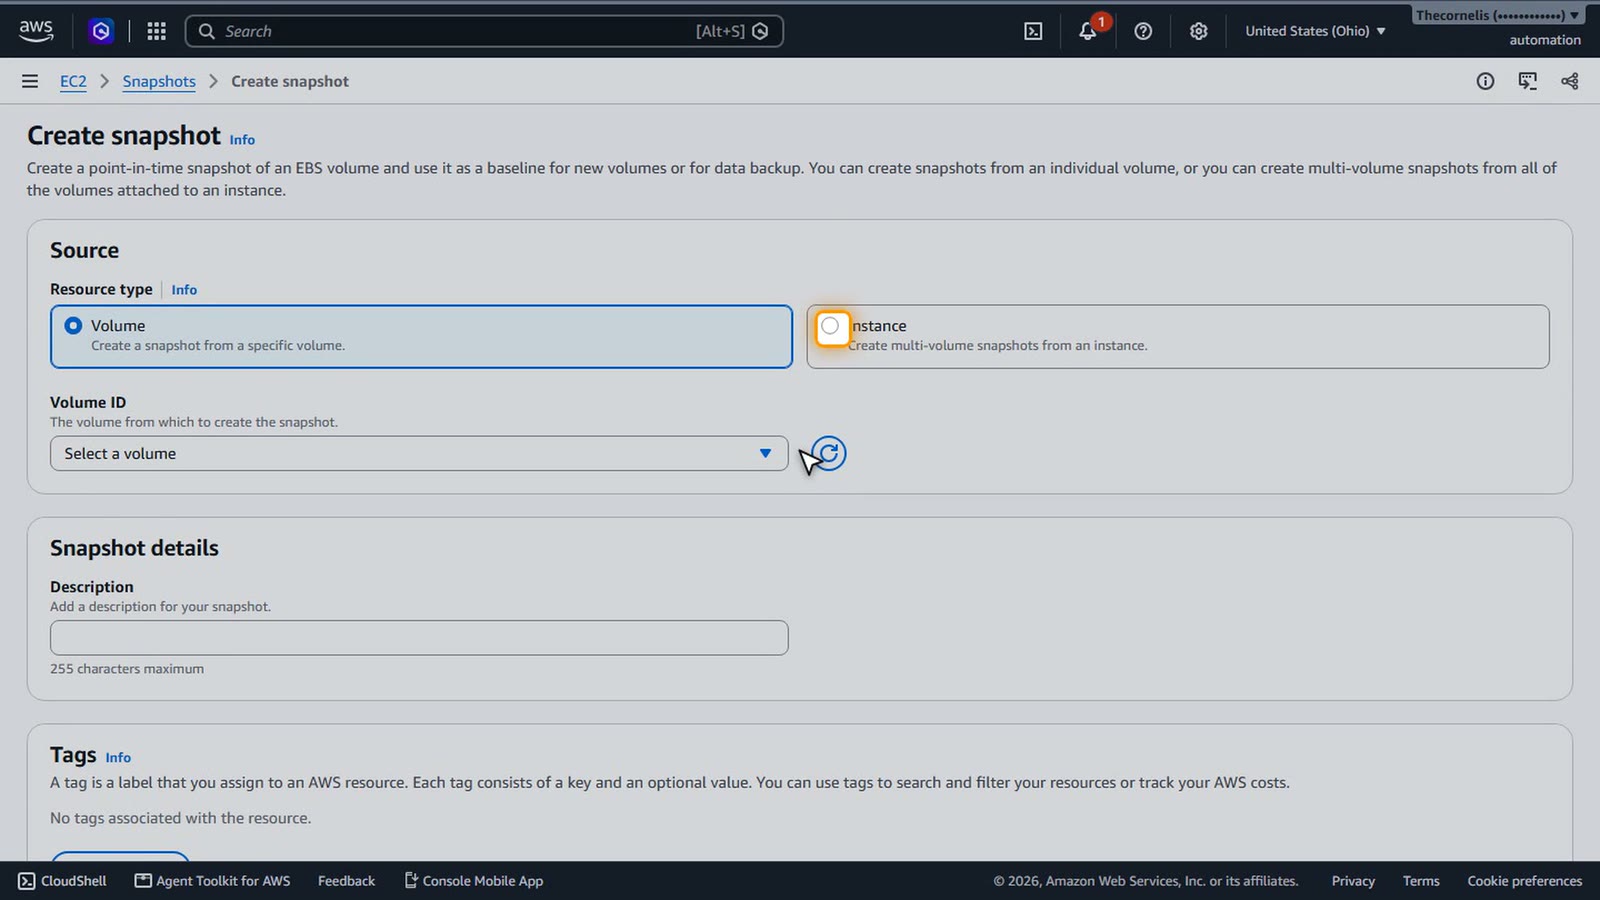
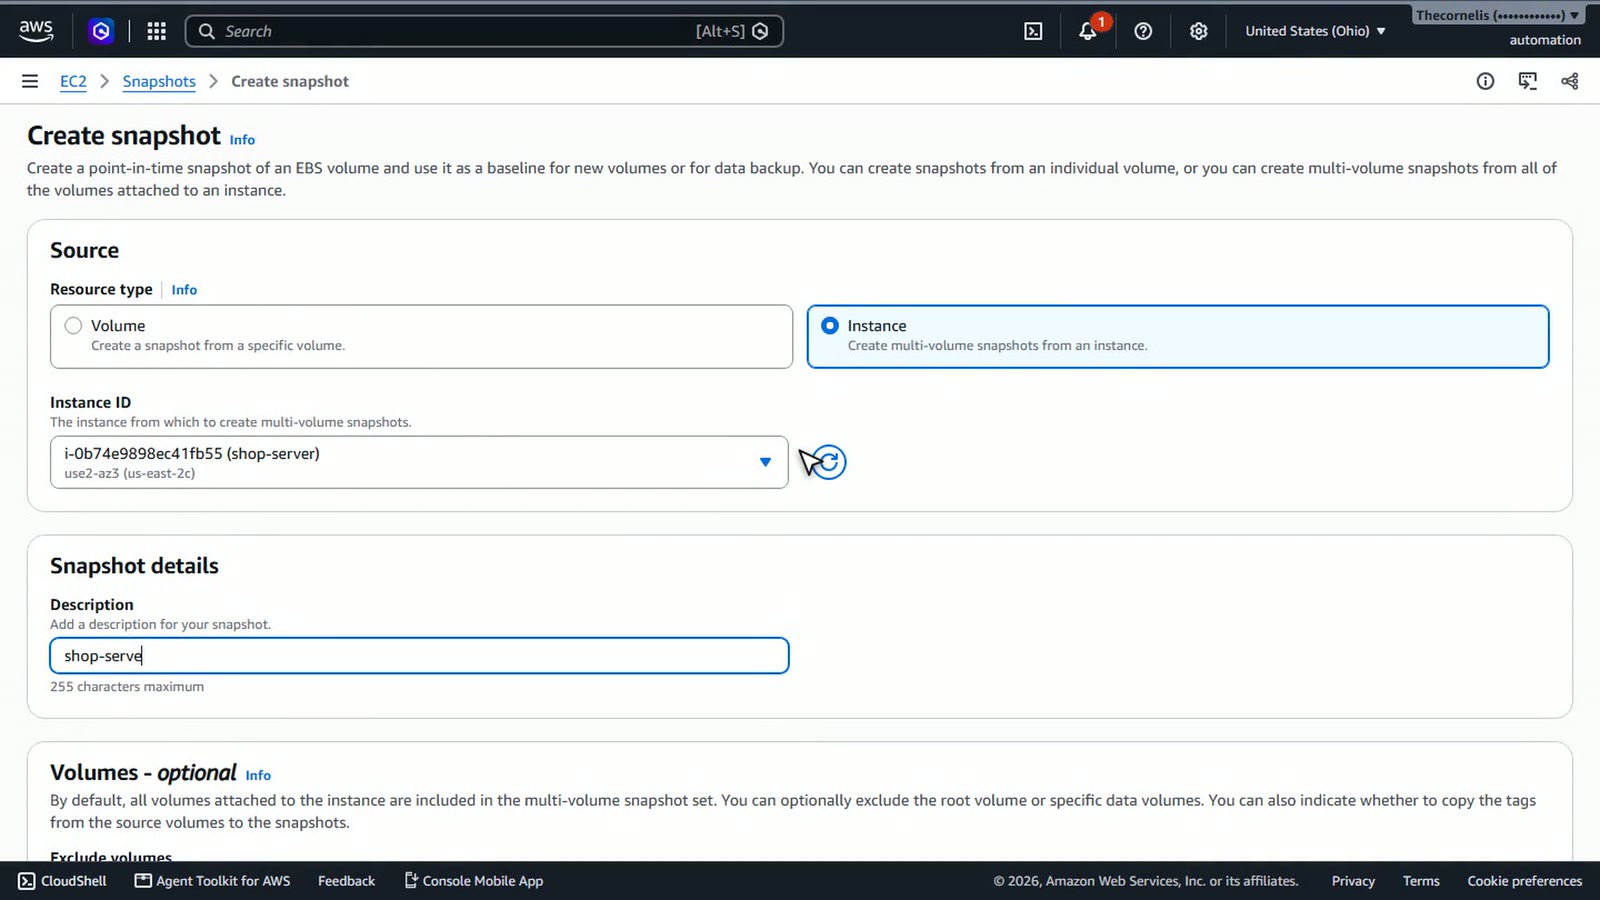
Resource type, Instance. And pick shop-server.
Give it a description. Clean Ubuntu, lesson 2.
And choose Create snapshot.
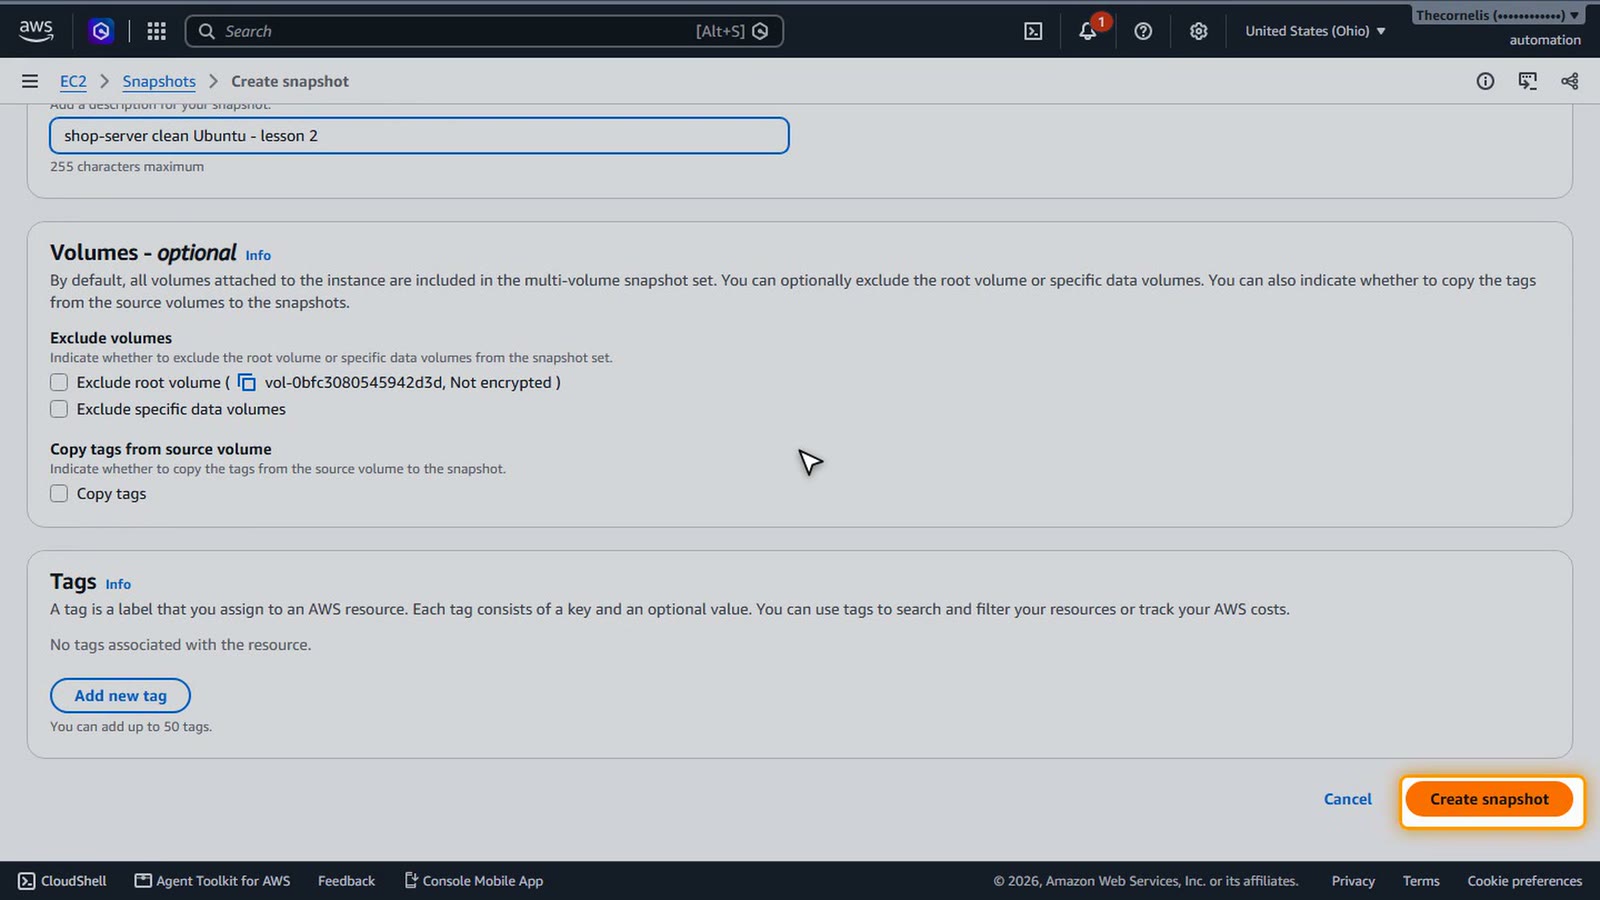
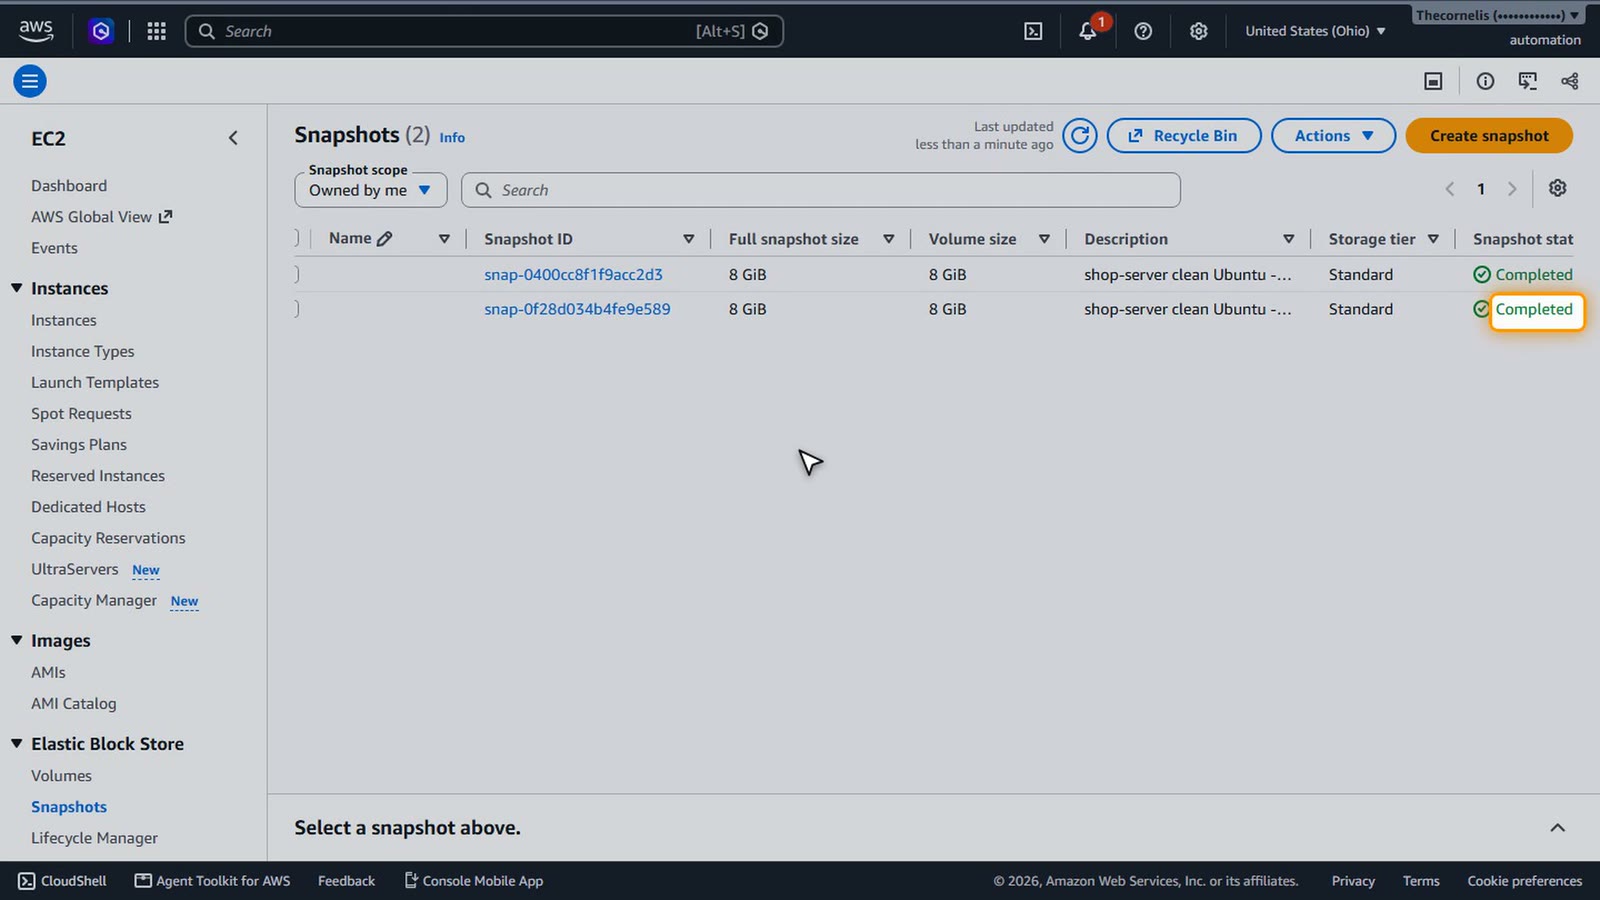
It takes a minute or two. Wait until it says Completed.
Break it on purpose
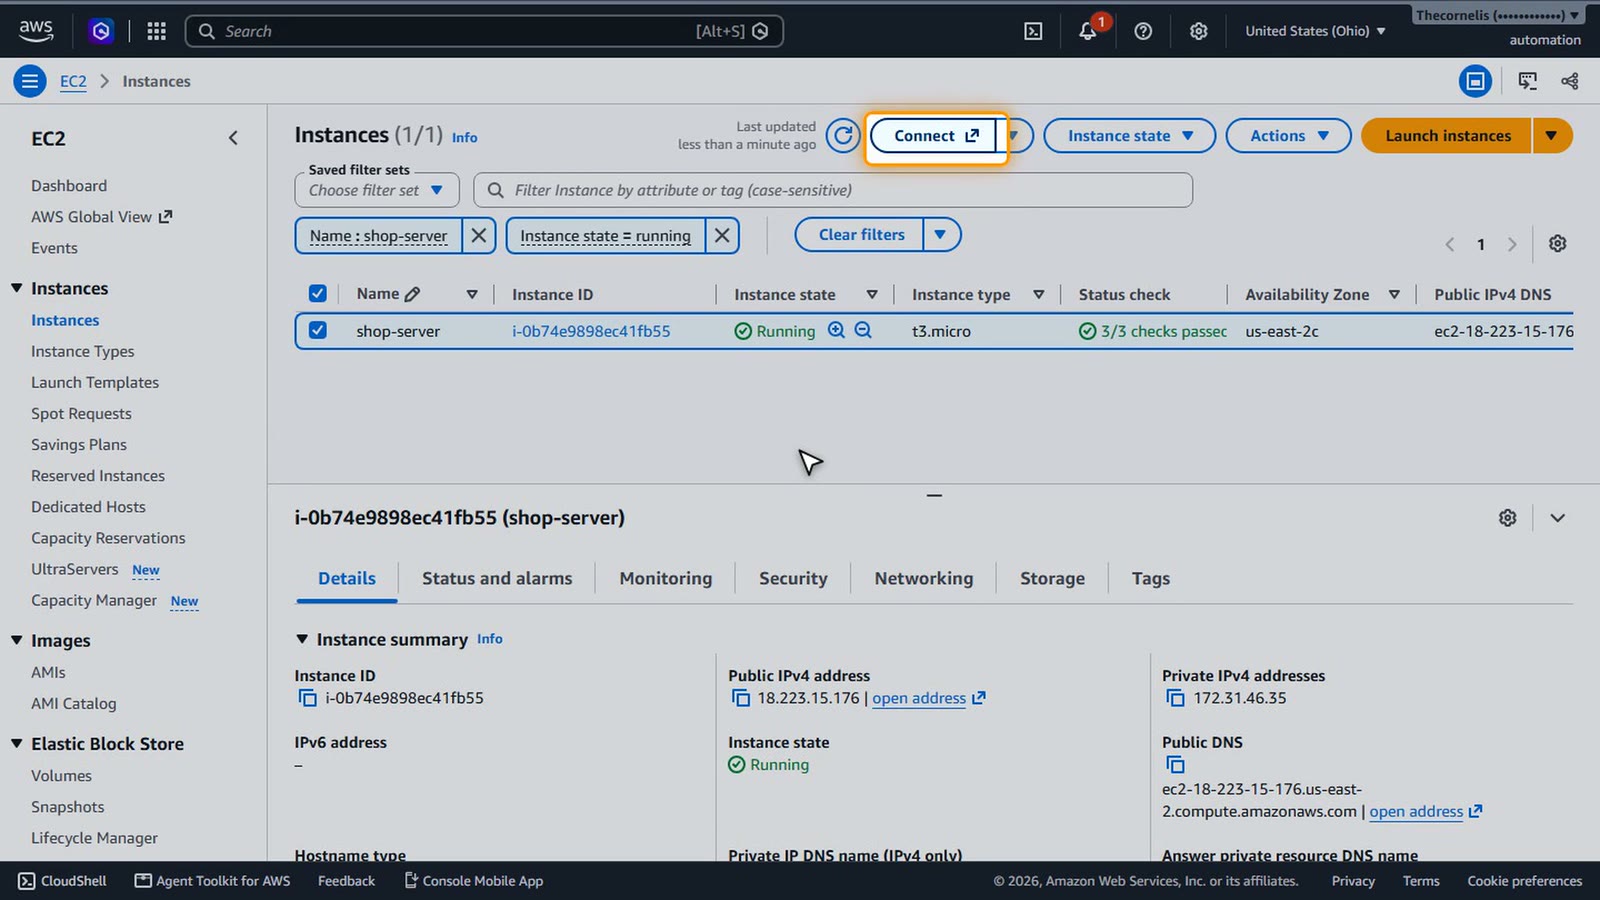
Now let's break the server, on purpose. Select shop-server, and choose Connect.
EC2 Instance Connect, with the username ubuntu, and Connect.
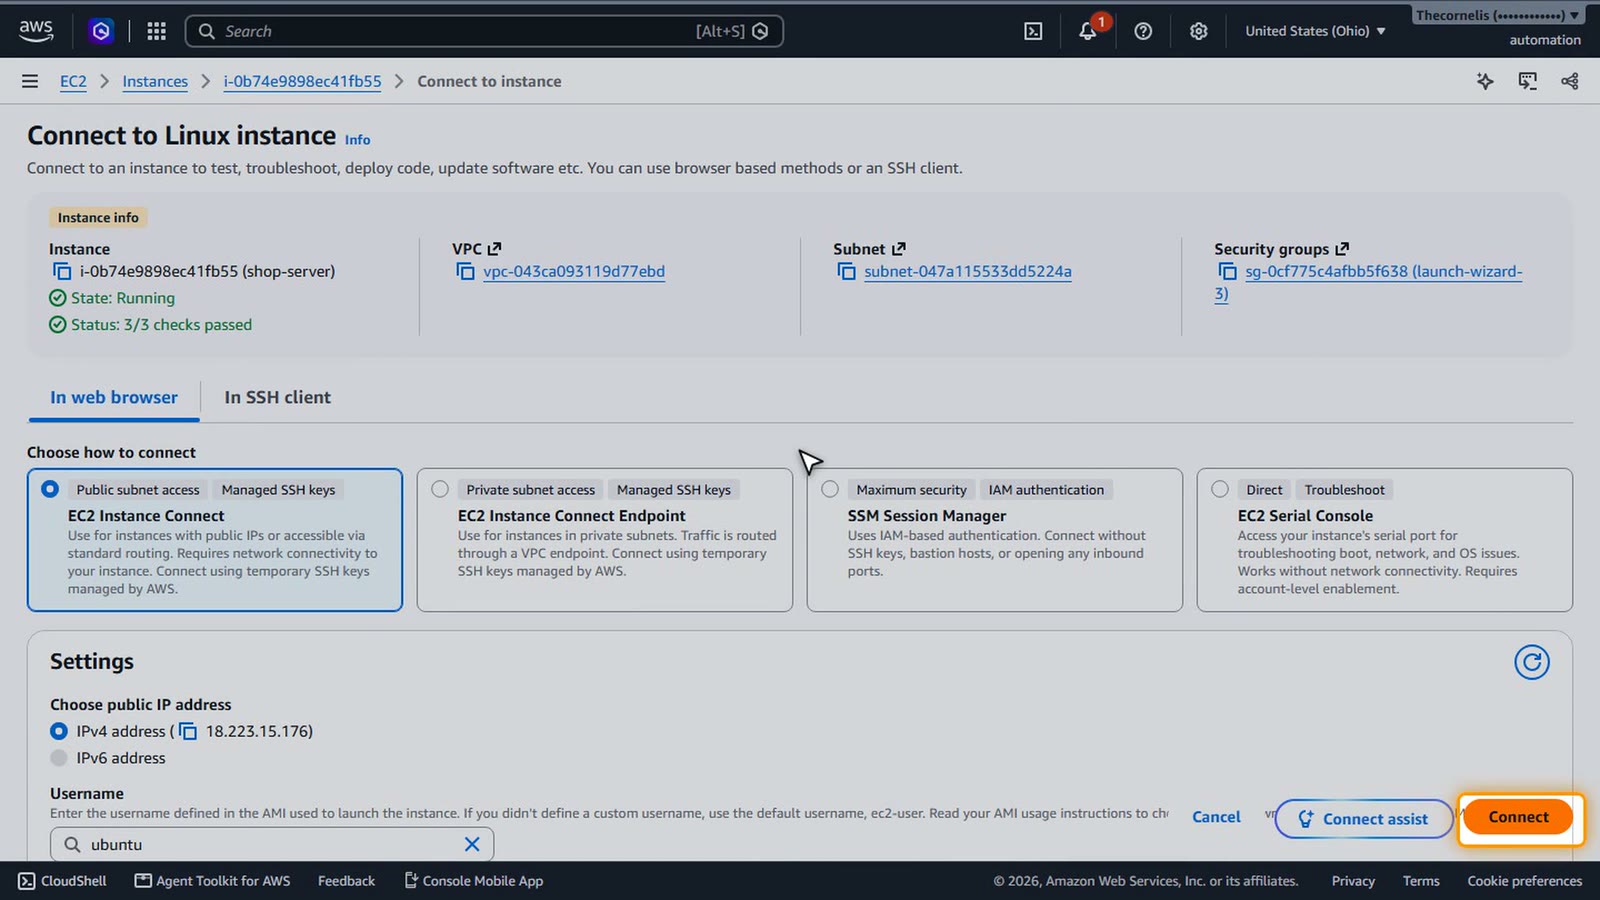
The terminal opens in a new tab.
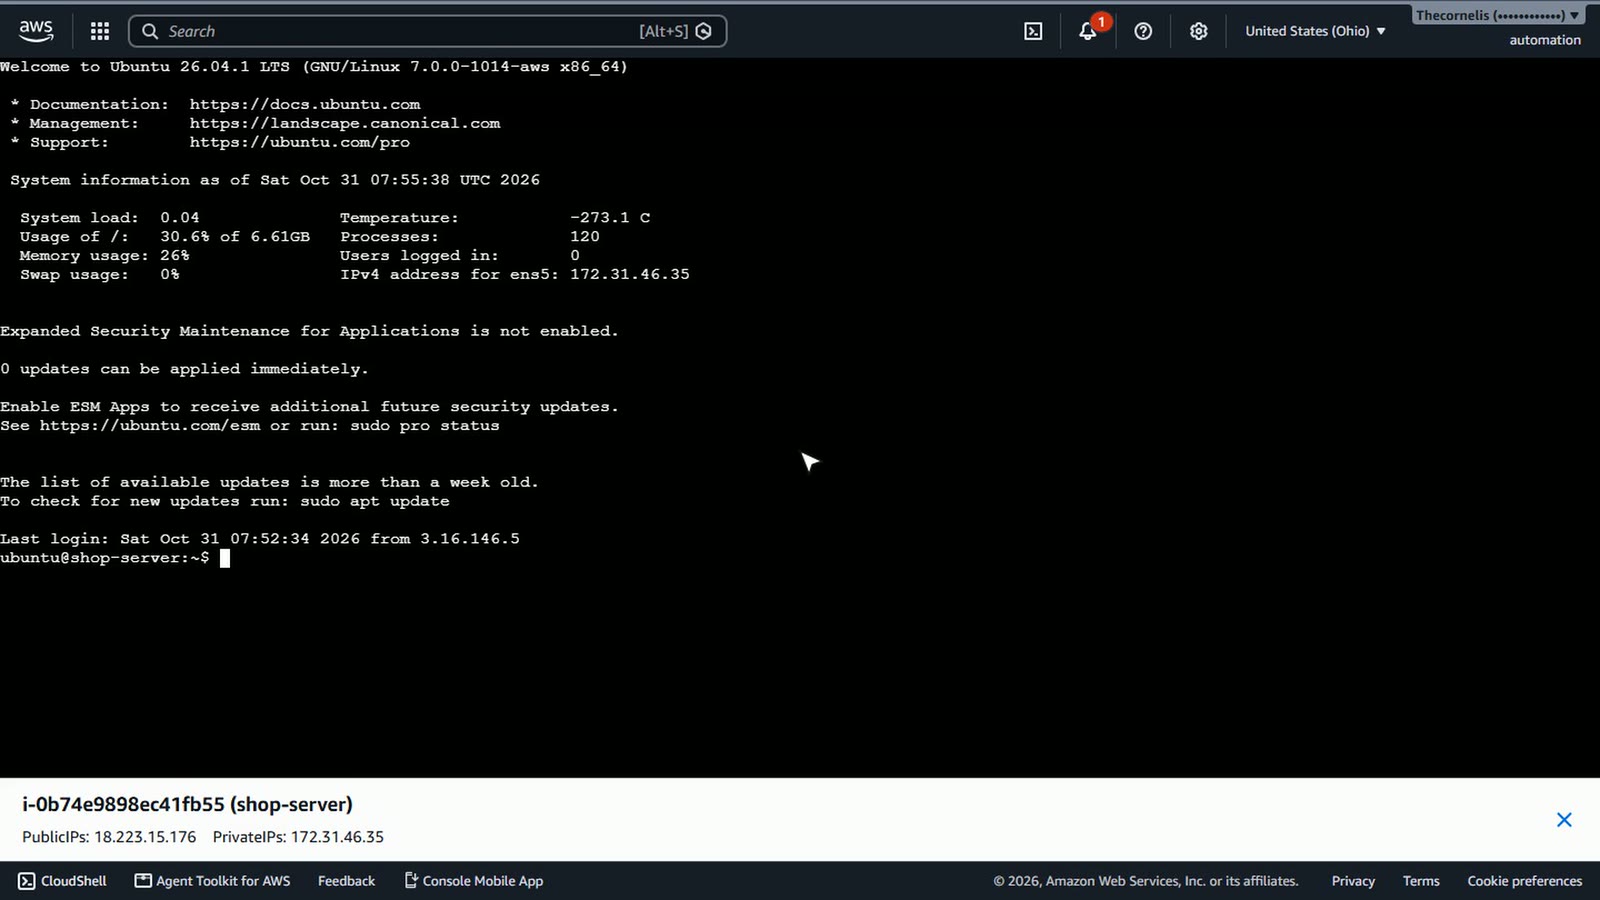
Notice the prompt now says shop-server. We'll delete the ls command, the one that lists files. Only ever do this on a lab server. sudo rm slash usr slash bin slash ls.
# Lab server only!
sudo rm /usr/bin/ls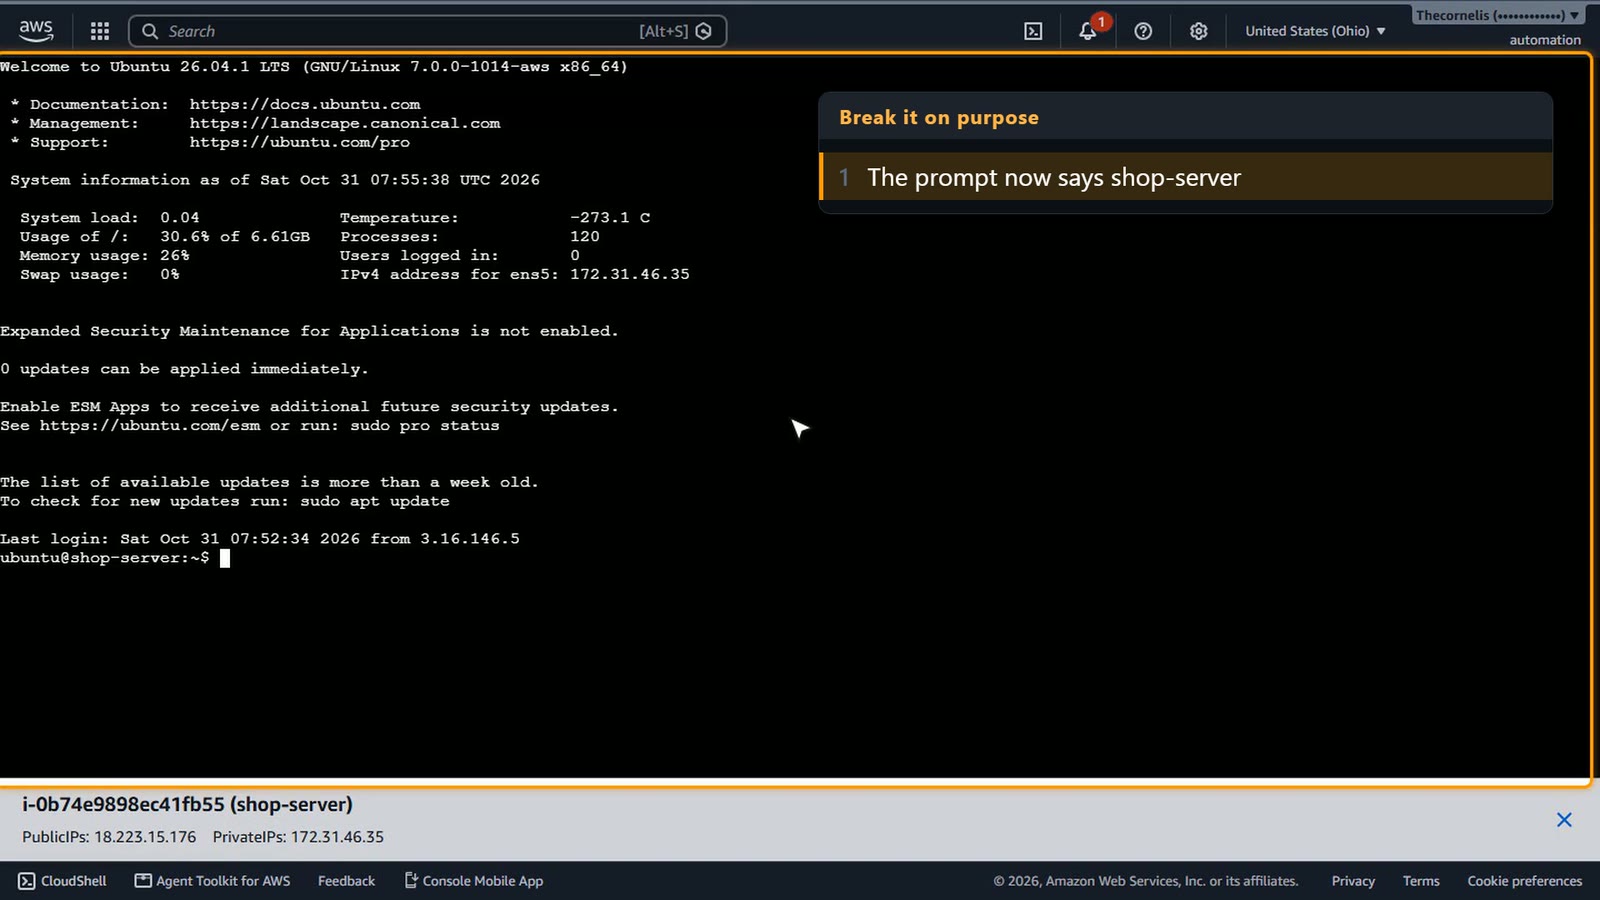
Now type ls. Command not found. This server is broken.
ls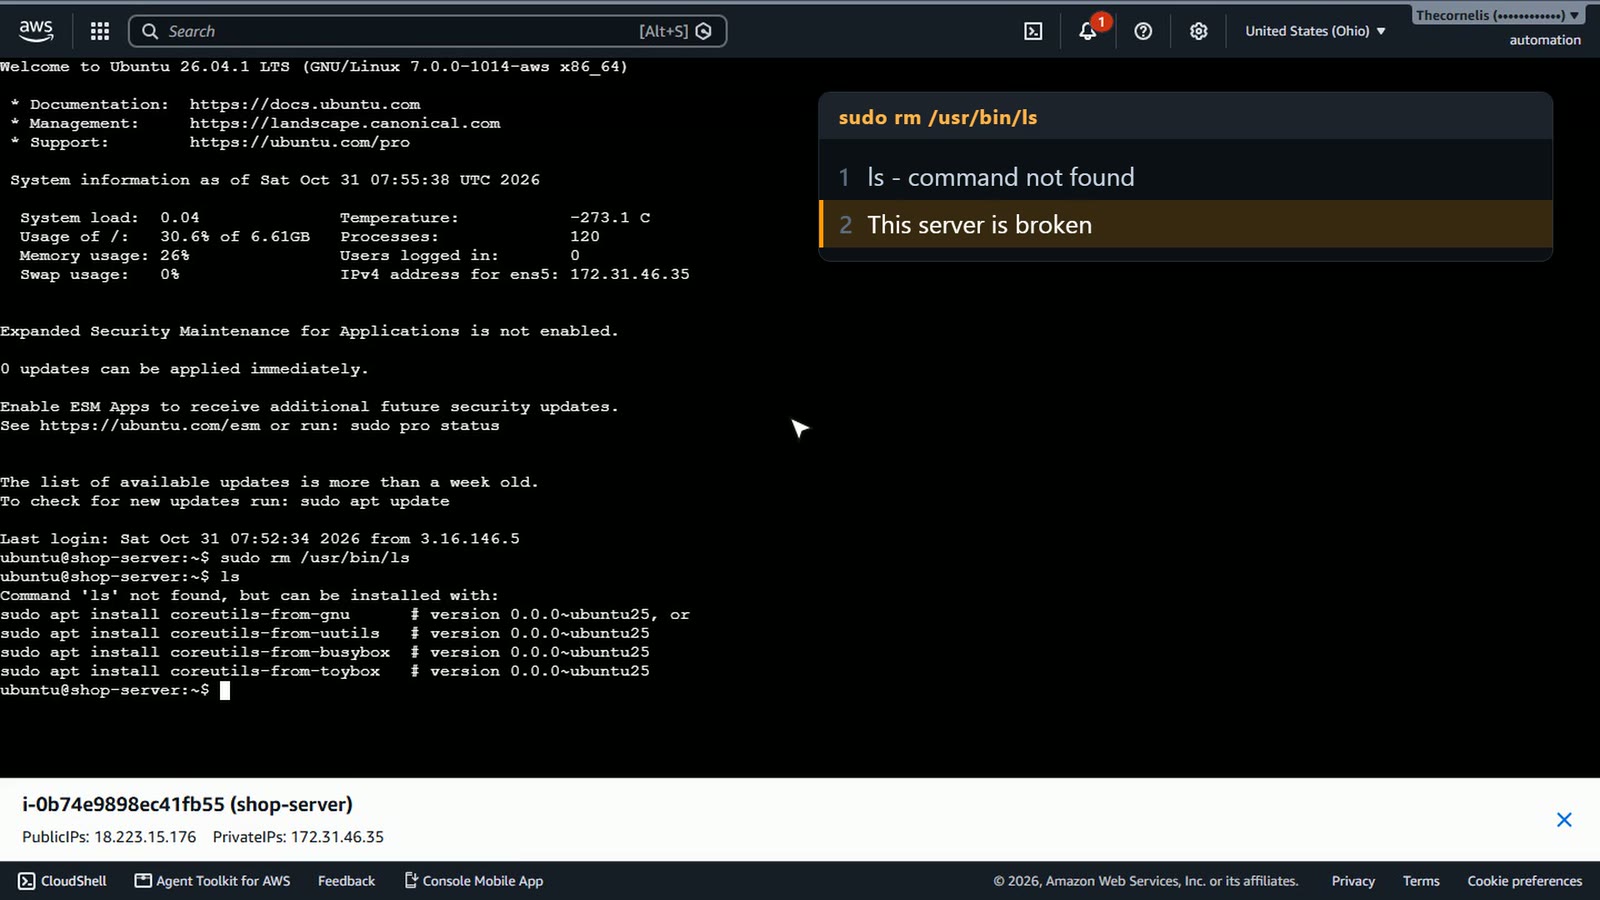
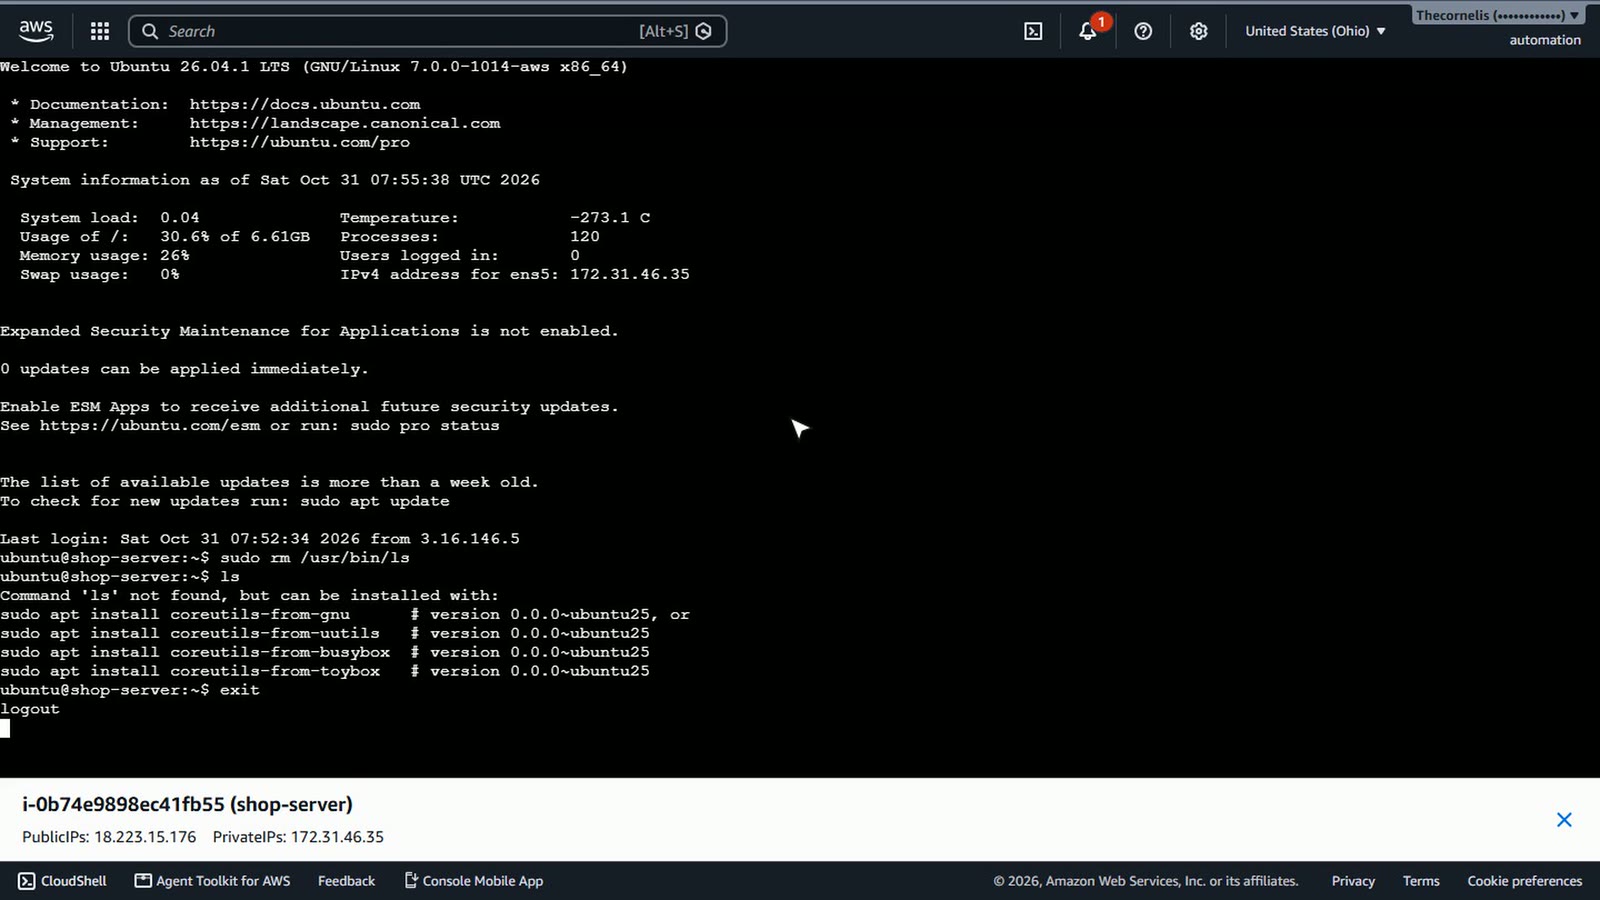
Type exit.
Undo with the snapshot
Time for the undo button. Select shop-server, and open Actions.
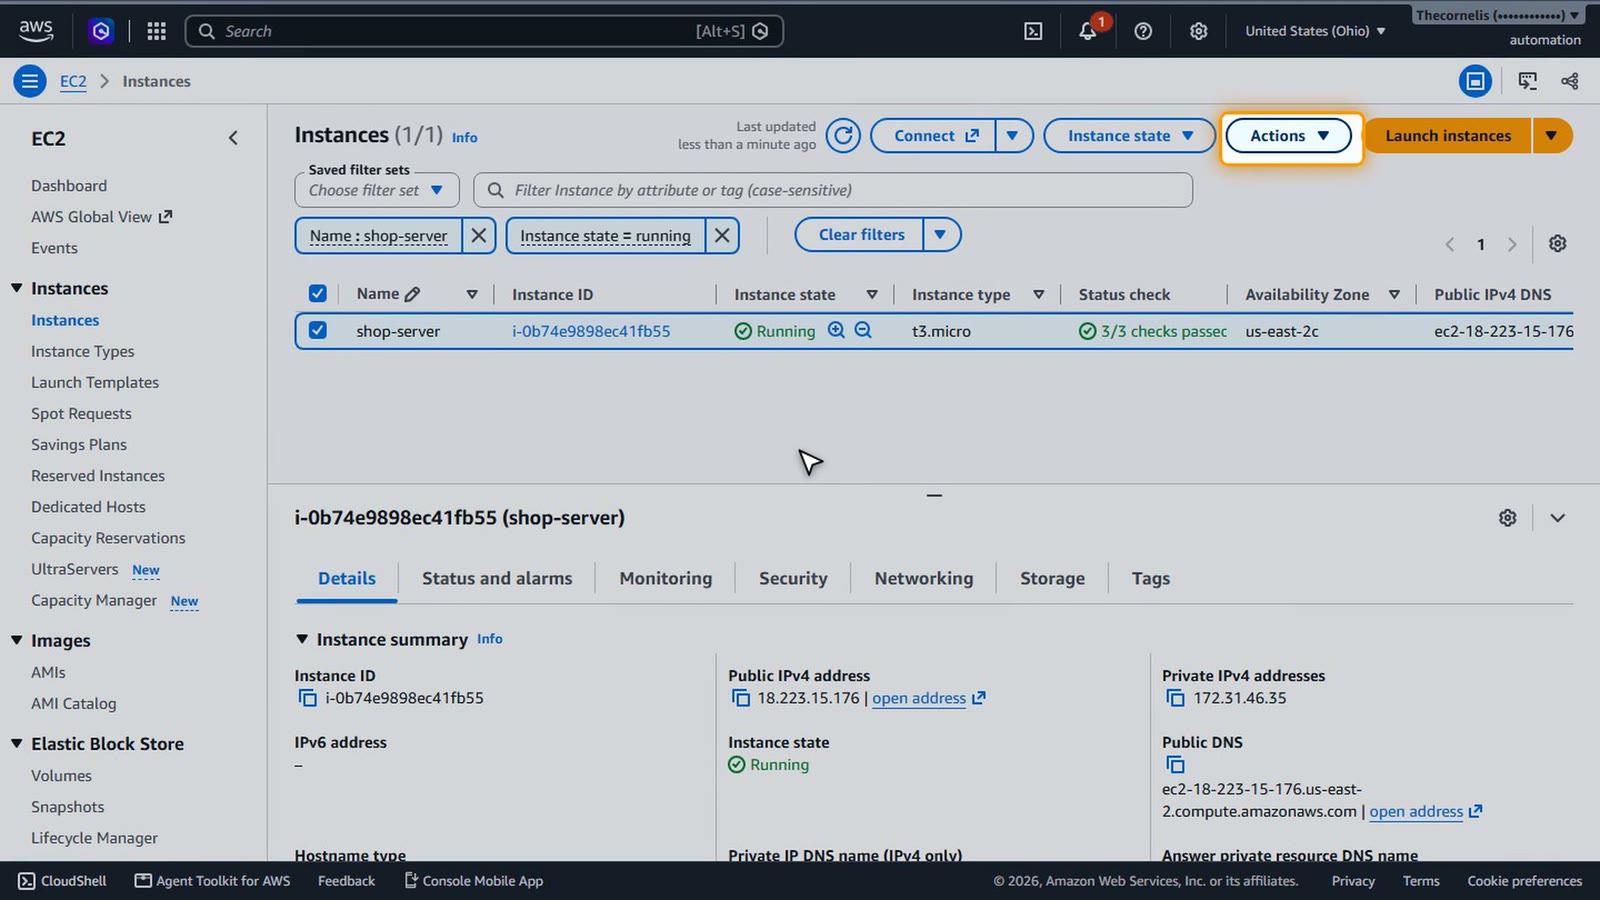
Monitor and troubleshoot, Replace root volume.
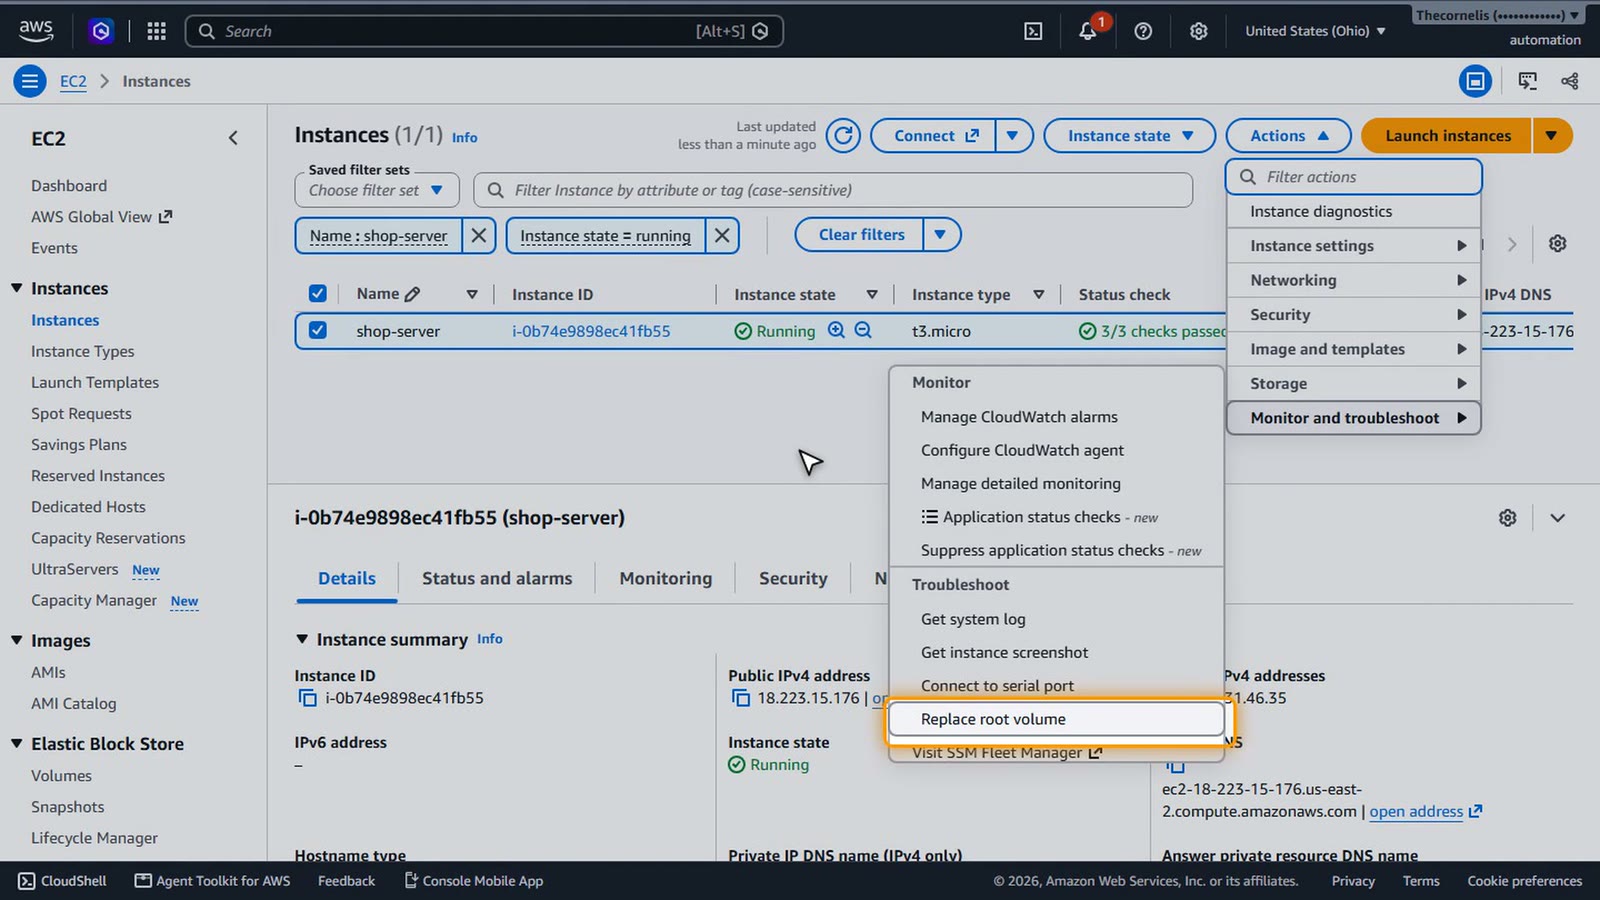
It swaps the server's disk for one made from a snapshot, and keeps its address and its key.
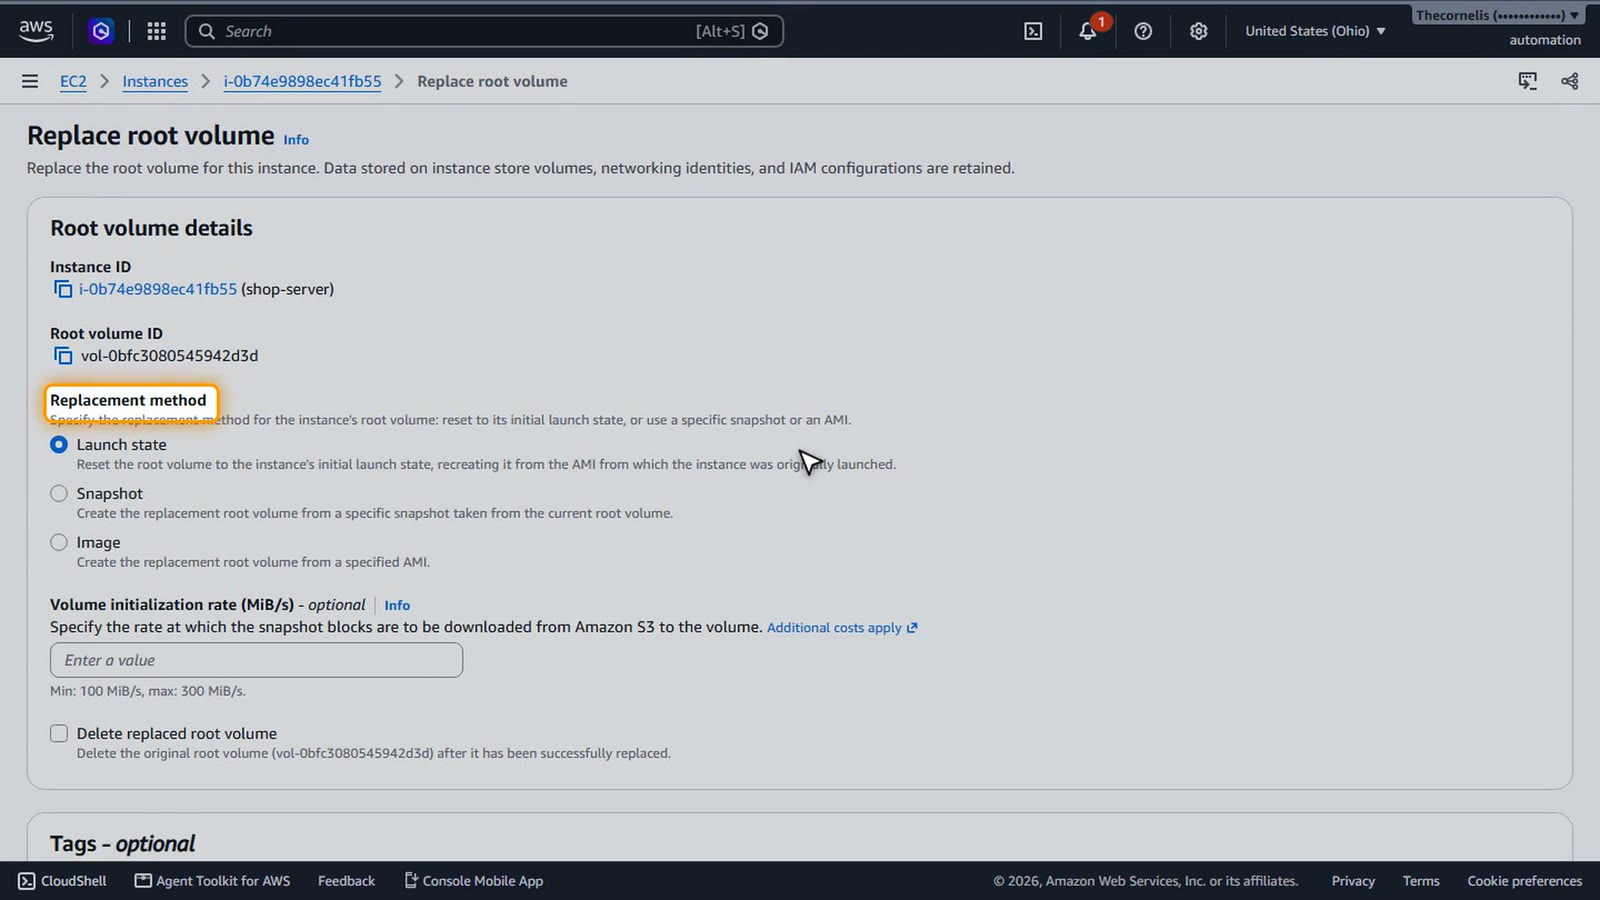
Choose Snapshot, and pick the one we just took.
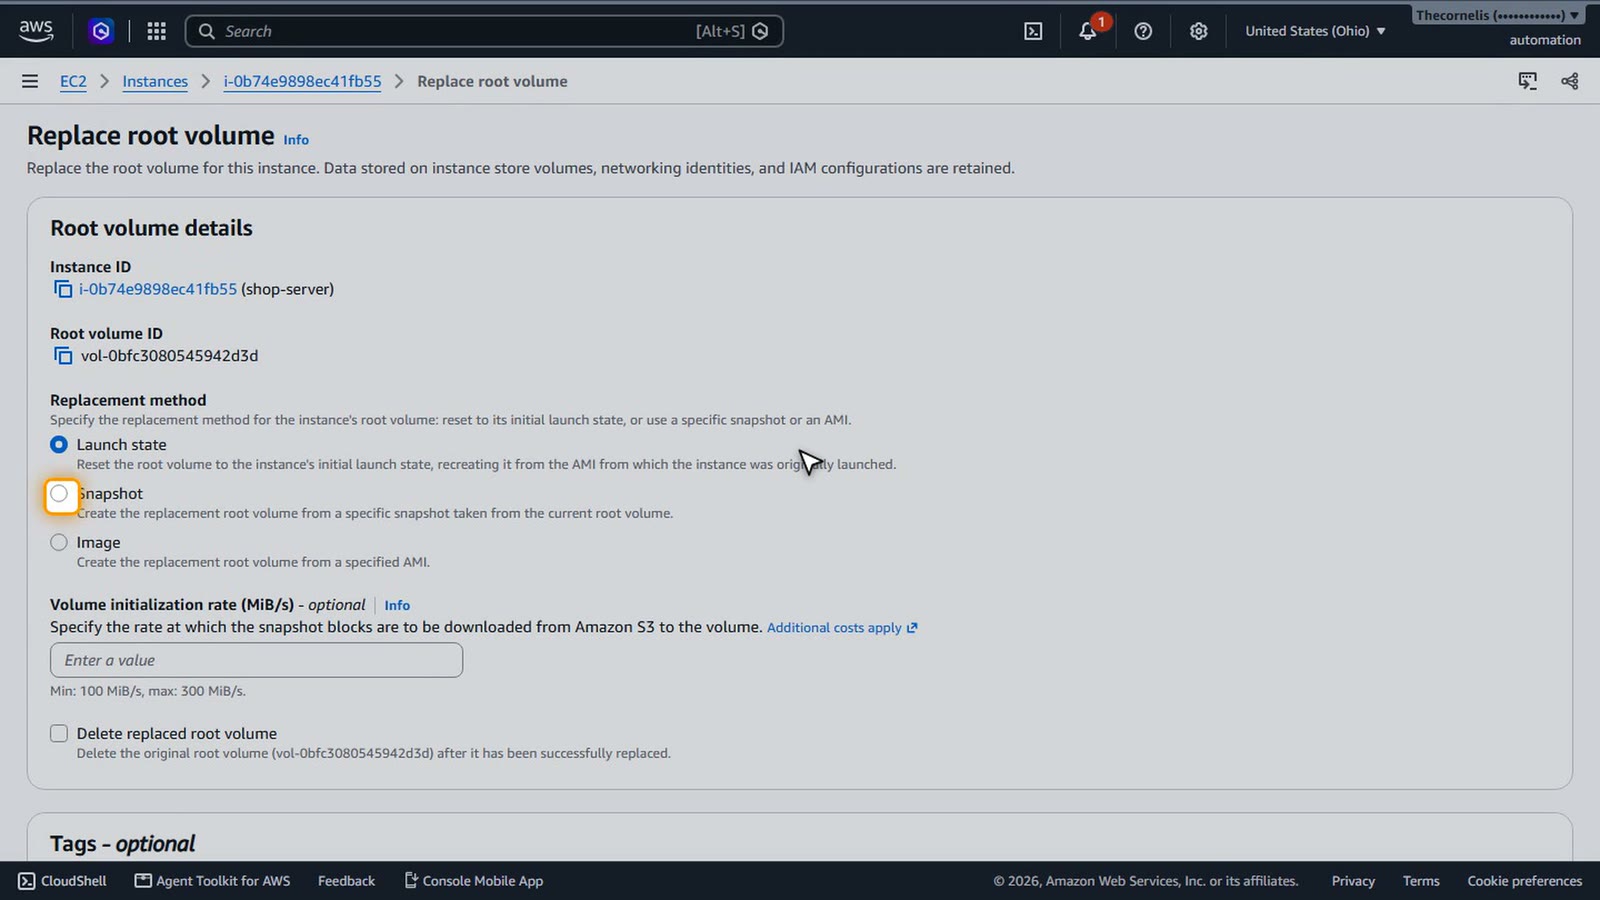
Tick Delete replaced root volume. A disk you forget about still costs money.
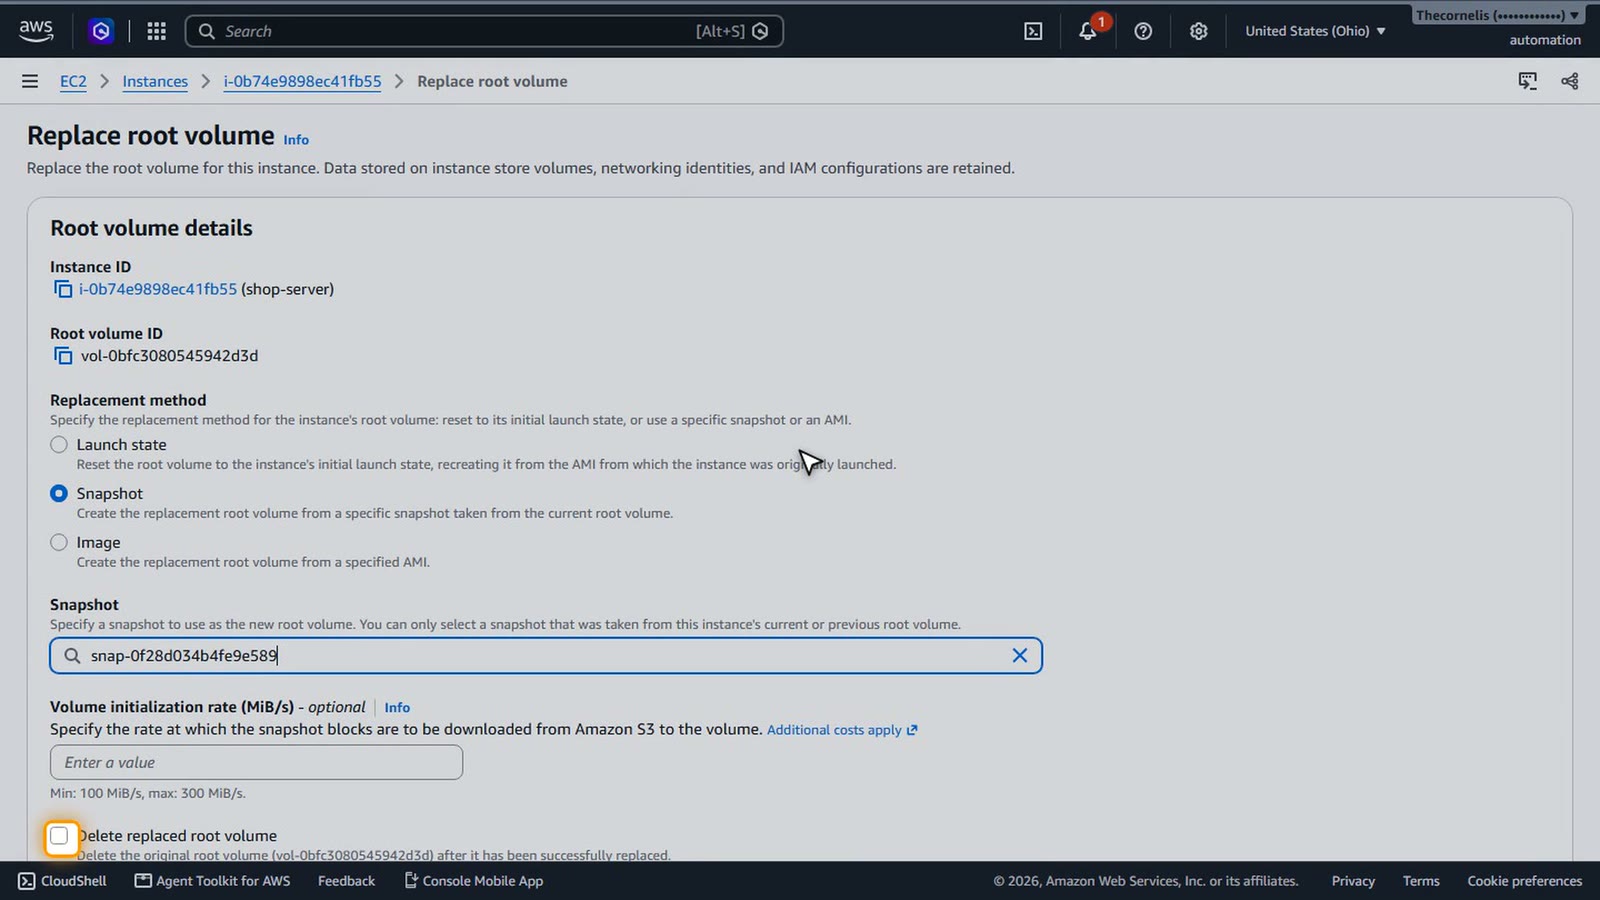
Then choose Replace root volume.
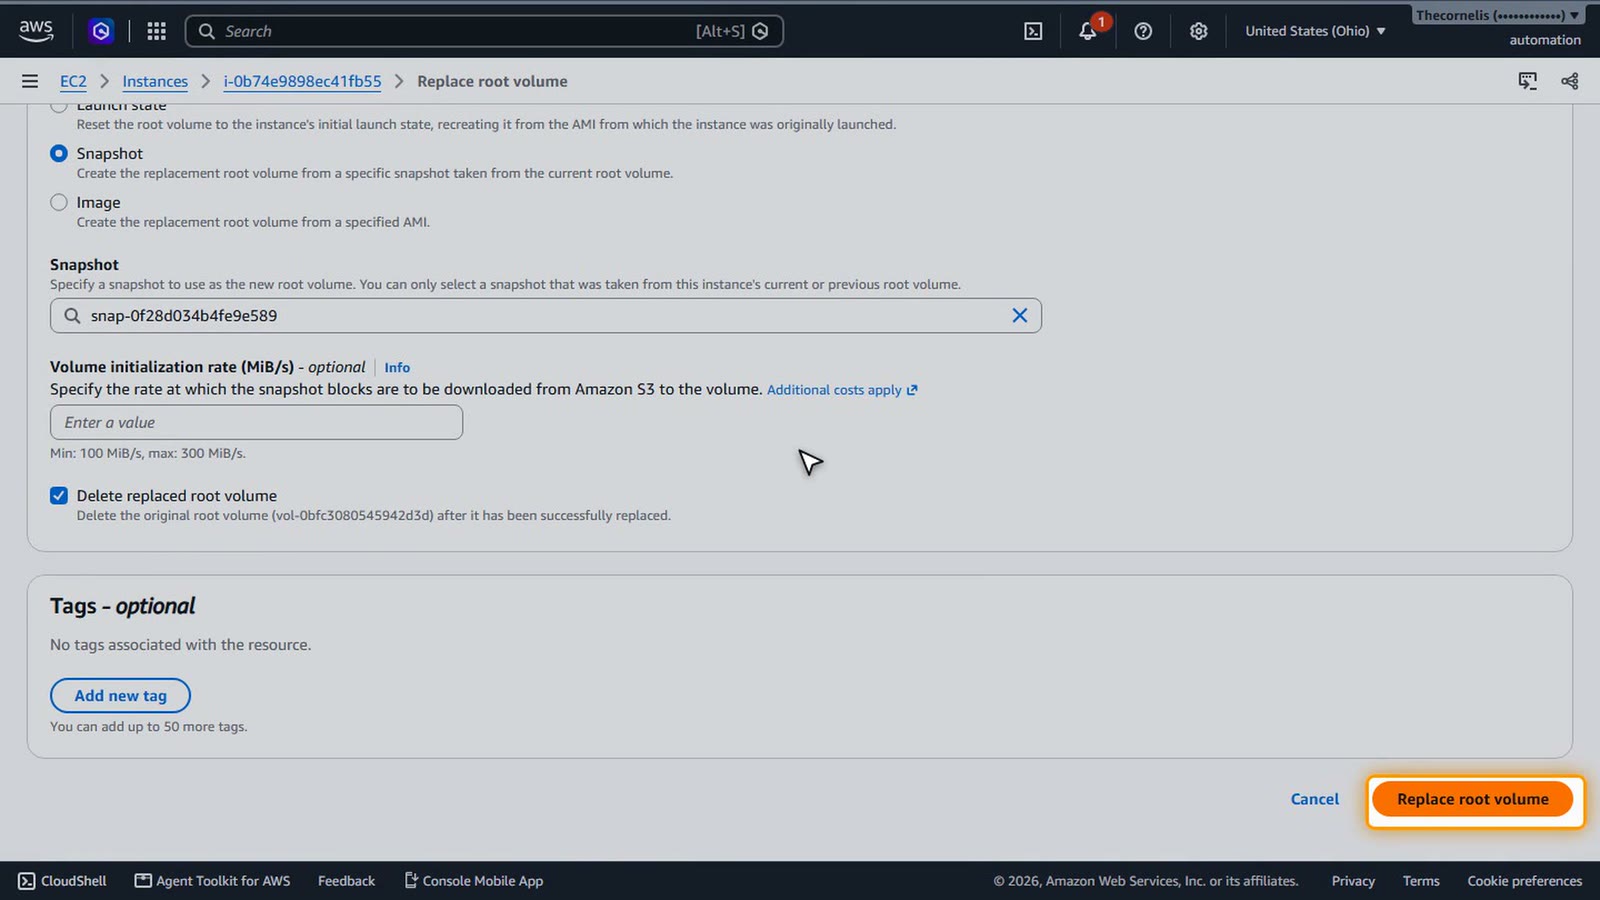
In the Storage tab, wait until the replacement task says Successful. About a minute.
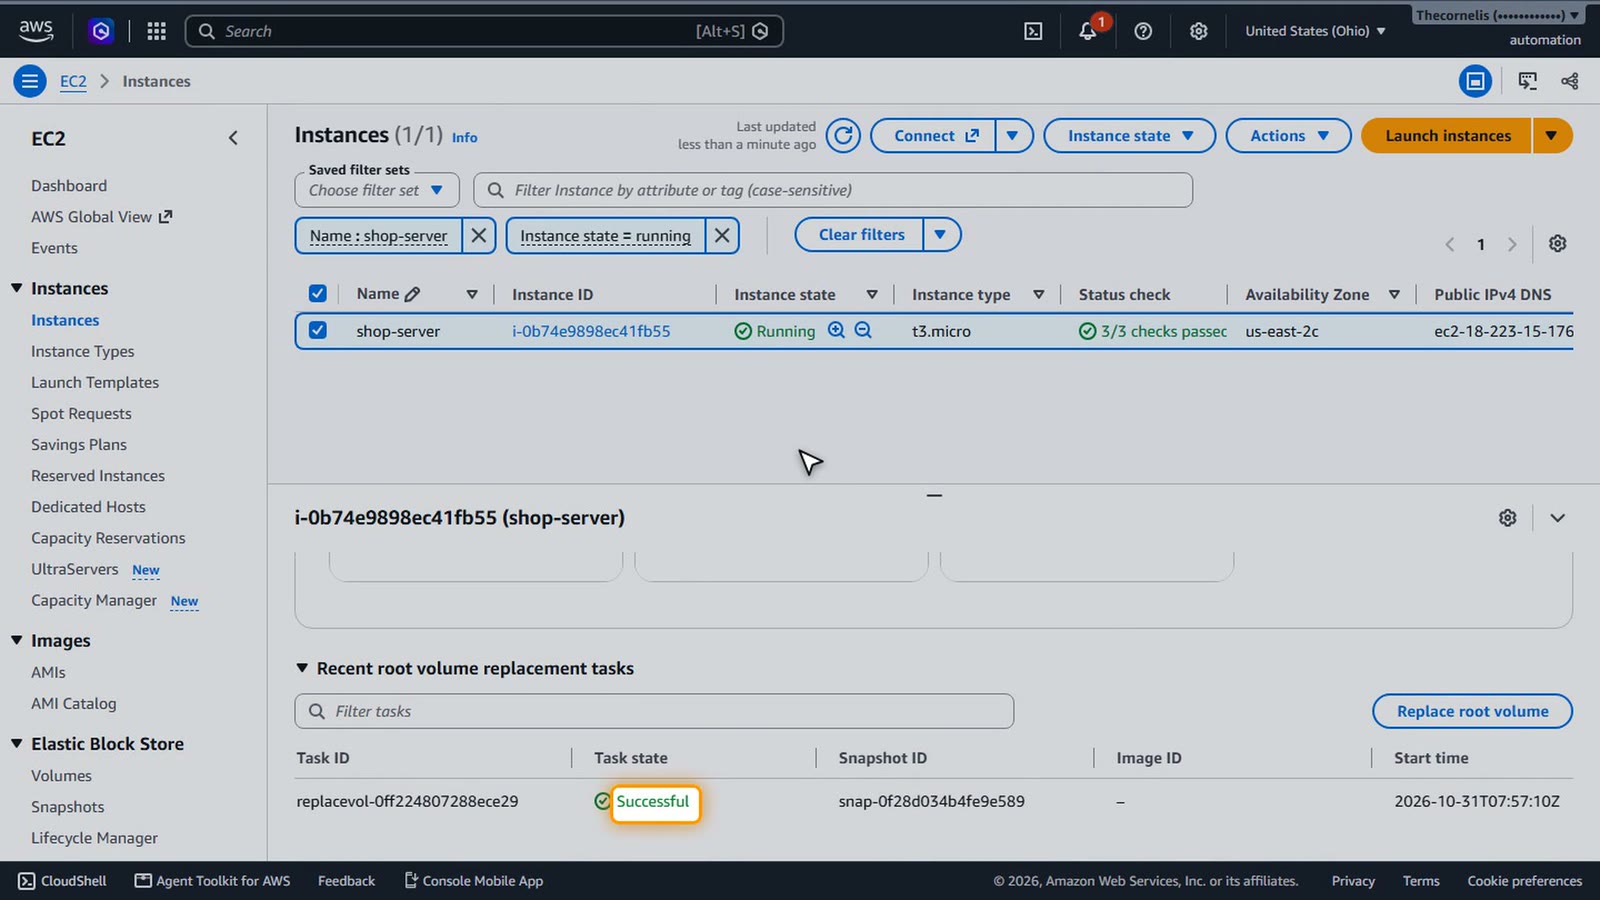
Now connect again.
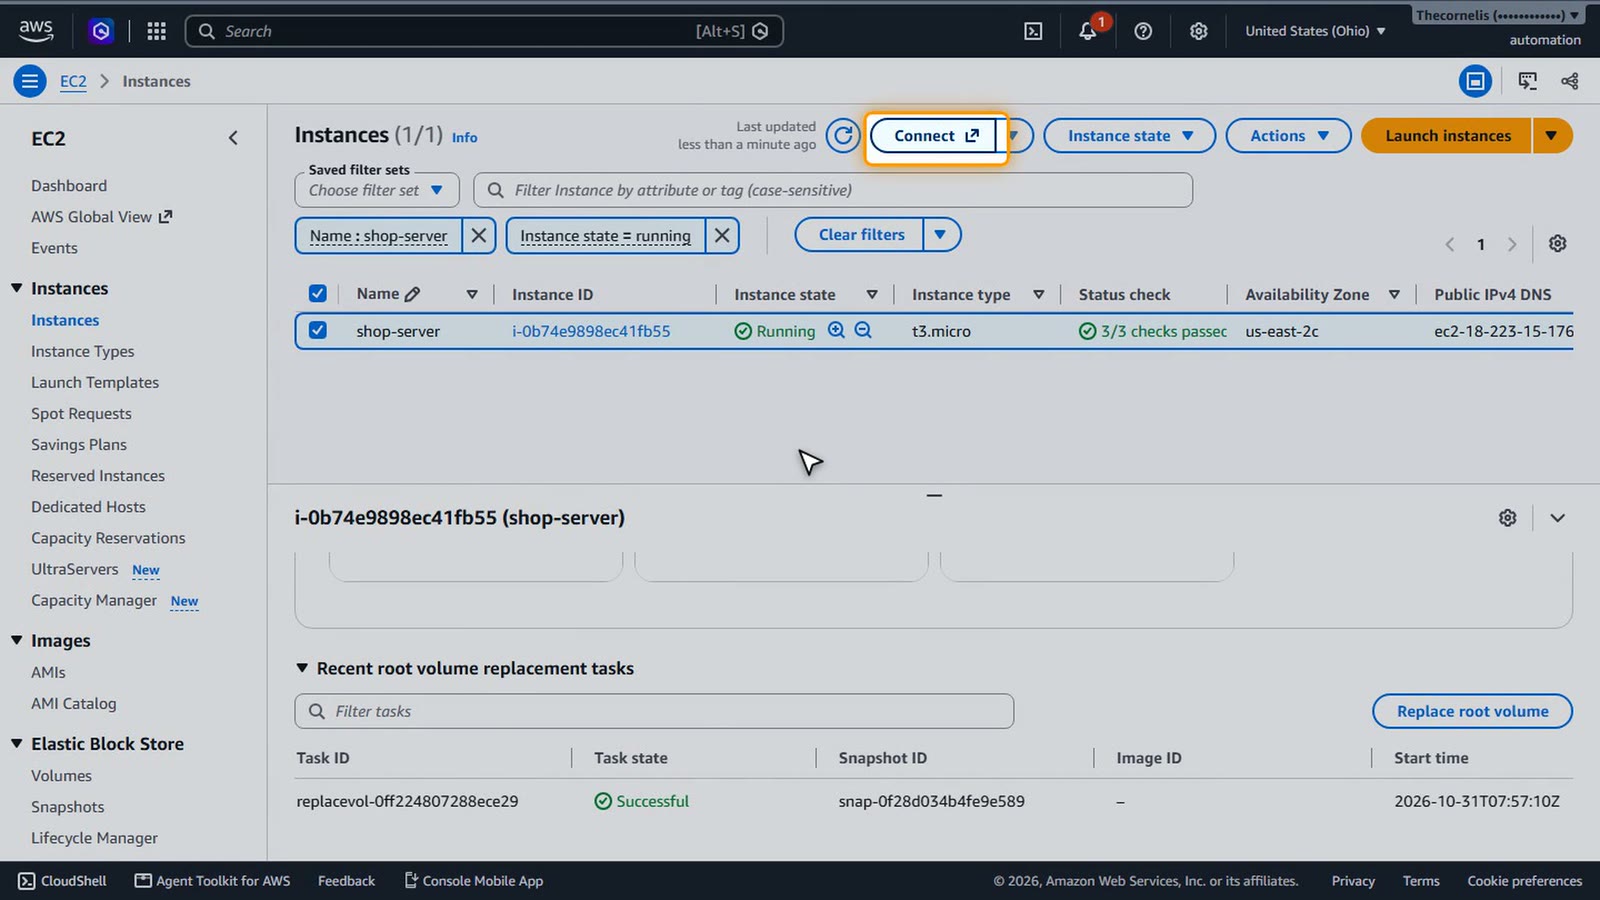
EC2 Instance Connect, with the username ubuntu, and Connect.
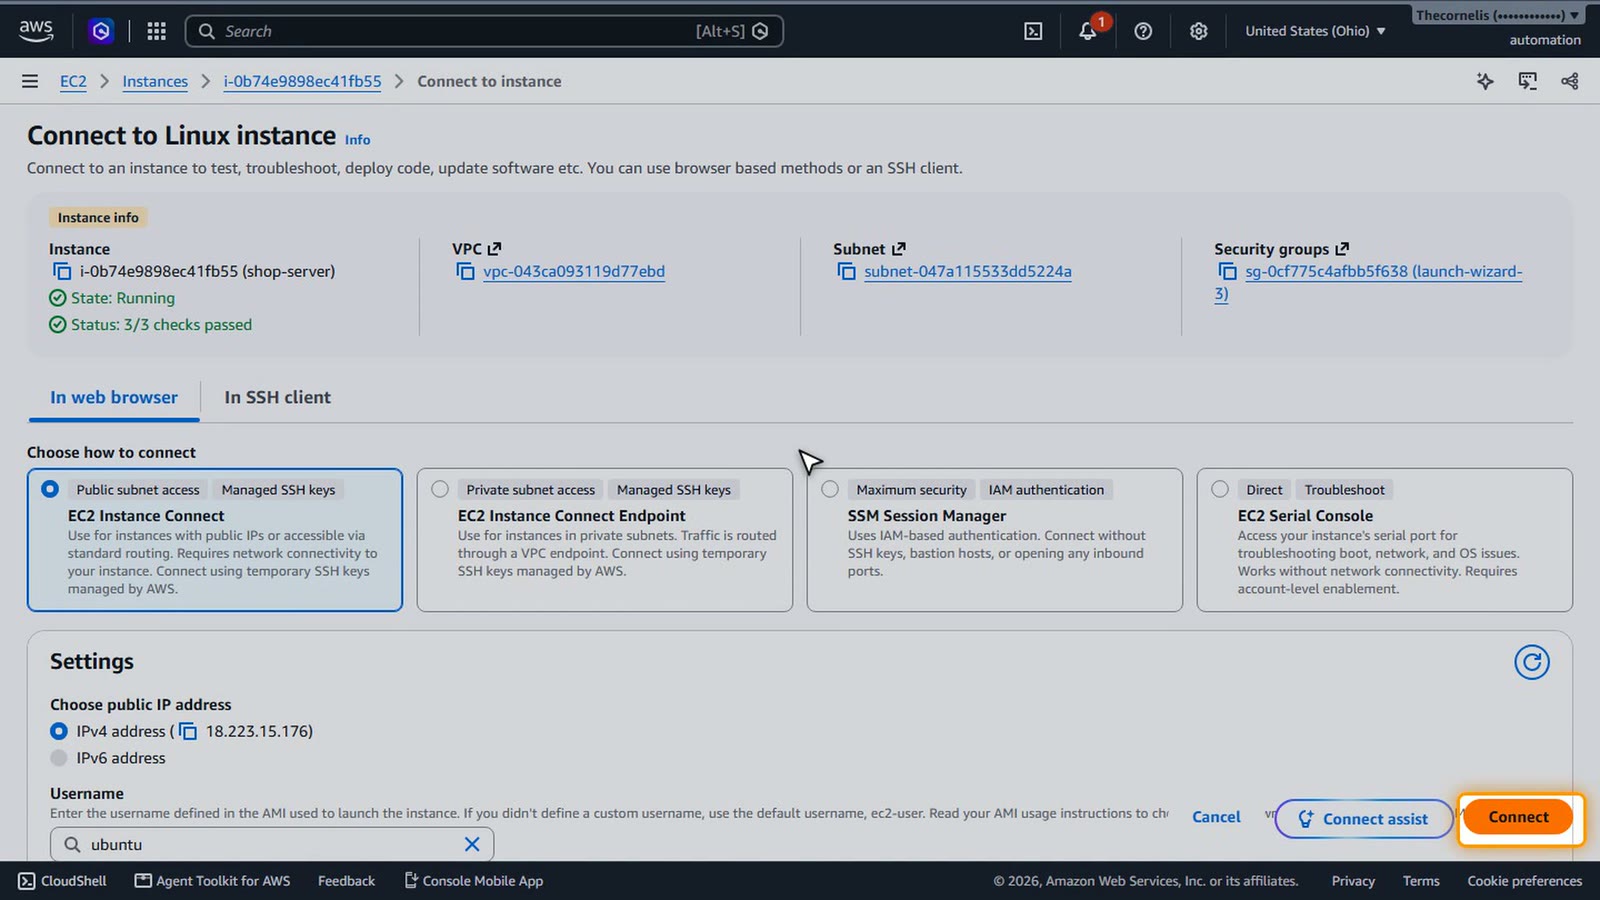
The terminal opens in a new tab.
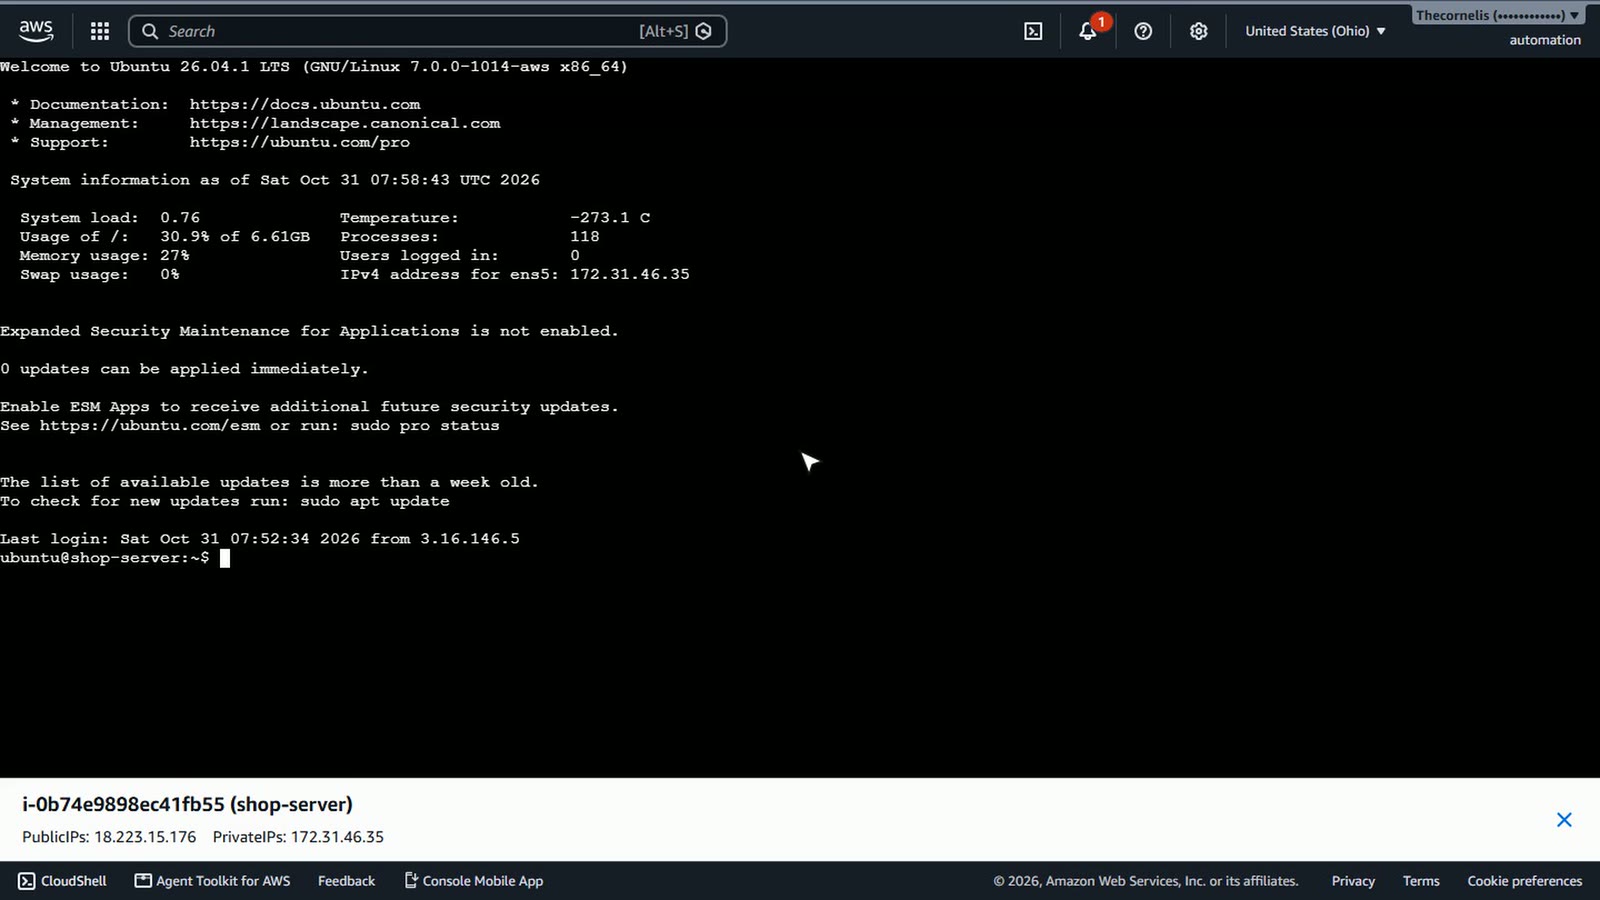
Type ls slash. It works. The server is back, exactly as it was when we took the snapshot. That's your undo button.
ls /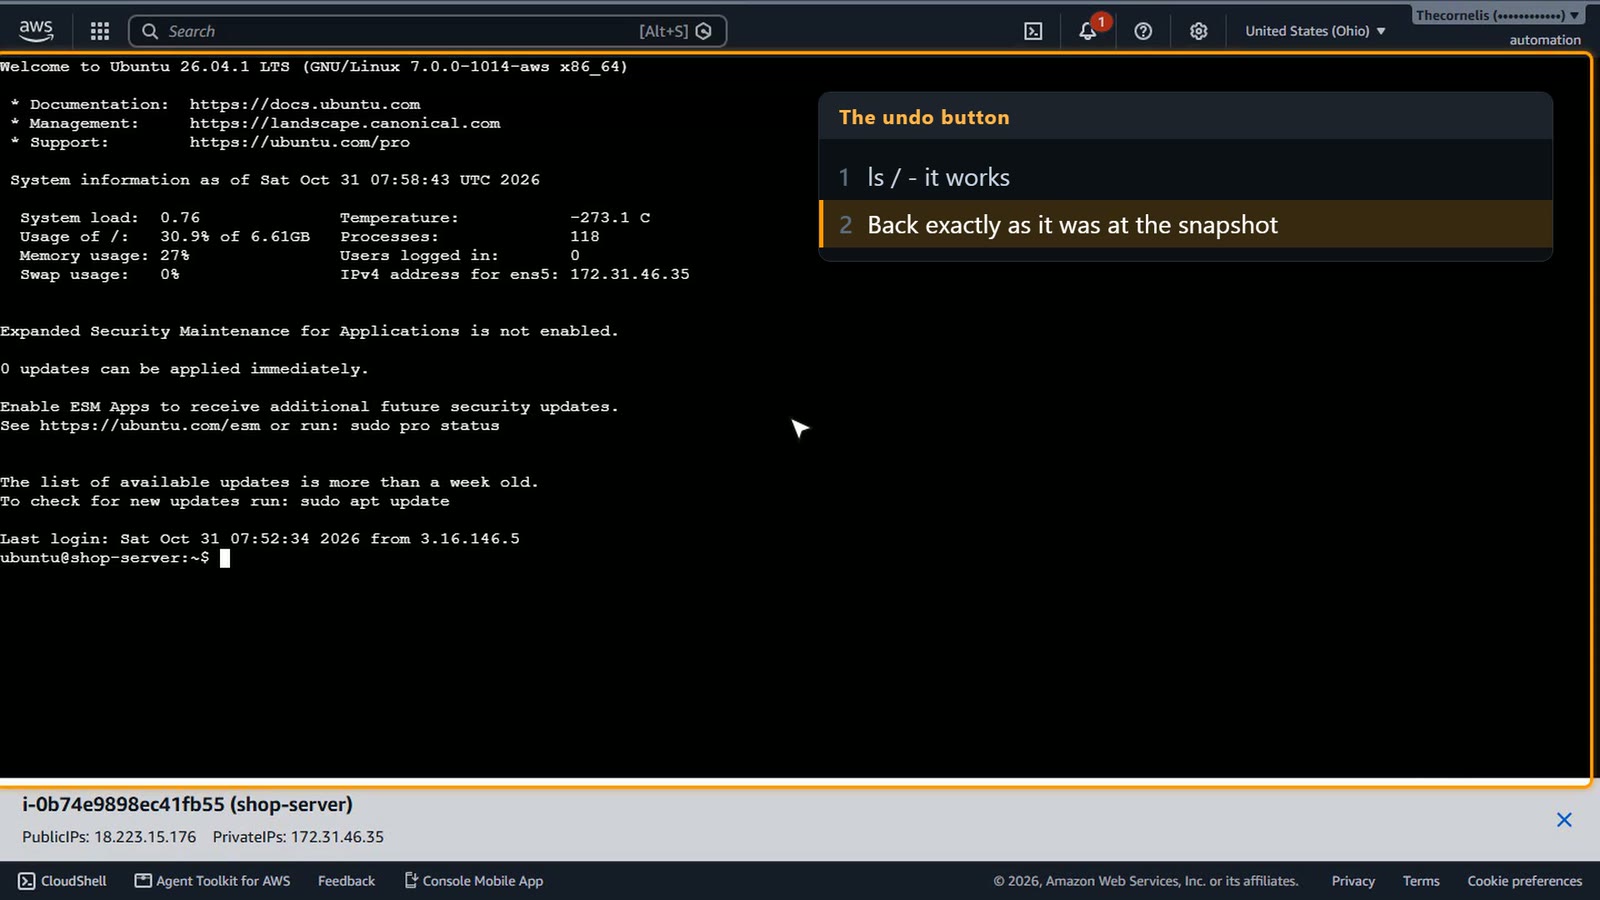
No AWS account? Multipass
No AWS account? Install Multipass (multipass.run), a free tool from Ubuntu, and you can follow the first half of the course on your own computer. It has snapshots too – stop the server first.
multipass launch --name shop-server        # the latest Ubuntu LTS
multipass shell shop-server
multipass stop shop-server
multipass snapshot shop-server
multipass restore shop-server.snapshot1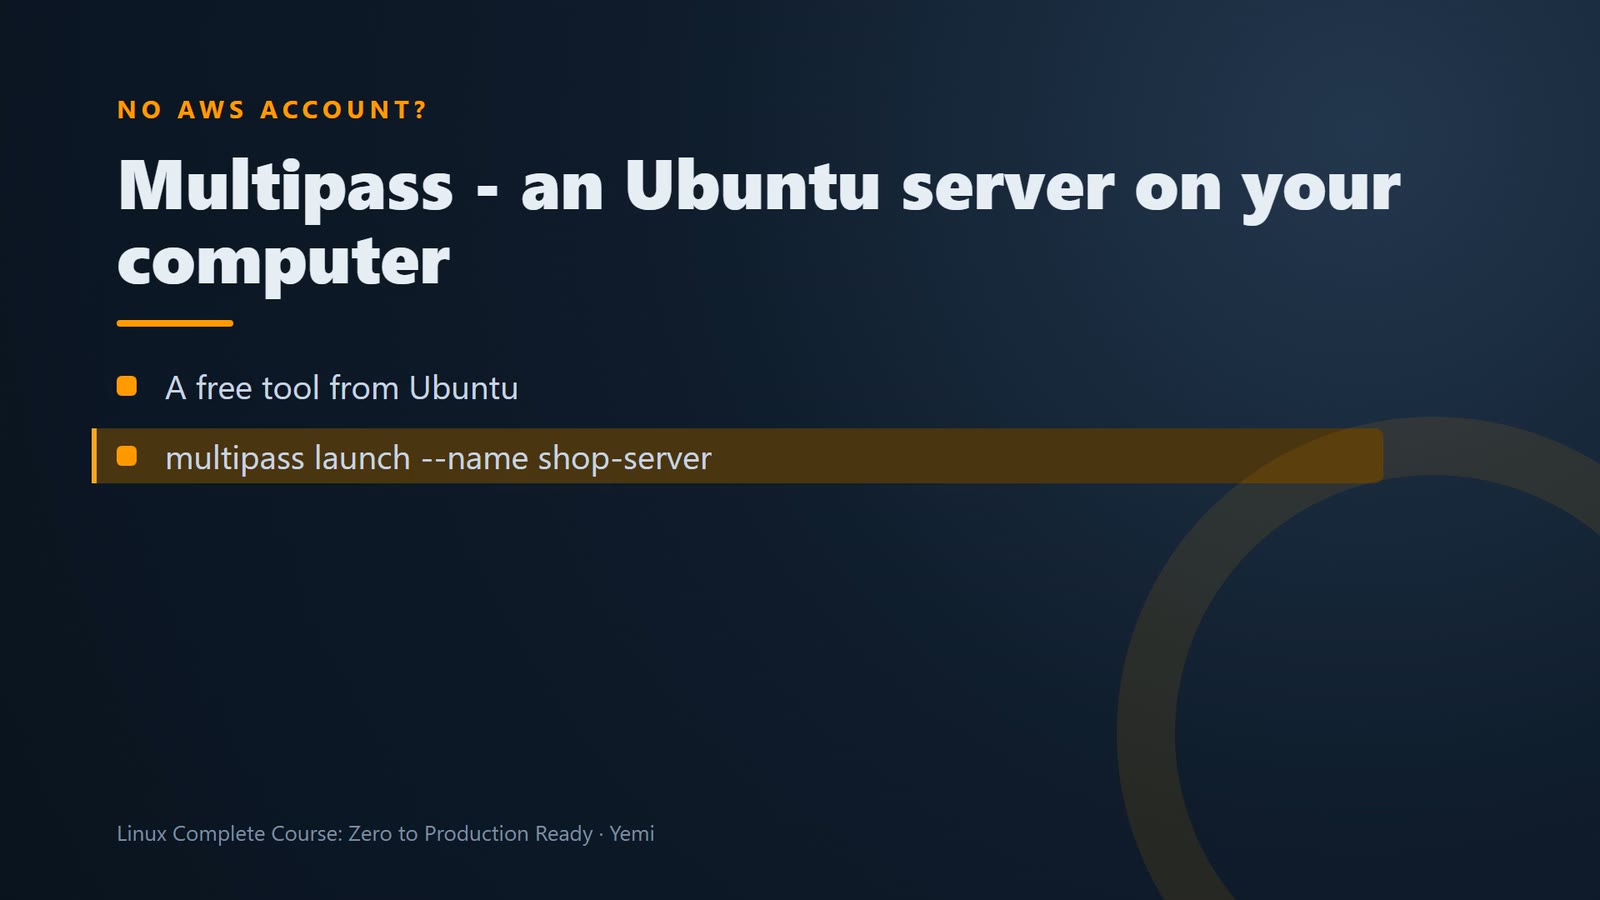
Keep it cheap
Teardown checklist, when you finish the course: terminate shop-server (Instance state > Terminate), delete the snapshot (Elastic Block Store > Snapshots), delete the key pair shop-server-key (Network & Security > Key Pairs), and delete shop-server-key.pem from your computer.
Challenge
Here's your challenge: Which AWS feature saves a copy of a whole disk, so you can roll back to it later? If you're watching on YouTube or social media, drop your answer in the comments. If you're in the live class, put it in the chat. I'll show the answer at the start of the next lesson. And only post the command or the answer, never real IP addresses, account IDs, keys, or log output.
Summary
- Learn on a sandbox – an account and server with nothing important on them
- Launch Ubuntu LTS, t3.micro, SSH from My IP only, HTTP from the internet
- EC2 Instance Connect gives you a browser terminal – SSH only from AWS's Instance Connect range
- Take a snapshot before risky changes – Replace root volume rolls the disk back
- Stop the server when you're not using it, so it costs almost nothing
What’s next
The server is running. But logging in through the browser is for emergencies. Bots try to guess server passwords thousands of times a day. Next lesson, we connect the proper way, with SSH keys, and no passwords at all.