Put Your First Web Page Online with Nginx on Ubuntu
What you’ll learn
- Install a package with apt
- Check that a service is running with systemctl
- Serve your own web page with Nginx
- Know where Nginx keeps its web pages
What you need
- The shop server from lesson 002, and SSH access from lesson 003
- Port 80 (HTTP) open in the server's security group – set in lesson 002
The request
In the last lesson, you logged in to the shop's server with your own key. Then this message arrived from Cornelis Threads. They're launching an online store, and they'd like a website by Friday. A real website comes later in the course. Today, we put a first page online, so they can see something working.

First, last lesson's challenge. On the server, which file lists the public keys that are allowed to log in? The answer is: tilde slash dot ssh slash authorized keys, in the home folder of the user you log in as.

Install a web server
Connect to the server, just like last time. ssh shop-server.
ssh shop-server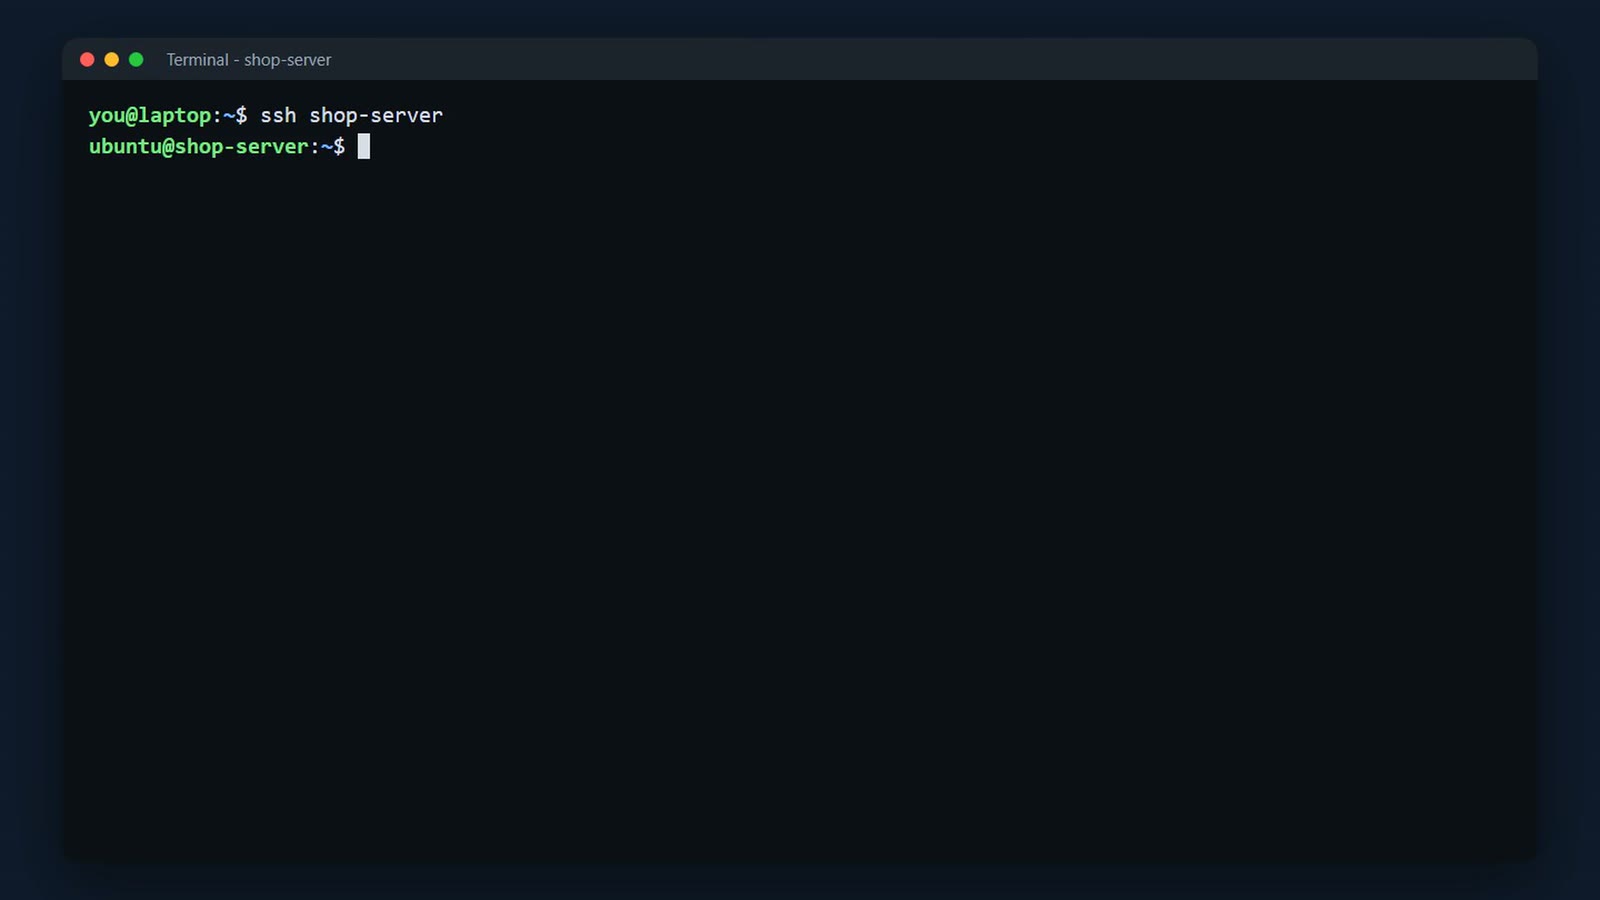
To show a website, a server needs a web server program. It listens for visitors, and sends them your pages. We'll use Nginx, one of the most popular web servers on the internet.
On Ubuntu, you install software with apt, the package manager. First refresh the list of available software. sudo runs the command as the administrator, because installing software changes the whole system. Nothing is installed yet.
sudo apt update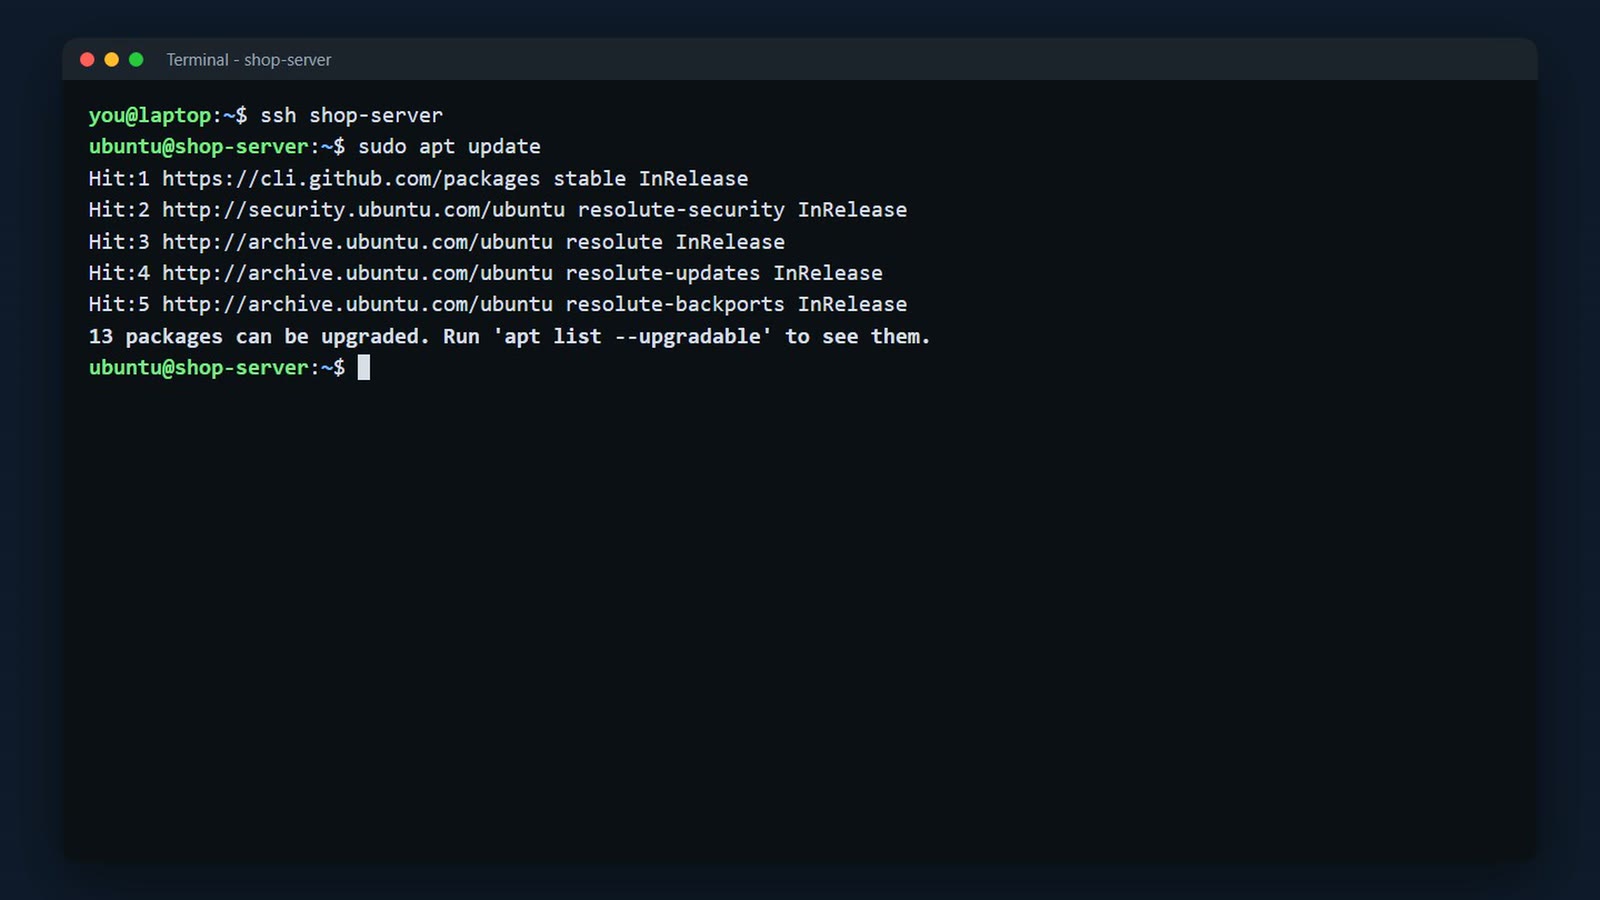
Sudo runs a command as the administrator, because installing software changes the whole system. And apt update downloads the latest list of available software. It doesn't install anything yet.
Now install Nginx. -y answers "yes" to "Do you want to continue?". apt downloads Nginx, installs it and starts it.
sudo apt install -y nginx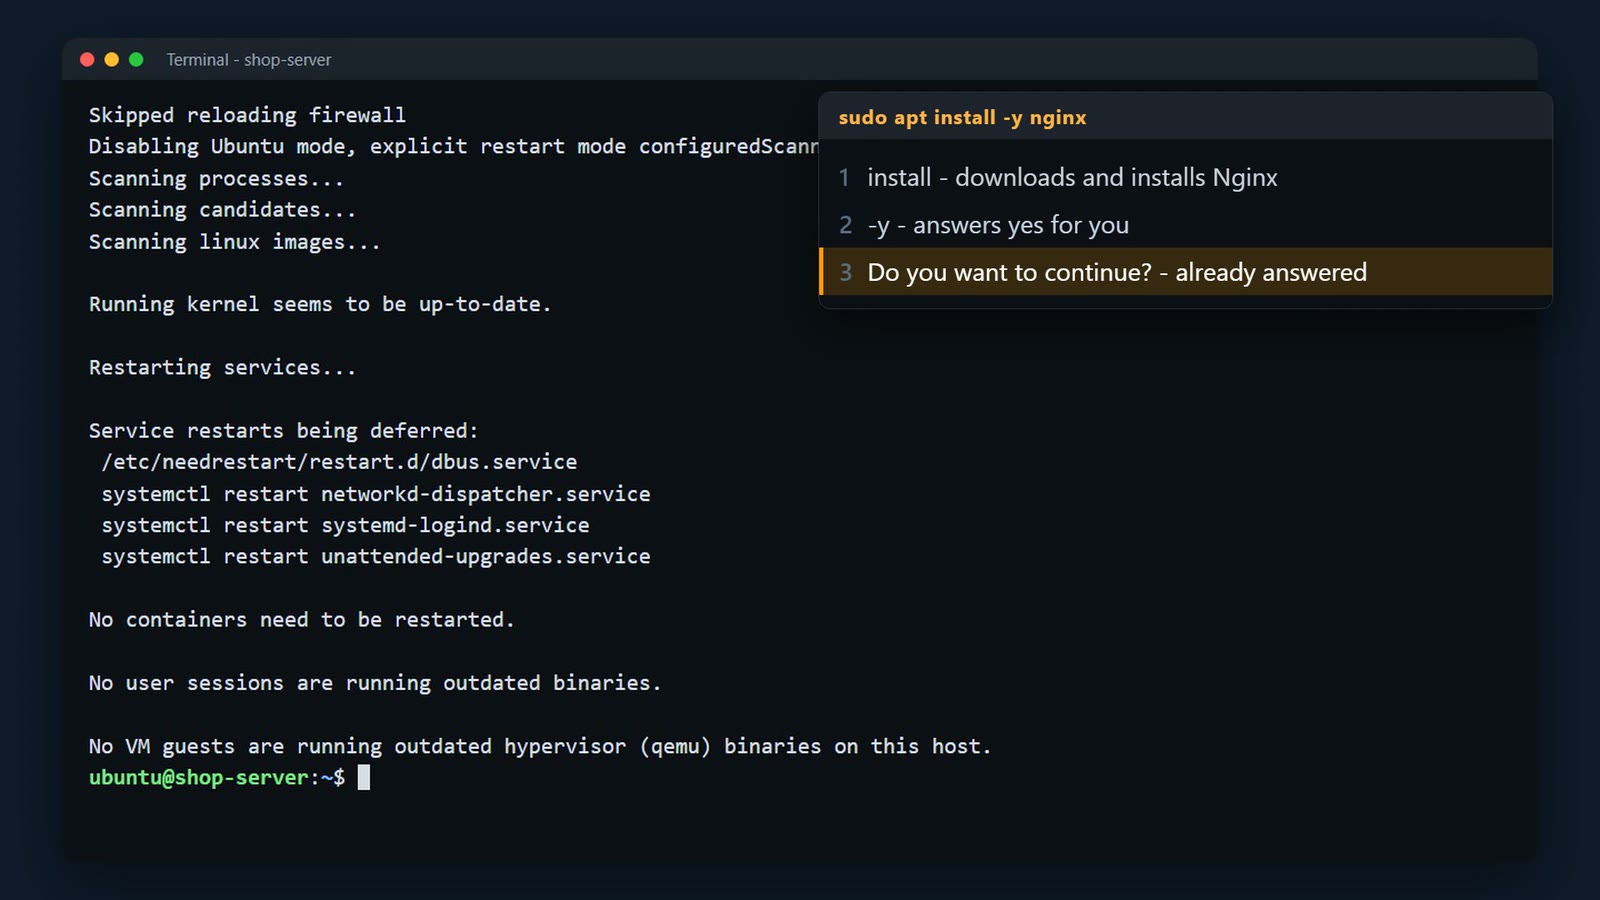
Is it running? Ask systemd, the part of Linux that runs services. It should say active (running). –no-pager prints the status and returns to the prompt.
systemctl status nginx --no-pager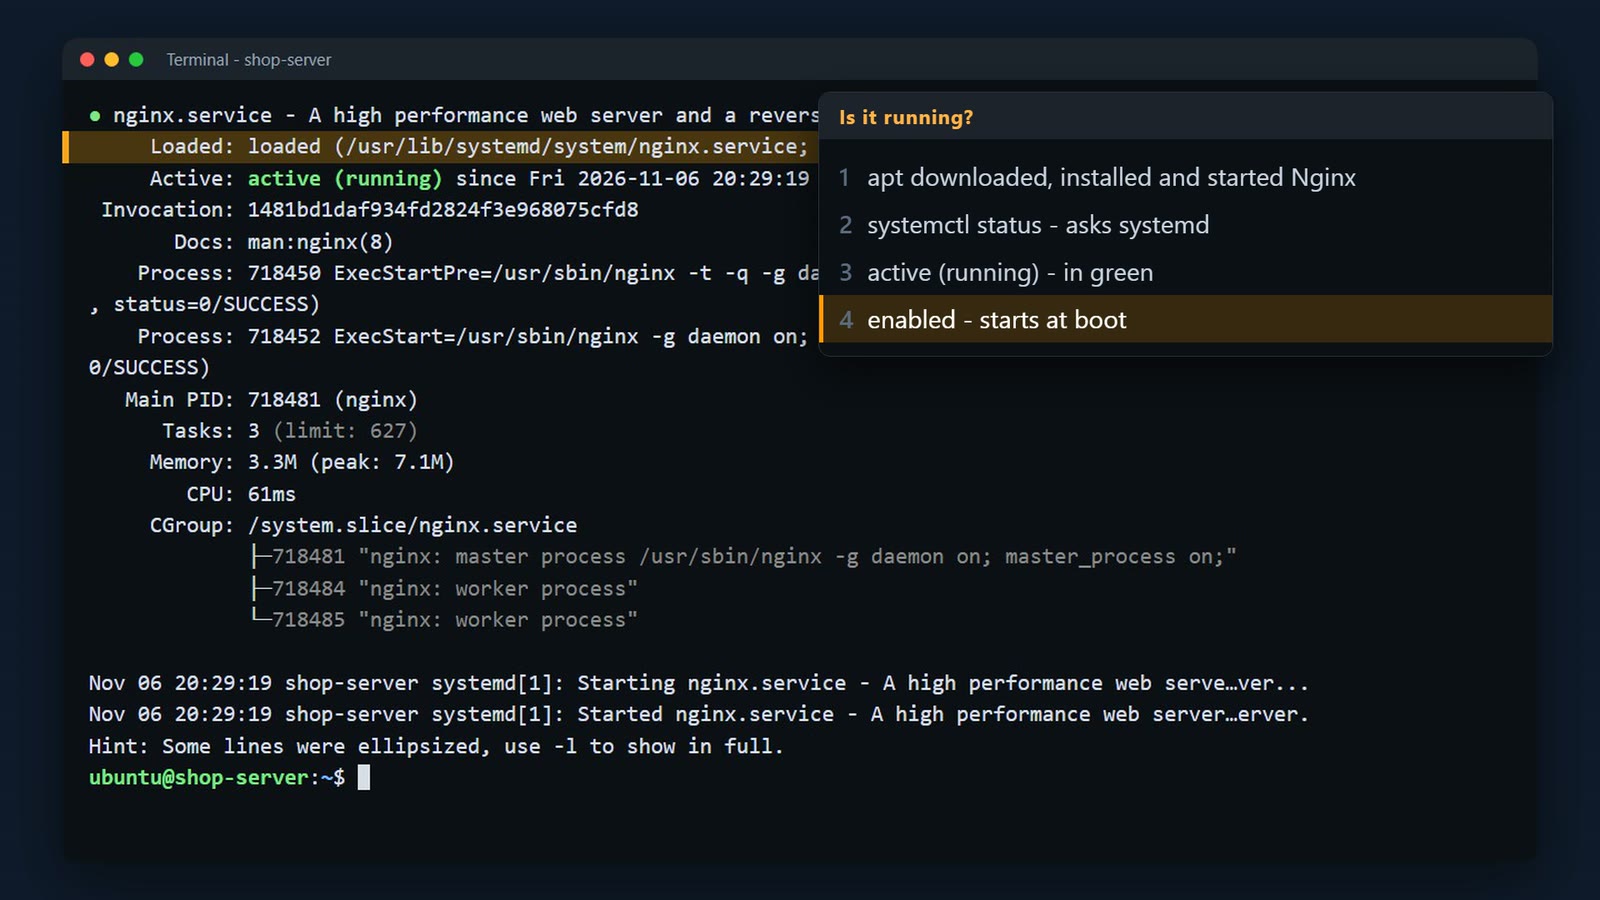
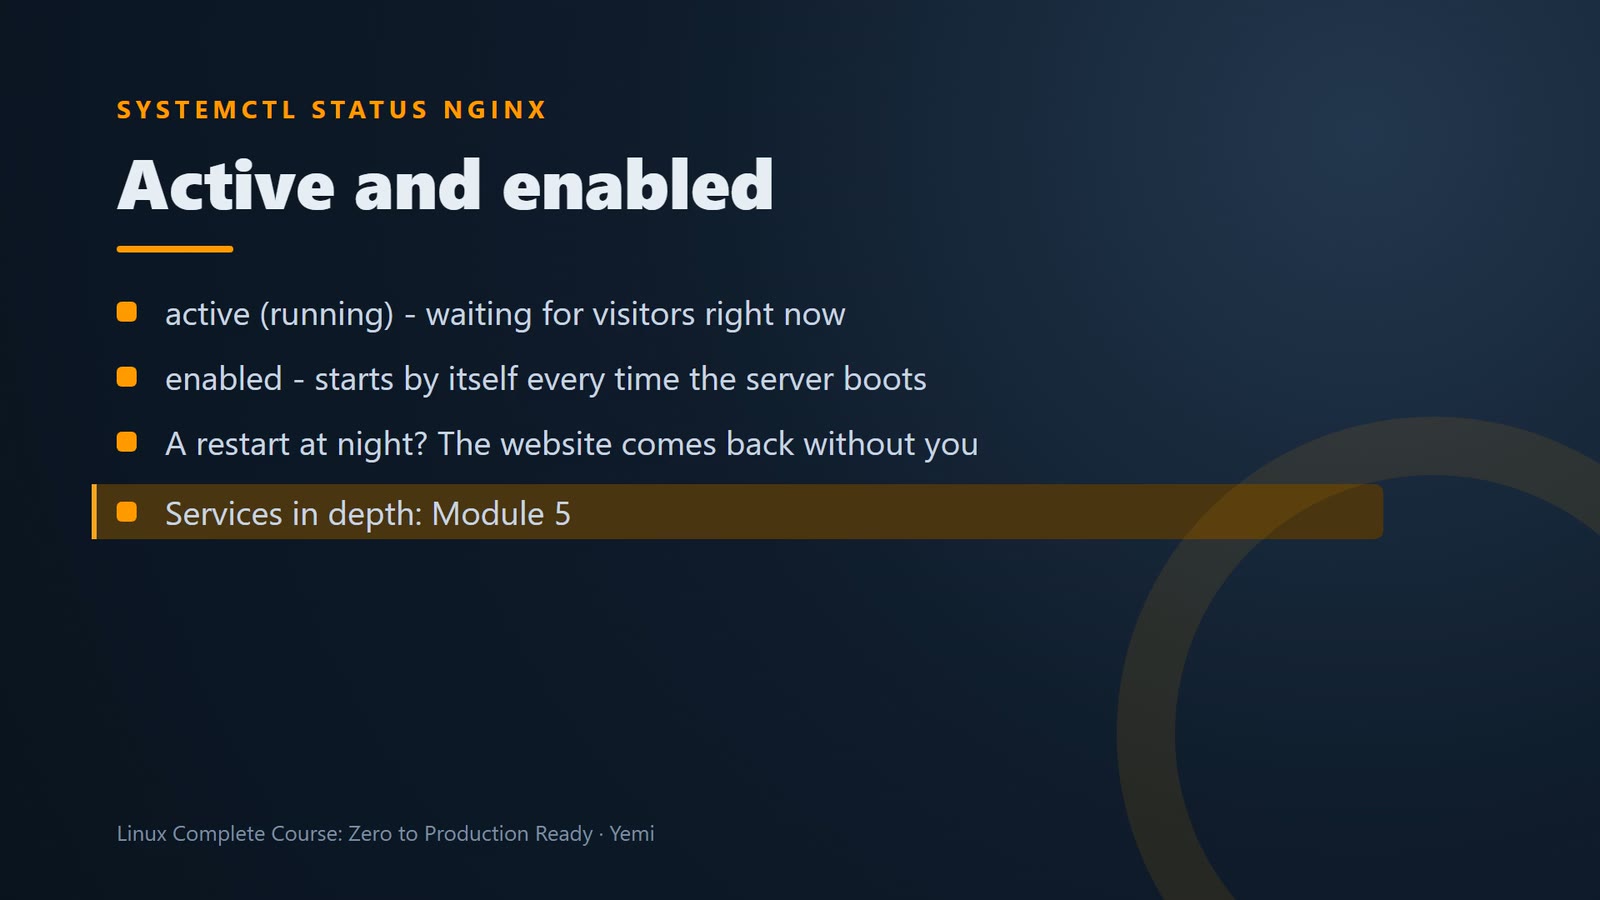
Active means Nginx is waiting for visitors right now. Enabled means it starts by itself every time the server boots. So if the server restarts at night, the website comes back without you. We'll learn all about services in module 5.
Be the first visitor, from the server itself. curl downloads a page and prints it; head -5 shows only the first 5 lines. You'll learn the pipe (|) in lesson 009.
curl -s localhost | head -5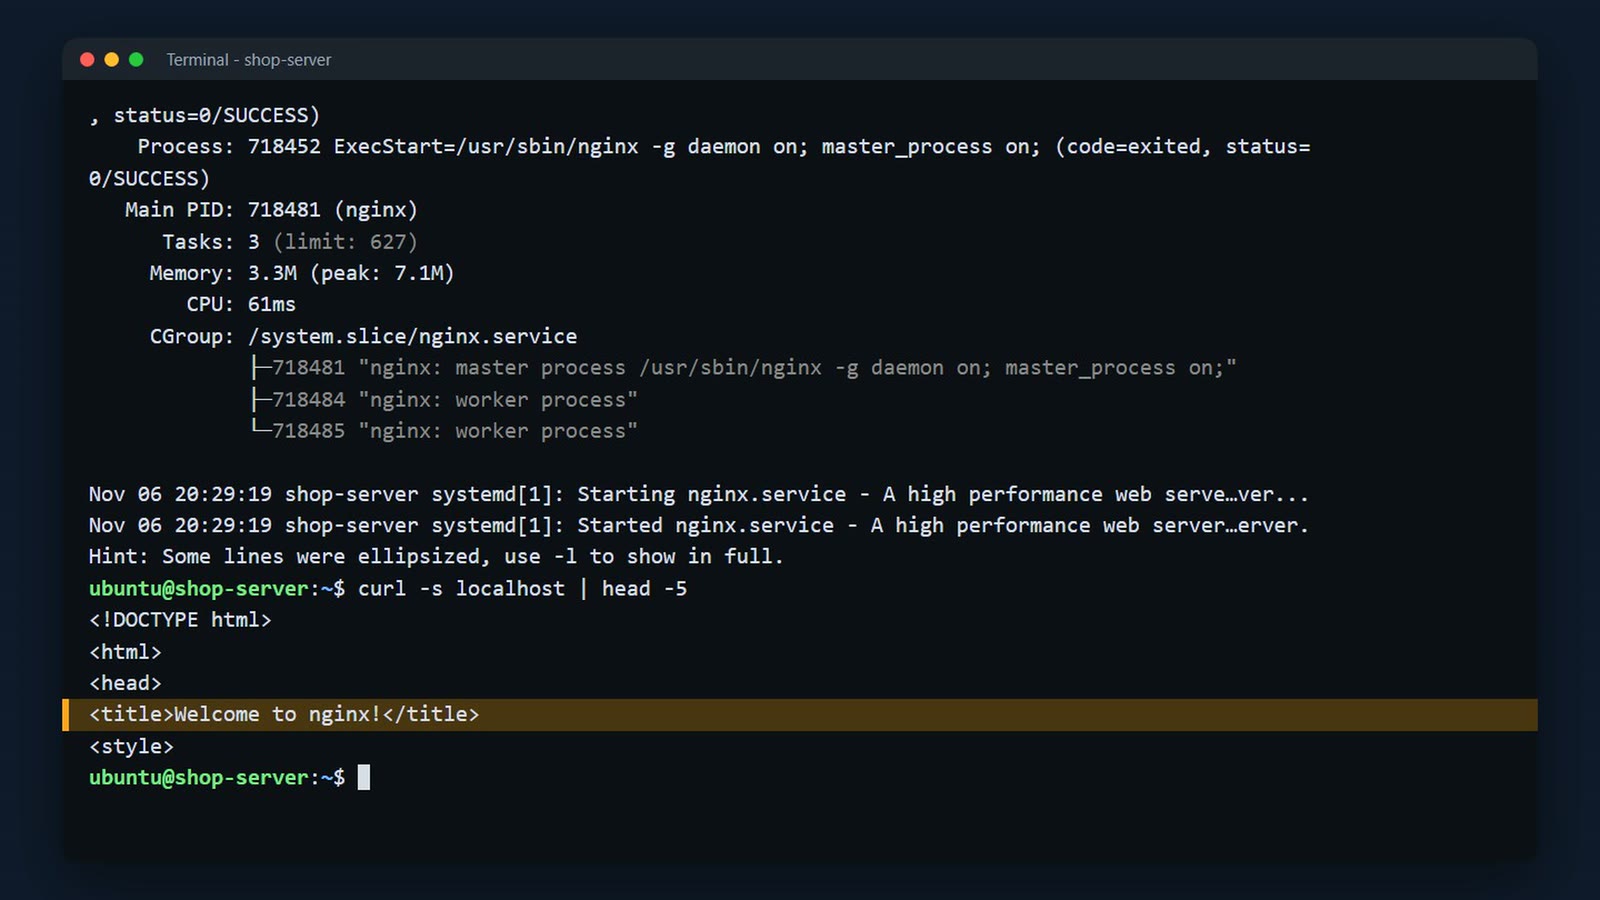
Open it in a browser
Now from your own computer. Open a browser and go to http://<your-server-ip>/ (the public IPv4 address on the instance page in the EC2 console). You get the Nginx welcome page. This works because lesson 002 allowed HTTP (port 80) in the security group.
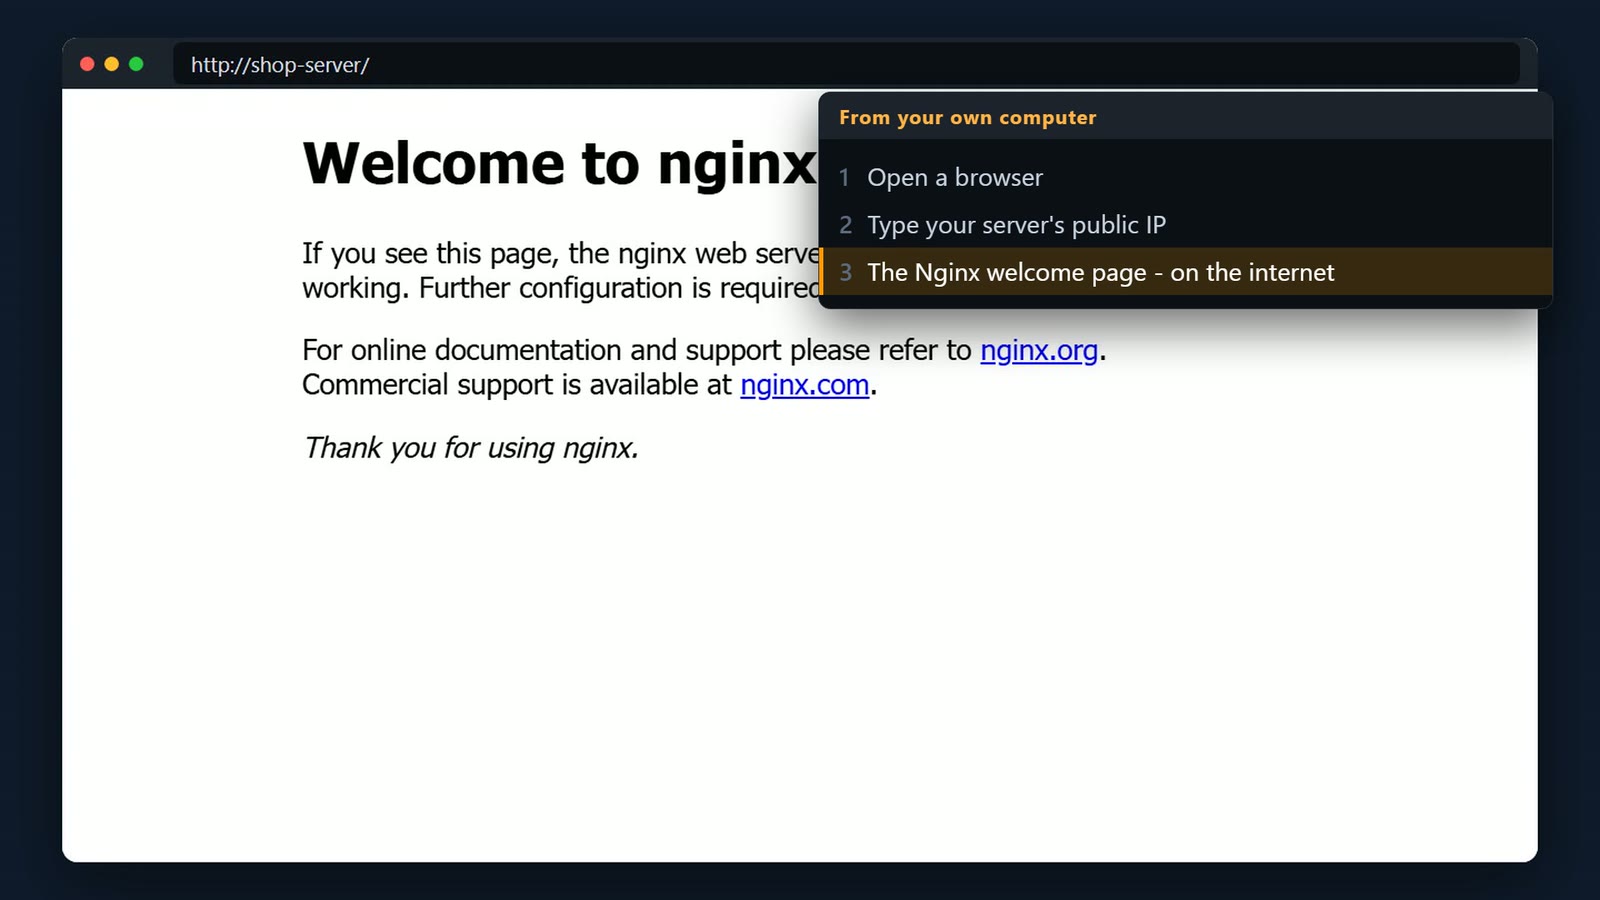
You'll find the address on the instance page in the EC2 console.It works because in lesson 2, we allowed web traffic, port 80, in the security group.
Your own page
Nginx sends the files in one folder, /var/www/html. Right now it holds only Nginx's own welcome page.
ls /var/www/html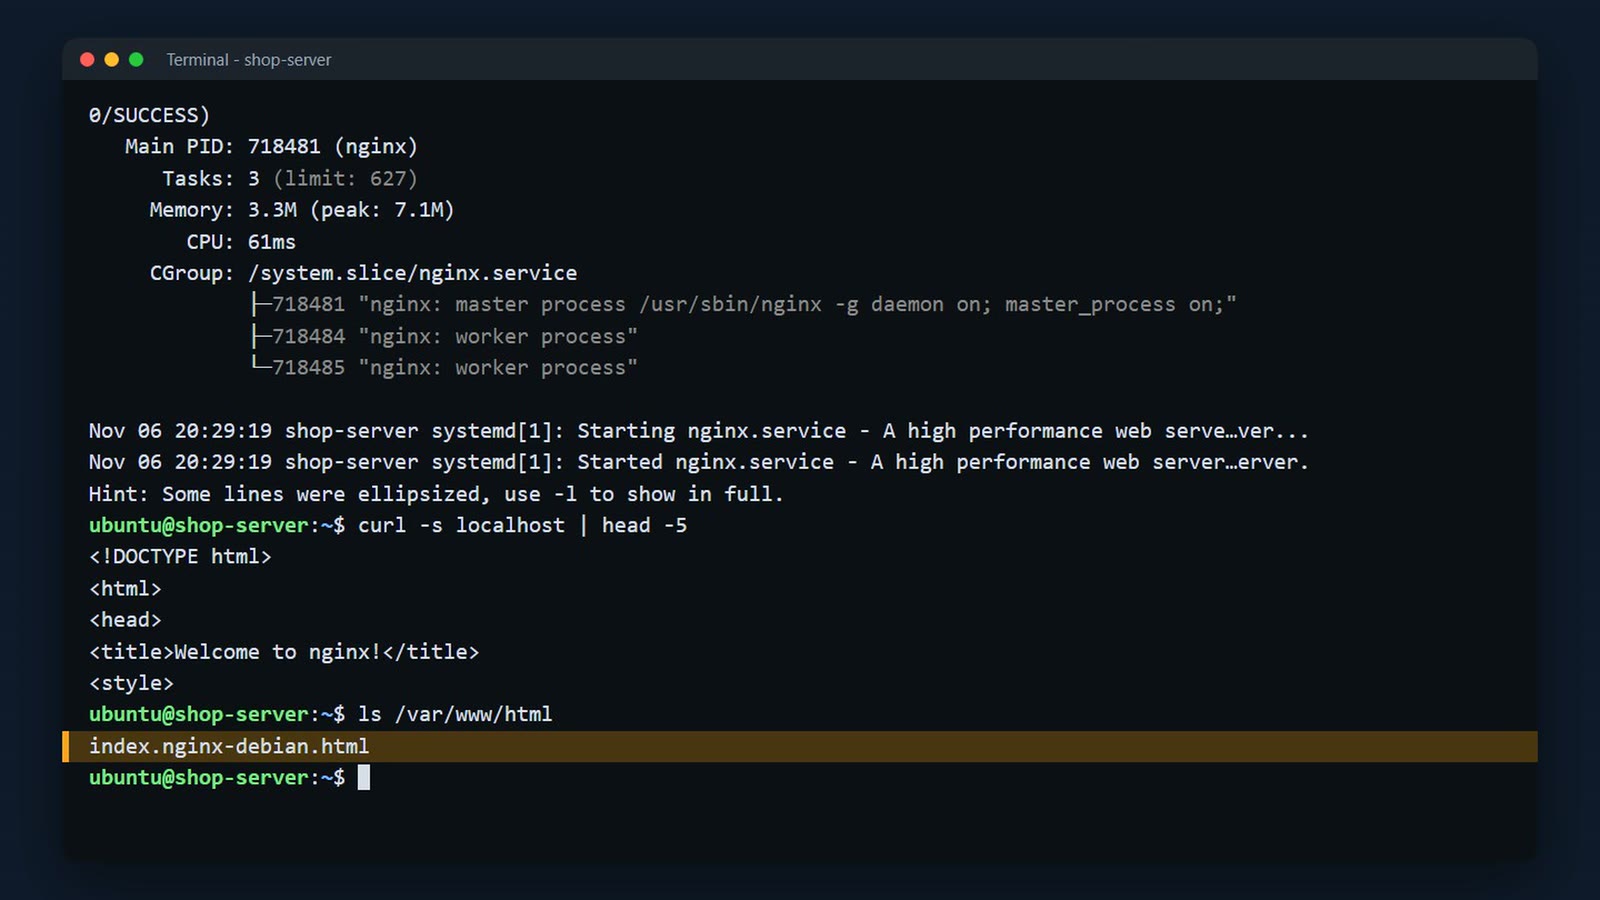
Let's replace it with the shop's page. One line writes a short web page, a heading and a sentence, into a file called index dot html. index dot html is always the home page. sudo tee writes it, because only the administrator can change files in that folder.

Replace it with the shop's page. This line writes a heading and a sentence into index.html, which is always the home page. sudo tee writes the file as the administrator, because only the administrator can change files in this folder.
echo '<h1>Cornelis Threads</h1><p>Our new collection is coming soon.</p>' | sudo tee /var/www/html/index.html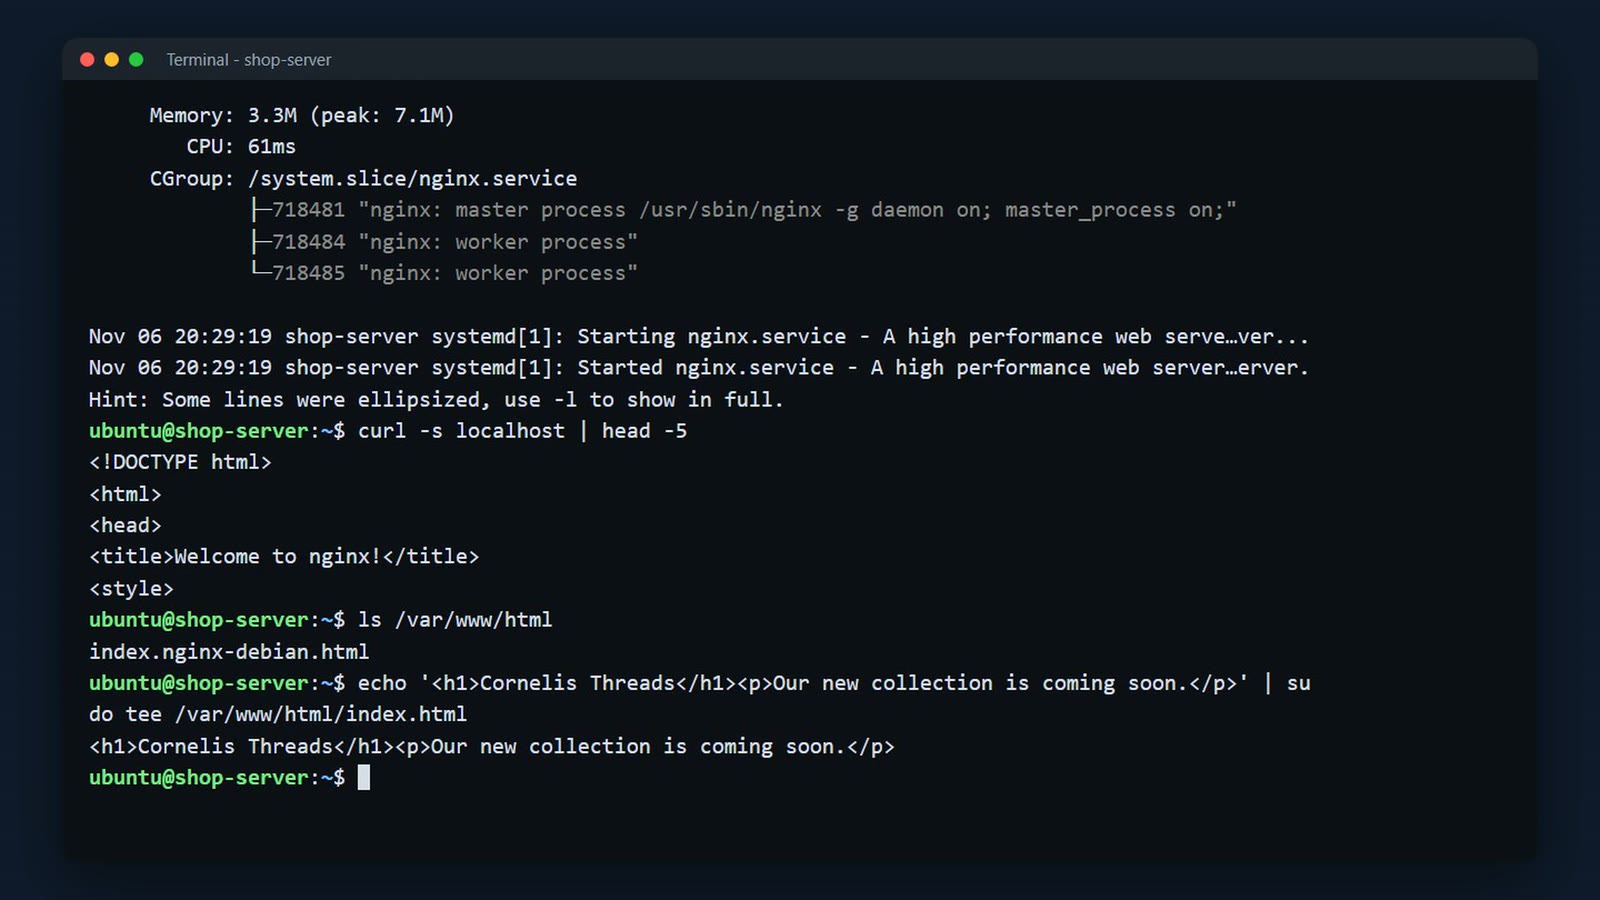
Back in the browser, refresh the page. Your own page is live on the internet.
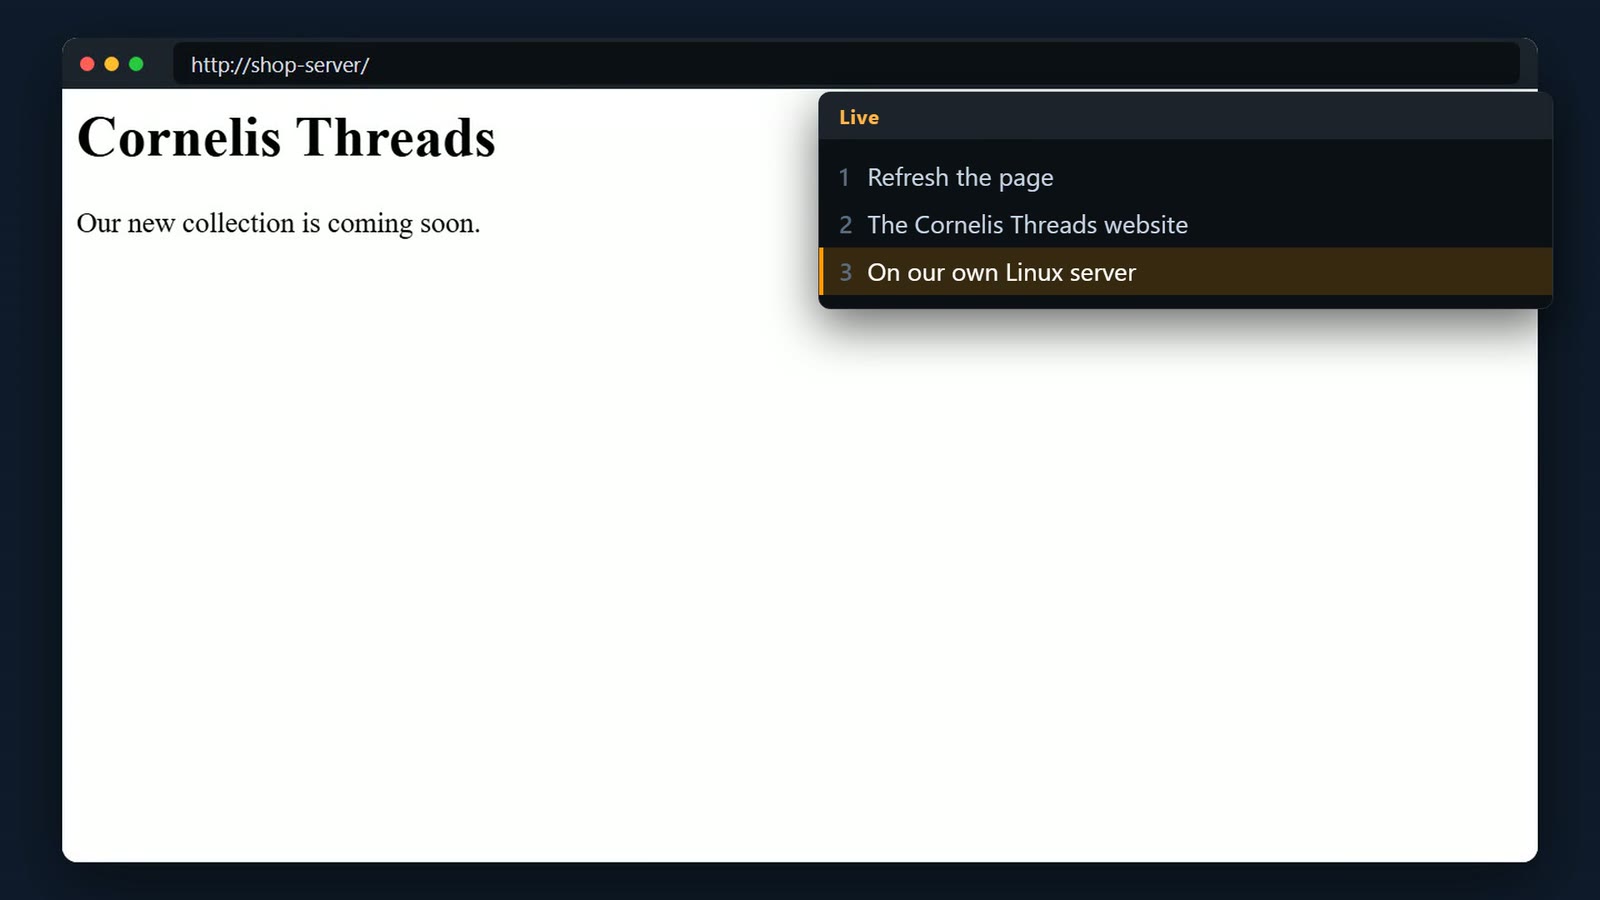
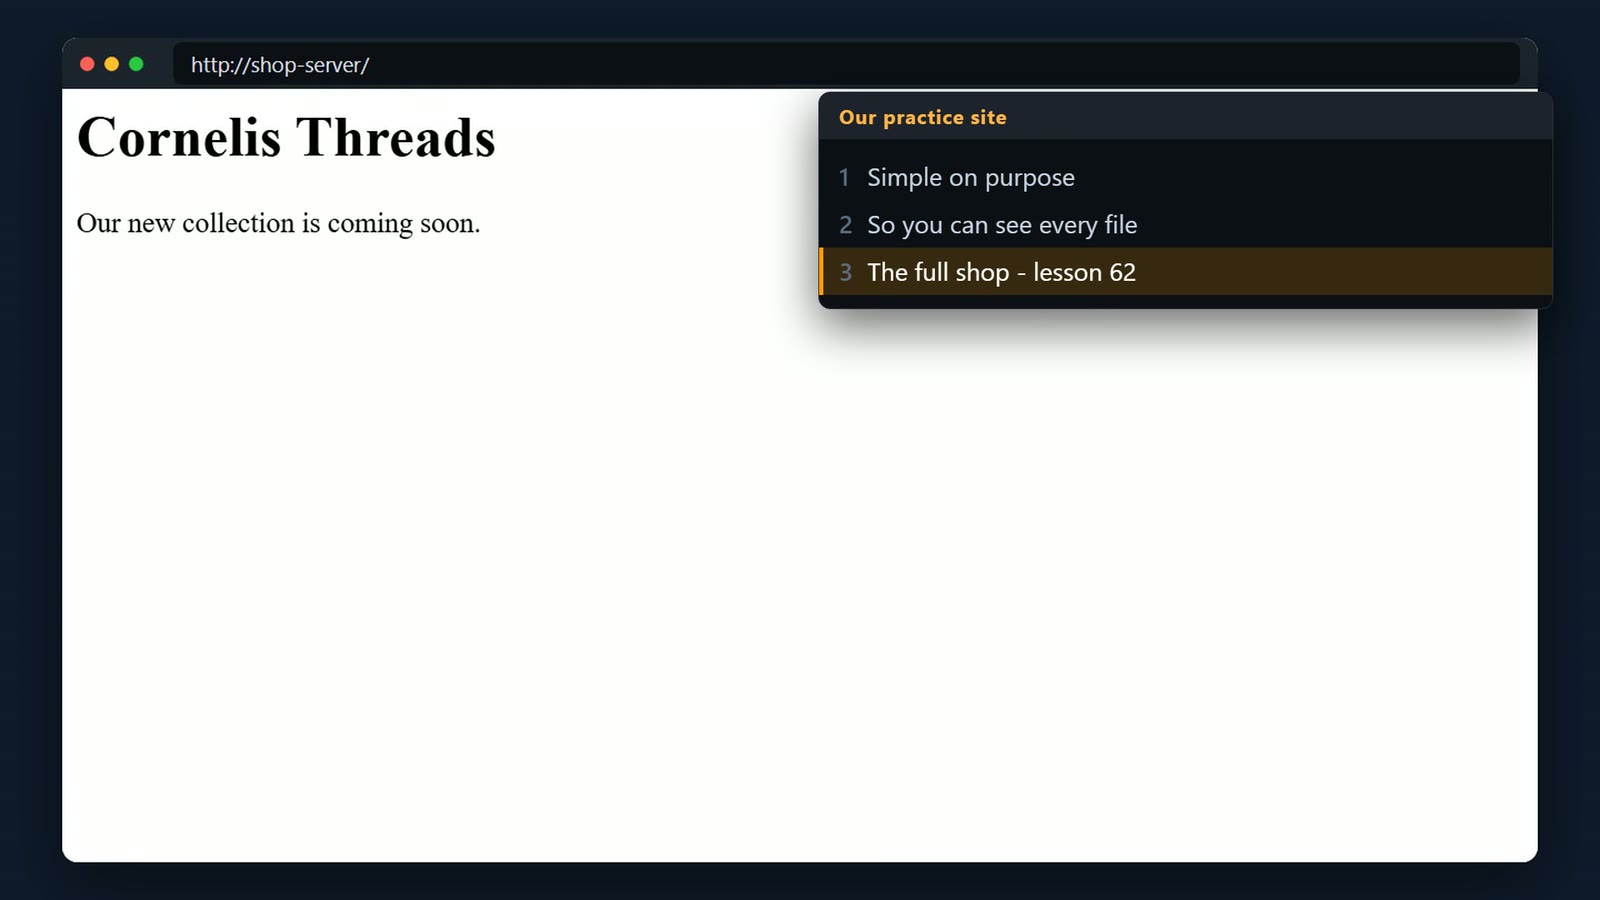
This simple page is the course's practice site, so you can see every file. The full shop website goes live in lesson 62.
On Red Hat family Linux
If your server runs a Red Hat family Linux, like Rocky, Alma, or Amazon Linux, three things change. You install with dnf instead of apt. Nginx doesn't start by itself, so you start it with systemctl enable dash dash now. And the built-in firewall needs to allow web traffic.
sudo dnf install -y nginx
sudo systemctl enable --now nginx
sudo firewall-cmd --permanent --add-service=http
sudo firewall-cmd --reload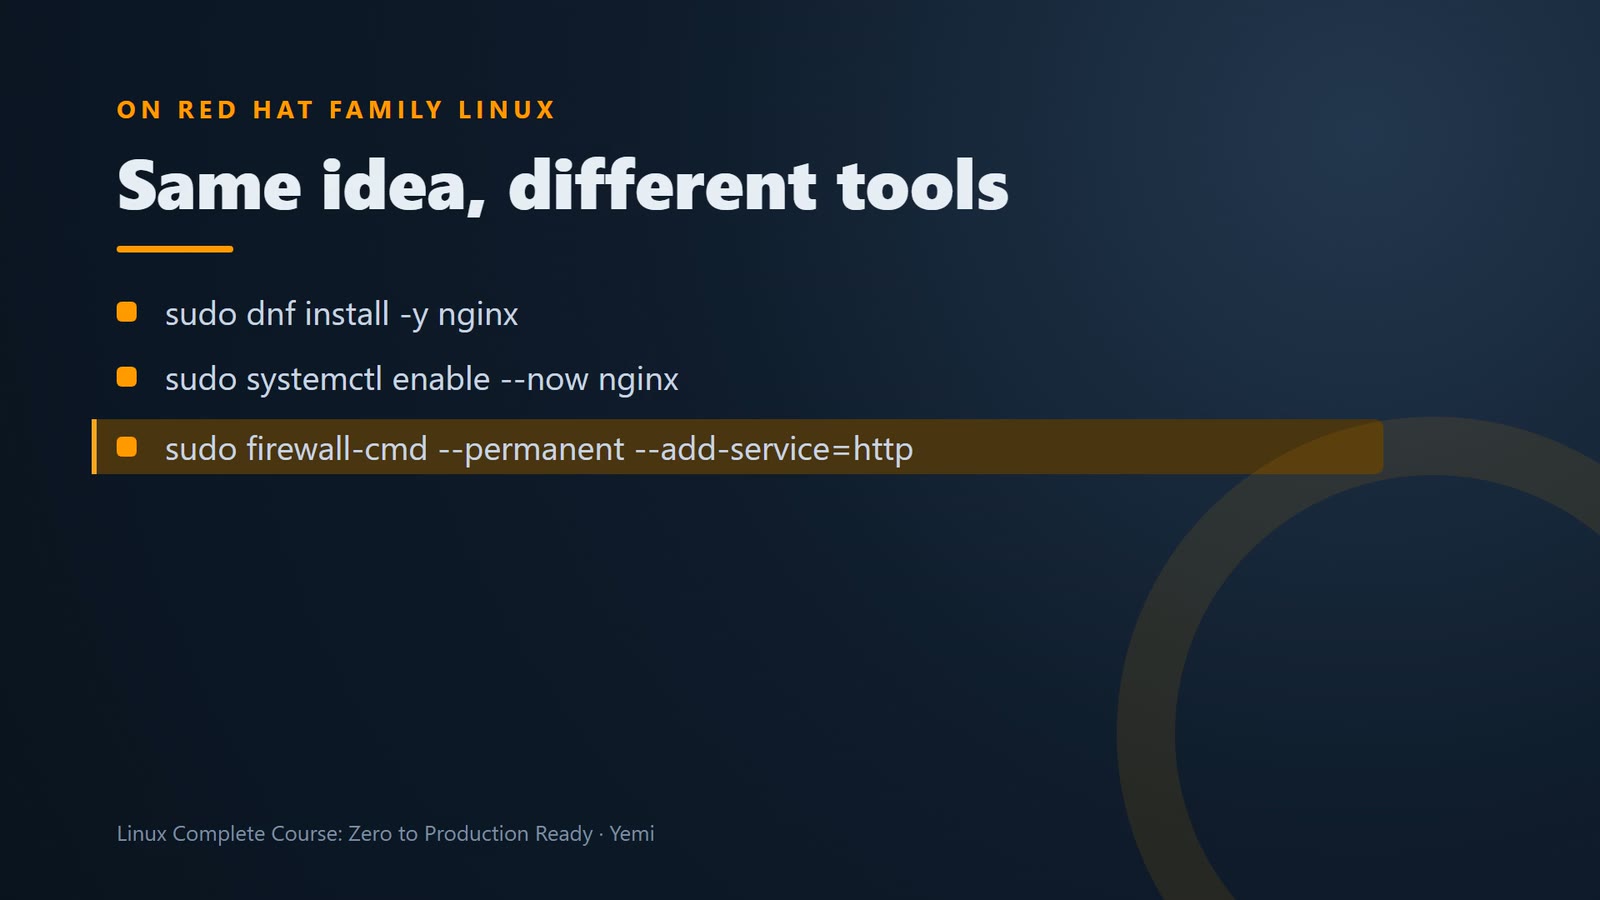
A first look at the dashboard
This is the dashboard we'll build for the shop during the course. Today it only shows what AWS measures by itself: CPU and network traffic. Memory, disk, website errors and attacks are added as the course goes on.
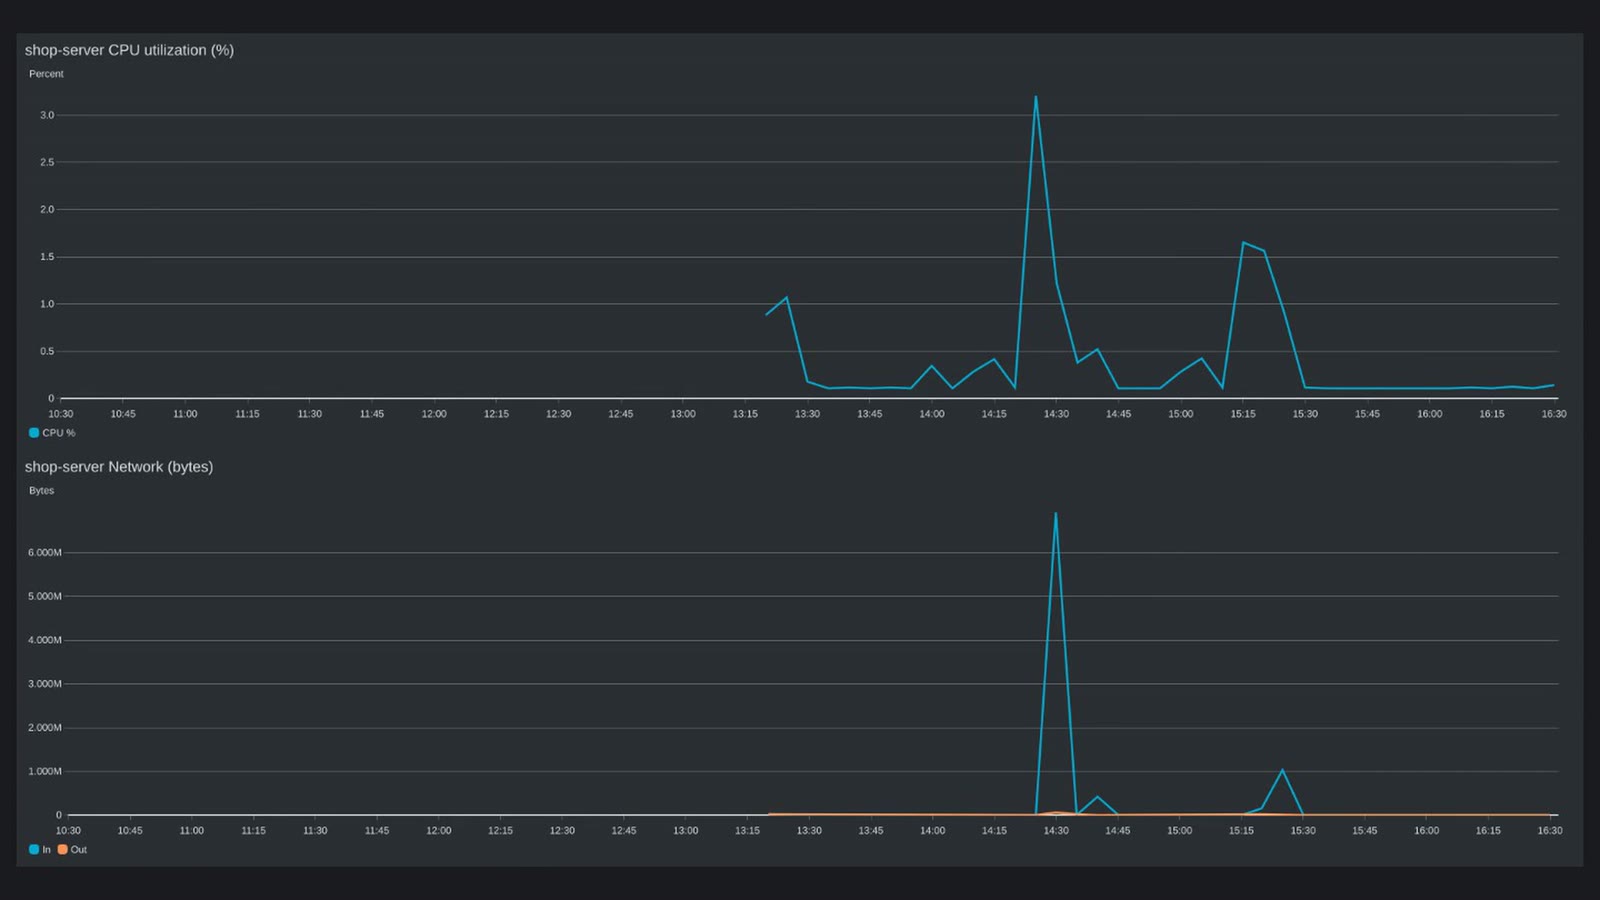
Right now it only shows what AWS measures by itself, the server's CPU, and network traffic. That little bump is us, installing Nginx. By the end of the course, it will show memory, disk, website errors, and every attack on the server.
Challenge
Here's your challenge: Nginx writes down every visit to your website. Which folder do you think its logs are in? If you're watching on YouTube or social media, drop your answer in the comments. If you're in the live class, put it in the chat. I'll show the answer at the start of the next lesson. And only post the command or the answer, never real IP addresses, account IDs, keys, or log output.
What's next
And here's the next message from the shop. They love the page. Now they want to change the text, and they've got product photos and price lists to put on the server.

Summary
- sudo apt update refreshes the list of software, sudo apt install installs it
- Nginx starts by itself after install – systemctl status nginx shows it running
- Nginx serves the files in /var/www/html – index.html is the home page
- Red Hat family: sudo dnf install nginx, then sudo systemctl enable –now nginx
What’s next
The shop loves it. But you just typed commands you don't fully understand yet, and Cornelis Threads already wants changes. In the next module, you'll learn the shell properly, starting with how to get help from Linux itself.